
Introducción
Esta guía muestra cómo aplicar el adhesivo de montaje de la pantalla a un iPad abierto.
Herramientas
-
-
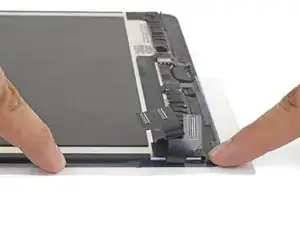
Antes de instalar el nuevo adhesivo, limpia a fondo el conjunto de la pantalla y el marco de todos los residuos.
-
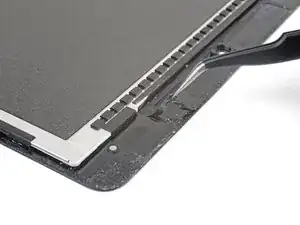
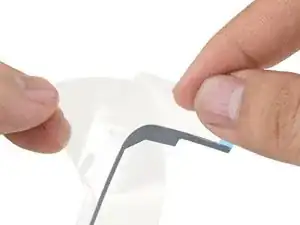
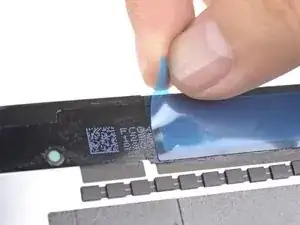
Usa pinzas para extraer secciones de residuos de cinta adhesiva.
-
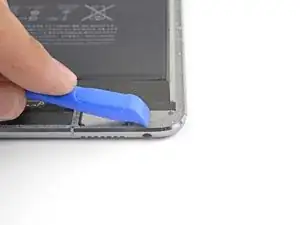
Usa una herramienta de apertura o un spudger para raspar los residuos. Puede utilizar alcohol isopropílico de alta concentración (más del 90%) para ablandar el adhesivo.
-
Retira el residuo limpiando en una dirección para evitar que se extienda.
-
-
-
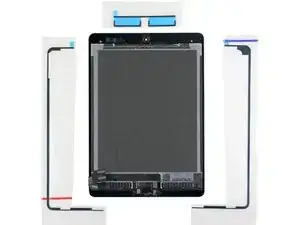
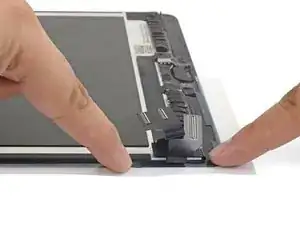
Coloca las tiras adhesivas de repuesto alrededor del ensamblaje de la pantalla para que se correspondan con los lados correctos.
-
-
-
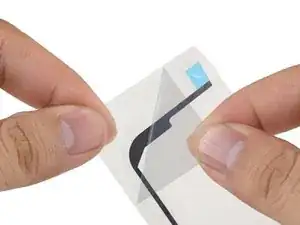
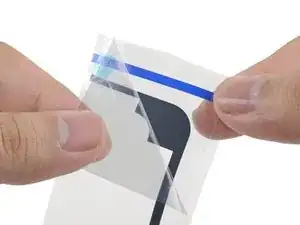
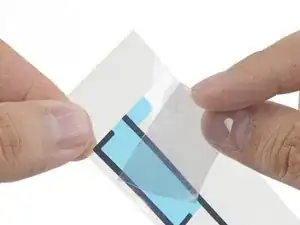
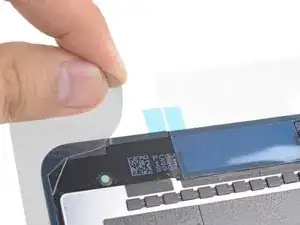
Despega y retira la capa superior de plástico de la tira adhesiva izquierda.
-
Despega y retira el soporte plástico inferior de la tira.
-
-
-
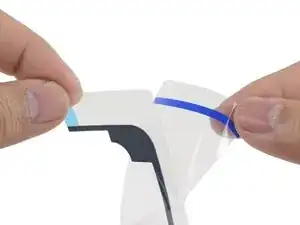
Si hay trozos de adhesivo adicionales en la tira que no son necesarios para tu modelo concreto de iPad, retíralos ahora.
-
-
-
Alinea la tira adhesiva izquierda con el borde izquierdo del ensamblaje de la pantalla.
-
Comenzando desde una esquina, coloca la tira adhesiva sobre el ensamblaje de la pantalla y presiona la tira en su lugar.
-
-
-
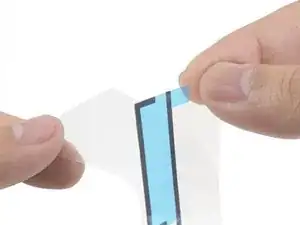
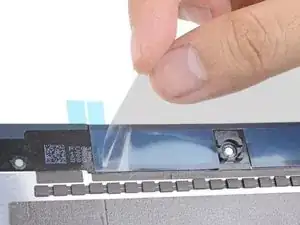
Despega y retira la capa superior de la tira.
-
Despega y retira la capa inferior del soporte de la tira.
-
Alinea la tira adhesiva con el borde derecho del ensamblaje de la pantalla.
-
Comenzando desde una esquina, coloca la tira adhesiva sobre el ensamblaje de la pantalla y presiona en su lugar.
-
-
-
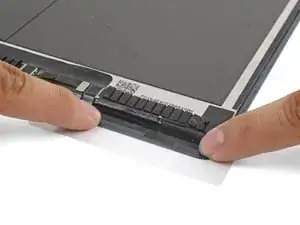
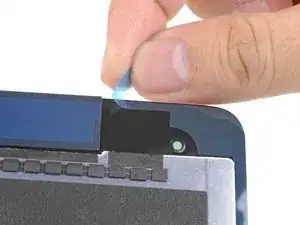
Despega y retira la capa superior de la tira.
-
Despega y retira la capa inferior de la tira.
-
Alinea la tira con la parte superior del ensamblaje de la pantalla de manera que la línea adhesiva recta cubra el espacio entre las tiras de la izquierda y la derecha.
-
Presiona la tira en su lugar.
-
-
-
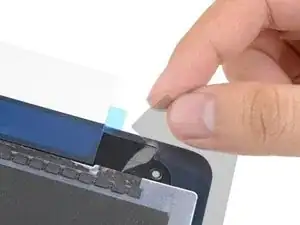
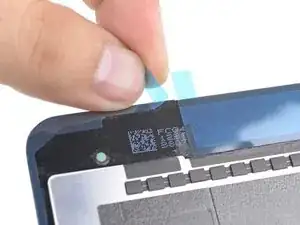
Despega y elimina la capa de refuerzo de plástico transparente de las tres secciones de la tira adhesiva.
-
-
-
Pela y retira los tres soportes de plástico en color para exponer el adhesivo.
-
Cierra el dispositivo y coloca algunos libros pesados encima de él durante treinta minutos para ayudar a que el nuevo adhesivo se adhiera.
-
Como alternativa, puede utilizar grapas de sujeción de pantalla alrededor del perímetro de su dispositivo para fijar el nuevo adhesivo.
-


¿La reparación no ha ido según lo previsto? Consulta nuestra comunidad de respuestas para obtener ayuda en la resolución de problemas.

10 comentarios
Thanks, I was able to fix my wife’s shattered digitizer screen on the iPad 6th gen with this guide!
I managed to get it done, but this was a personal nightmare for me and more difficult than replacing the battery in my ipad. There are too many instruction that say “remove plastic” and I have no idea which layer; there was nothing on the packaging to indicate which side was up or which side was the front and I ended up guessing the wrong direction because it “looked” right, but wasn’t. A simple sticker on the packaging indicating a direction would have removed all of the frustration. I only managed to figure it out by removing all of the plastic so that the sticky side of the adhesive was exposed and then I could finally see how it was supposed to fit and how I was supposed to press down with the other side of the plastic to push the adhesive side into the frame.
Fixed a cracked iPad 4 mini screen; I agree with twizzlercraze72. Some kind of labeling would have saved so much peeling and re-sticking. I ended up with a gap next to my home button. An expensive lesson to learn.
I followed these instructions and used 99.9% isopropyl alcohol to clean off the glue around the display - but the isopropyl leaked under the screen and ruined it! Replacement screen more than the iPad’s worth. Use tiny amounts and don’t allow for any seepage, or try to manage without and just carefully scape. My iPad’s now a write-off… :-(
Alex Harness -
Hi Alex!
I’m really sorry to hear about your experience. Can you describe a little more how the alcohol ruined the screen? This info can help with future guides!
Arthur Shi -
Use goof off or xylene on cotton swab outdoors to remove adhesive. Do it outside so you don’t smell up the house. Better than rubbing alcohol.
macman2 -
Goof-off will unfortunately leave a residue that can eventually weaken the replacement adhesive. Be sure to fully clean off the surface with alcohol after you use Goof-off.
Arthur Shi -
I used a hair dryer to soften the adhesive.
OK, you still leave a very small, microscopic, layer of adhesive after removing the black tape, but really, new tape will still stick to that. We’re not trying to make the iPad water proof - we’re simply trying to make the components secure and not fall apart. Shame Apple couldn’t have used screws instead!
Billinski -
Used CRC Brakleen PRO SERIES. Applied sparingly with a Q-tip 2 inches at a time. Softened the adhesive was easily squeezed off with a plastic spudger.
dklj -