Introducción

PlayStation 3 Super Slim - Cómo desmontar completamente.

[vídeo|http://www.youtube.com/watch?v=PADgRlE1k...]

Puedes ver también: [guía|10670]


SUSCRÍBETE a mi canal ツ

  1. FFOgXSHeK5XRuouM
    FFOgXSHeK5XRuouM
    NxVsLRw33HFihkxE
    DbFEULkUhCYyDSAR
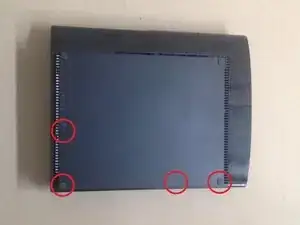
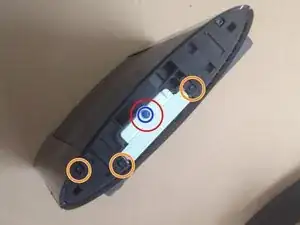
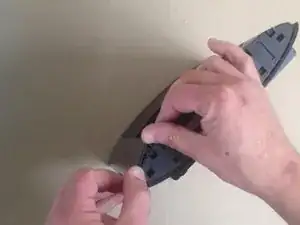
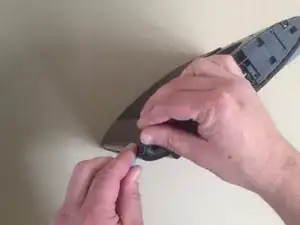
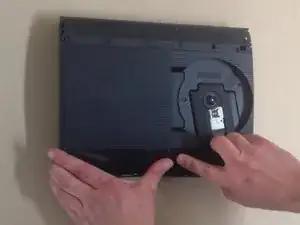
    • Retira las tres patas de goma, la etiqueta de garantía y los cuatro tornillos.

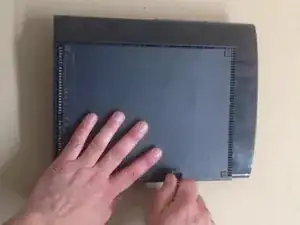
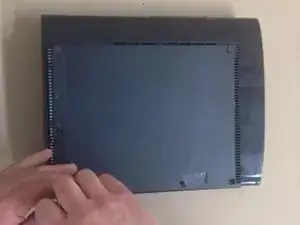
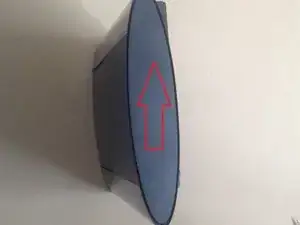
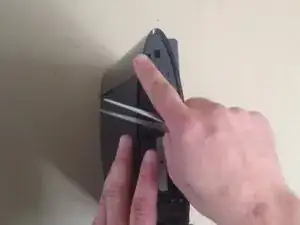
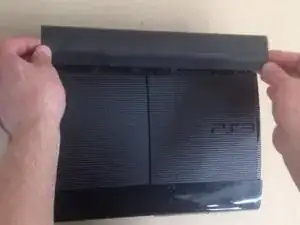
    • Tira suavemente hacia arriba de la cubierta inferior para quitarla.

  2. 1s1AJX3EMveXOMmj
    1s1AJX3EMveXOMmj
    ocxB5kJtaF2GoUsW
    KW2lXZvDRQFf5jBM
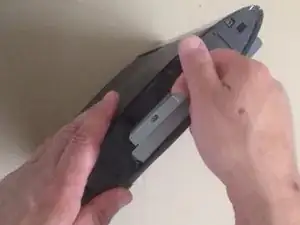
    • Desliza la tapa del disco duro hacia la parte trasera del dispositivo para quitarla.

    • Quita el tornillo azul que se muestra en la imagen para quitar el portaunidades de disco duro con una Phillips n.º 1.

    • Quita los 3 tornillos del chasis con una broca TR8.

  3. u4jrLLrgjcAE2LiA
    u4jrLLrgjcAE2LiA
    DcrSL12tTbJUj6lL
    rjhtkKoYdFPDB6CN
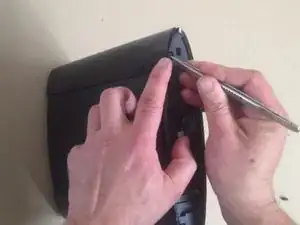
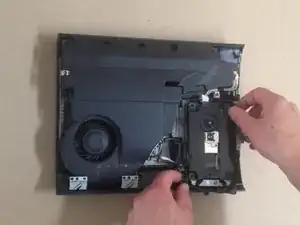
    • Usa un spudger de metal para empujar la pestaña en el acabado superior trasero y levántalo para quitarlo.

    Do you need to remove the hdd in order to remove it?

    Ky Justin -

  4. wkwdqpQwsip1vVFV
    wkwdqpQwsip1vVFV
    4Ll5KZhaBBUOZacH
    lCFfIVh55asbGItc
    • Repite el paso 3 para el acabado superior delantero.

  5. UskPi1jWOBykhwsF
    UskPi1jWOBykhwsF
    OoVwsNyARgtmMEXo
    UPiZ1BVQdxeLiYED
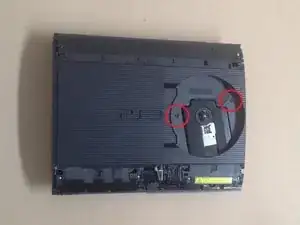
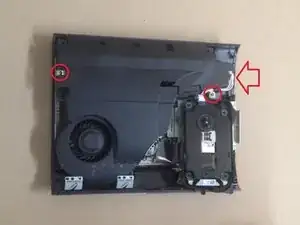
    • Quita los dos tornillos TR8 indicados en el lector de disco.

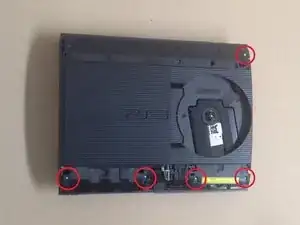
    • Quita los cinco tornillos Phillips n.º 1 que se muestran alrededor del borde de la cubierta superior.

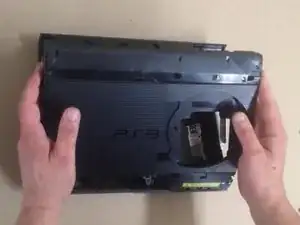
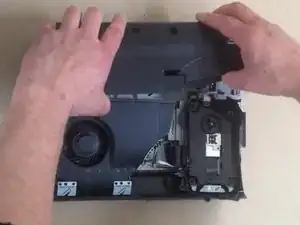
    • Levanta la cubierta superior para quitarla.

  6. InBhgEsiFCVwQ2FQ
    InBhgEsiFCVwQ2FQ
    FYYBqJwWMYDcaA1J
    mbYrfvDKIZPej5RQ
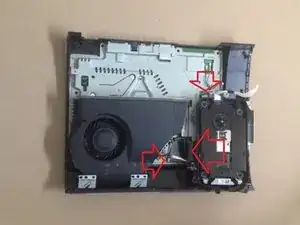
    • Mueve el ensamblaje del lector de discos ópticos hacia la izquierda para exponer uno de los tornillos que sujetan la fuente de alimentación.

    • Quita los dos tornillos Phillip n.° 1 que se indican y desconecta con cuidado el cable del lado derecho de la fuente de alimentación.

    • Levanta la fuente de alimentación hacia arriba para quitarla.

    • El lado izquierdo tiene un conector de placa debajo, por lo que habrá algo de resistencia al levantarlo.

  7. ACQhFUpRKGPmwPGU
    ACQhFUpRKGPmwPGU
    wdoyslypPoSJQxuD
    aKX6iKCmbUmGEMAA
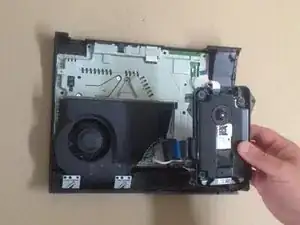
    • Desconecta con cuidado los cables planos indicados.

    • Levanta el lector de discos ópticos para extraerlo.

    • Desconecta y retira el cable blanco y el cable plano indicados.

  8. yGulsRcWVQg2KEHH
    yGulsRcWVQg2KEHH
    1TnKjTZJiiLVy1jl
    cvPb6TGqIHU6FQ26
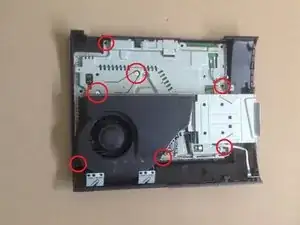
    • Quita los siete tornillos Phillips n.º 1 que se indican.

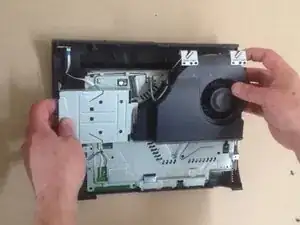
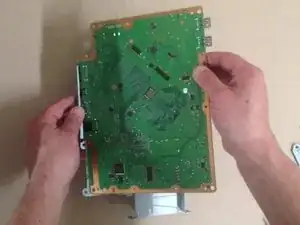
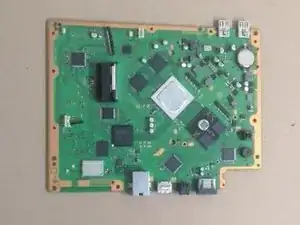
    • Levanta el conjunto de la placa base de la mitad inferior de la caja para quitarlo.

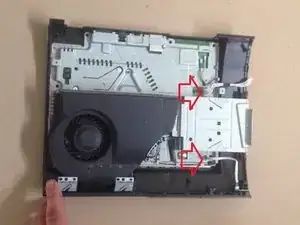
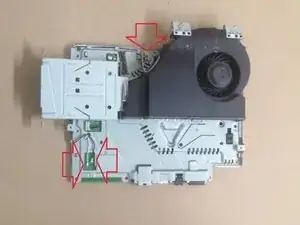
    • Desconecta con cuidado los cables de la antena Wi-Fi y el conector del ventilador indicados por flechas rojas.

  9. CWDkJF3LwjXbPQrx
    CWDkJF3LwjXbPQrx
    lwwVENDQooKgK5Ei
    diVPbCU3cfBcBbLR
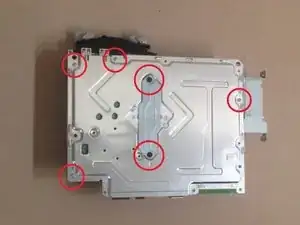
    • Quita los seis tornillos Phillip n.º 1 que se indican para separar el disipador térmico y el protector de la placa base.

    good job you just broke the ps3 super slim

    korvanjundskyrim -

  10. cFZCv2lQb1nI1M6A
    • ¡Felicitaciones!

Conclusión

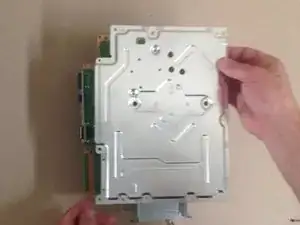
Para volver a ensamblar tu dispositivo, sigue estas instrucciones en orden inverso.

ZFix

Miembro Desde 09/12/13

188324 Reputación

13 comentarios

What's the name of the screwdriver that undo's the star shaped screws?

themasterassassin8787 -

It is a T8 Torx screwdriver! I'll add the tools to this guide =)

Sam Goldheart -

i took apart my ps3 super slim and put it back together but there is no power what so ever no red light at all

pastorjon.m -

Same here did you fix it?

Kriss -

One thing to pay attention to: The T8 Torx screws (at least on my 500GB model) are Tamper Proof TR8 screws, meaning you need a special screwdriver to undo them. A normal T8 wont work.

Wesley V -

use a cross-shaped screwdriver (idk the correct name) to tear off the little metal thing, ez

Raphaël Brenn -

Step 4: “simply remove the front finisher” - are you kidding me? I nearly broke mine!

versluis2000 -

Thank you, used 1.5mm straight screwdriver to undo the T8 security screws. PS3 completely clogged up with fluff. Used WD40 on a cotton bud to redistribute old heat sink compound on re assembly. Console is like new, video output works again! I keep a stack of those small plastic take away sauce pots, place the screws for the first step in the pot, then stack the second pot on for the second step screws etc.

UK Dave SROL F&F -

Oh god. A potato grew in the bottom ventilation holes. It is impossible to remove. Unbelievable

Xyzfos -

😂😂 how the potato go there

Ryder -

Where does the Phillips #00 screwdriver come into play? You only used a #1.

Donovan Carlson -

I am replacing the optical drive in my console. But didn't note where the drive ribbon was positioned!? Every video I have found, they just pop right in...my original and replacement drives, have larger receptacles than the ribbon it self. There are at least 5 pins, that don't have (potentially) anything connecting them, to the ribbon. I don't want to randomly place the ribbon in one of the possible (7?) positions and fry something in the process...so where do I connect the smaller ribbon?!

Robert Shelton -

Hey, dear community!

I did clean my PS3, because it was running hot and freezing after about 2 hours gameplay I'd say. However it did make the Problem worse, now my PS3 runs its fan like crazy when i boot it up and once i start a game, it sounds like a helicopter taking off.

Anybody know, where the temperature Sensor is located, or if i can just hardwire the fan to a potentiometer and adjust it by hand? (Learned mechatronics, so i could do something myself).

Thanks in advance,

Felix

Felix Schrödl -