Introducción
Este desmontaje le mostrará cómo acceder a tu Xbox 360 S para arreglar lo que necesitas.
Herramientas
-
-
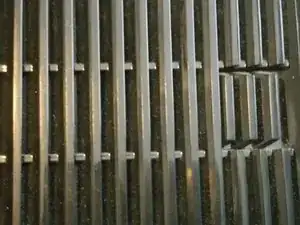
Desliza el pestillo hacia atrás y tira hacia arriba para quitar la parte de la cubierta lateral.
-
-
-
Coge un destornillador de cabeza plana y tira hacia arriba de los dos extremos de la cubierta lateral.
-
-
-
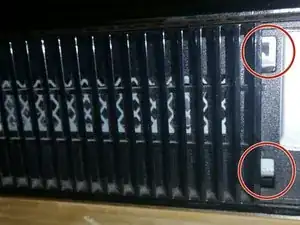
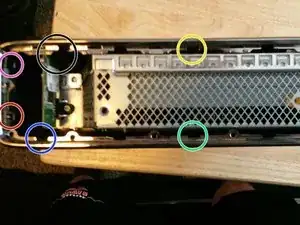
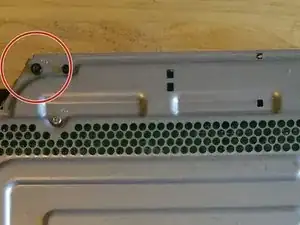
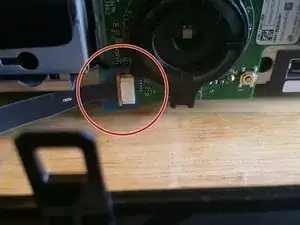
Coge tu destornillador de cabeza plana y levanta cada agujero como los que están en círculos en la imagen hasta que salga.
-
-
-
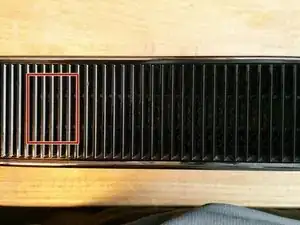
Para quitar el marco, coge un destornillador de cabeza plana y tira de los pestillos hasta que salga.
-
-
-
Coge su destornillador de cabeza plana y colócalo en una de las grietas de la cubierta lateral en el otro lado y tira hacia arriba para quitarlo.
-
-
-
Coge tu destornillador de cabeza plana y colócalo en los agujeros como los de la imagen hasta que la pieza se desprenda.
-
-
-
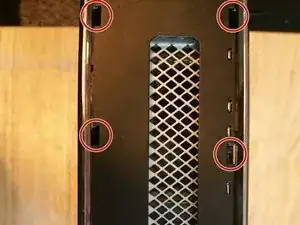
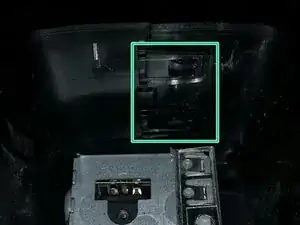
Toma su destornillador de cabeza plana y abre los dos pestillos y luego coloca un destornillador diferente a través del pestillo para que no se trabe.
-
-
-
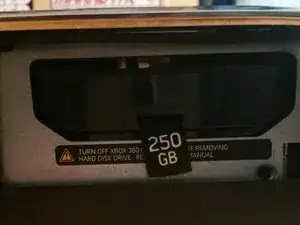
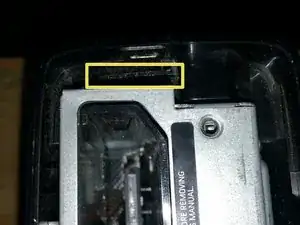
Por otro lado, toma tu destornillador de cabeza plana y destraba el pestillo. Hay un pestillo más duro más adentro, por lo que debes clavar el destornillador hasta el fondo y tratar de encontrarlo a tientas. Es útil empujar ambos lados de la etiqueta de seguridad de Xbox.
-
-
-
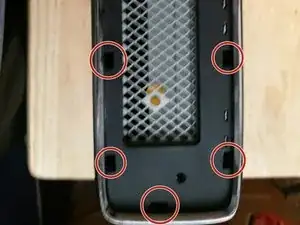
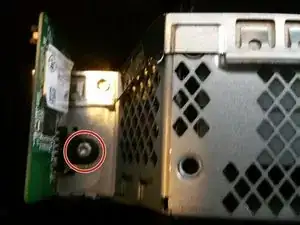
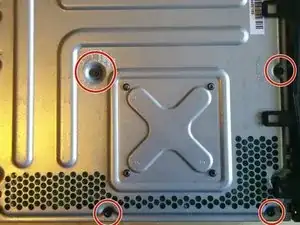
Usa tu destornillador Torque T8 y T10 y saca los cinco tornillos negros que se muestran en la imagen.
-
-
-
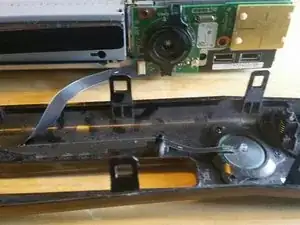
Toma la cubierta frontal con el botón de inicio y expulsión y colócala frente a la consola. La cubierta frontal está conectada a una fuente de alimentación mediante el botón de inicio. Ten mucho cuidado al tirar y luego sacarlo para no romperlo.
-
-
-
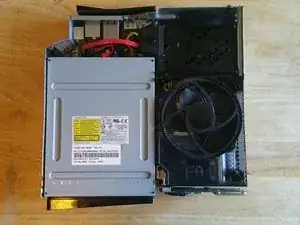
Esto es lo que verás cuando hayas terminado con todos los pasos anteriores. Para otros desmontajes como la bandeja del disco o la fuente de alimentación, consulta ifixit.com para obtener la mejor información sobre cómo desmontar algo.
-

11 comentarios
Some of these photos are just zoomed in and I have no idea which side, or which way up they are in respect of the console. I recommend further photos for clarity.
I don’t have this console, but I just like going through the teardowns.
i have the console and it was pretty easy to follow, the only thing was the last clip he was saying to just feel around for, i just pushed in on the spot where it would be and it separated easily after that
This is pretty bad, pretty vague. I had to refer to a YouTube video for more information and a visual demonstration because this how-to is sparse in information. This article fails to mention what is happening at crucial steps and does not describe how it should feel when pieces come apart; if I only had this article to refer to, I probably would have given up in fear that I’d damage the case or system. I did eventually get my case apart, hardly any help from this source, sadly.
Hi Anthony,
As stated in the warning at top, a teardown is an educational look at the device, and is not meant to be used as a guide. Our repair guides will show up here, and contain accurate details (such as tools needed, how to unlock ZIF connectors, etc.) as well as step by step instructions on how to complete the repair.
In the middle of the sticker on the back there is a pin hole to put something into to get the last clip off