Introducción
Herramientas
-
-
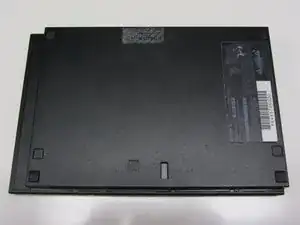
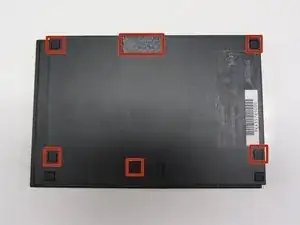
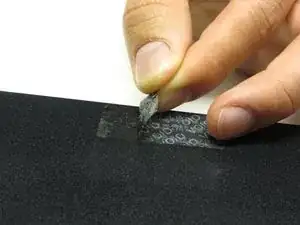
Localiza las 6 patas de goma de la consola. Haz palanca en ellas utilizando una espátula para acceder a los tornillos escondidos.
-
-
-
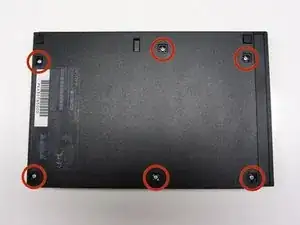
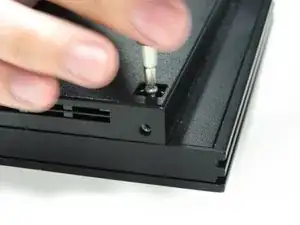
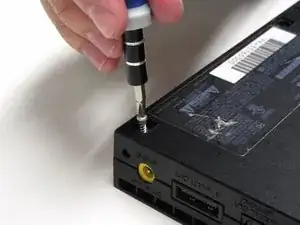
Quita los seis tornillos de 4.0 mm de la parte inferior de la consola utilizando un destornillador Phillips #1.
-
-
-
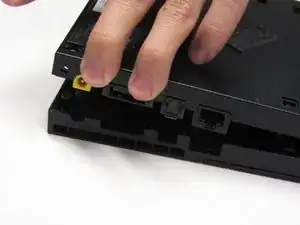
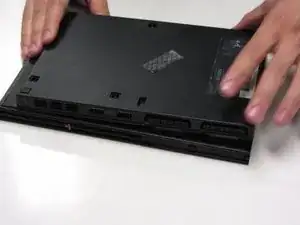
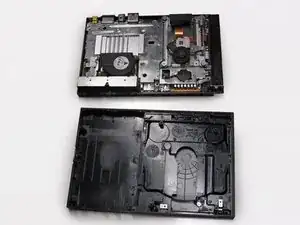
Empezando desde la esquina donde se encuentran los puertos de alimentación y ethernet, haz palanca utilizando una espátula y continúa alrededor de toda la unidad.
-

Para volver a montar tu PlayStation 2 Slimline, sigue esta guía en orden inverso, desde el final hacia el principio.
3 comentarios
Just to clarify: in order to FULLY remove the bottom half of the shell on my PS2 Slim, I had to remove a screw that pinned the controller ports in place; it's at the front, right between the Player 1 and Player 2 ports.
Other than that, this guide worked perfectly! :D
Good morning. Hello. The disassembly of the PS2 series 7XXXX (PS2 Slim) is very well explained, except for one detail. Indeed, when I started to separate the bottom from the top, a small metal plate with a threaded hole in the center. And I find no mention of it anywhere. Considering the part, I think it's used by one of the screws that holds the two plastic hulls, but I don't see where. Can you help me, please? Friendly, Marc.
Translated with www.DeepL.com/Translator
The metal plate with a screw hole in the middle is for the stand-up-base-stand to be screwed down. It’s an after market item SONY sold seperately.
김동현 -