Introducción

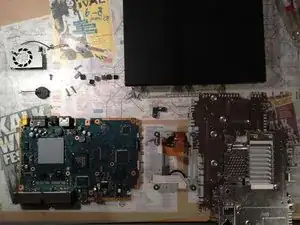
Una guía general para desmontar tu PlayStation 2 Slimline. Esta guía te dará acceso a una serie de componentes internos como la placa base, la unidad óptica, el ventilador para la refrigeración y el disco duro entre otros.

  1. 3kByEOR4hAIUNhZb
    3kByEOR4hAIUNhZb
    oZ1mOXQmJyra5J2D
    gLGtiyWX6OZdTAGK
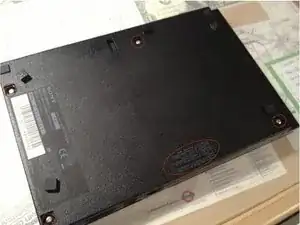
    • Sobre una superficie plana, dale la vuelta a tu PlayStation 2 Slimline de forma que la parte inferior esté hacia arriba.

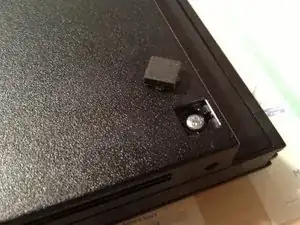
    • Quita las gomas que cubren los tornillos, las que están rodeadas en rojo en la segunda imagen.

    • Con un destornillador Phillips #1 quita los cinco tornillos rodeados en rojo en la segunda imagen.

    • Tendrás que quitar el sello de la garantía para poder quitar el último tornillo.

  2. 1eqObeIG6YFcpFYW
    1eqObeIG6YFcpFYW
    yl3OBIX2JII1PPD2
    • Asegúrate de que no te has olvidado el tornillo bajo el sello de la garantía.

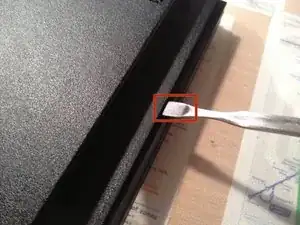
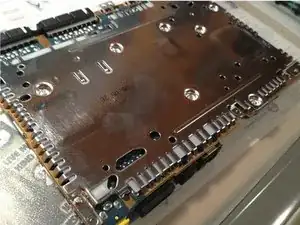
    • Utiliza una espátula metálica para separar la mitad superior de la carcasa de la mitad inferior.

    • Para los modelos posteriores el conjunto lector de DVD no está atornillado y se caerá si lo abres boca abajo.

  3. FER6vHpWNVuJ4Kpl
    FER6vHpWNVuJ4Kpl
    YBPooMAgCDJnhFnO
    2MLamuqKvEkUIQ5u
    • Con la carcasa abierta puedes ver la placa base y otros componentes.

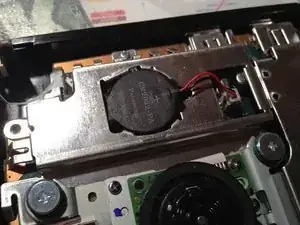
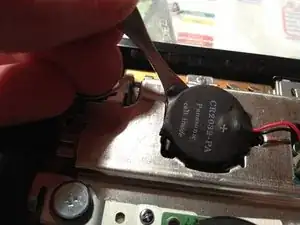
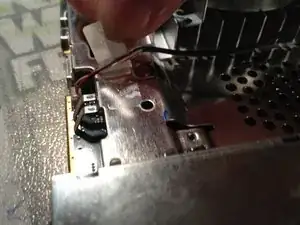
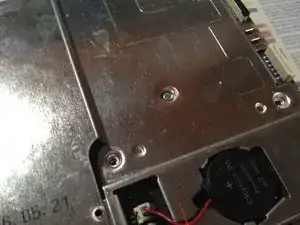
    • Identifica la batería, y entonces utiliza una espátula para hacer palanca y quitarla (recuerda utilizar espátulas plásticas cuando trabajes con electricidad). Desconecta la batería de la placa base con tus manos.

    I guess in 2021 or later there are many people with leaked/not working battery in their system. If you are looking for a replacement, just search any online store for “CMOS battery 2032”. The important thing is to have already attached (soldered?) leads with connector on the end.

    Be aware of the polarity! The batteries that I got had switched polarity. You can easily fix that with pulling out the wires from the connector and tucking them in the other way. Just make sure that they will stay in place this time, I used some super glue before putting it in my PS2 (wait until it does not stick anymore!).

    If you have excess wiring you can tuck that away anywhere.

    Bence Svidrony -

  4. VyY2VPSPbEU3gQ3l
    VyY2VPSPbEU3gQ3l
    BSAiXr5SJdaabSdh
    eWVspYfQNRw1N1tM
    • Hay tres cables que conectan la unidad óptica a la placa base.

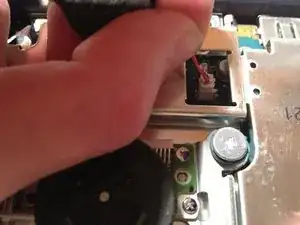
    • Tira del cable y quítalo de su zócalo.

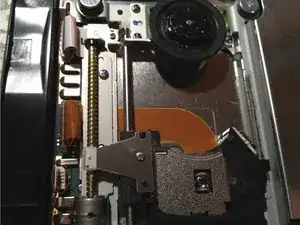
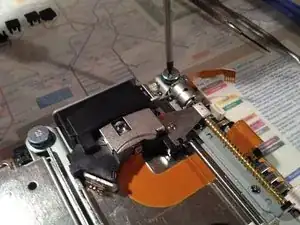
    • Utilizando un destornillador Phillips #1 para quitar los cuatro tornillos de la unidad óptica.

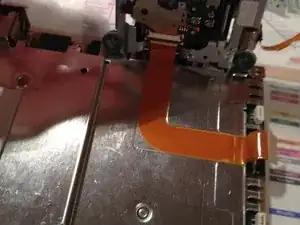
    • Tira de la unidad óptica y con cuidado despega el cable plano que está debajo de la unidad, pegado a la plancha metálica.

    I found it more pleasant not to peel off the ribbon cable. Instead I left the orange ribbon cable connected to the motherboard, and after gently lifting the drive I disconnected that cable from the drive itself. Make sure you do not just pull on these cables, they might have plastic retention parts that you first need to lift gently.

    Bence Svidrony -

  5. c6uAZCMtPwAtGNAP
    c6uAZCMtPwAtGNAP
    3tBVZV5sYxcWUQYU
    • El ventilador está sujeto con tres tornillos PH00.

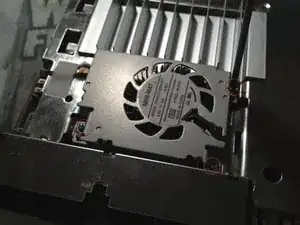
    • Quita los tres tornillos PH00 de la carcasa del ventilador.

    • Después quita la cinta adhesiva y quita el cable.

  6. 1Yk2m1n53OkutFq5
    1Yk2m1n53OkutFq5
    YE1d3gDTTqCnQGWX
    rjSRUiLknQ5JRsAE
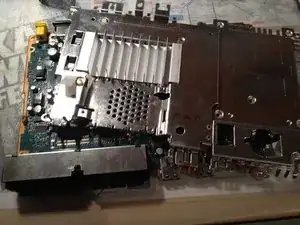
    • Quita los cuatro tornillos señalados en la fotografía. Estos están en el lado inferior de la placa base.

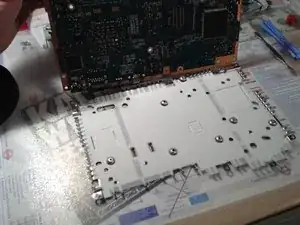
    • Entonces dale la vuelta de nuevo a la placa base y quita los 2 tornillos de clasificación en la cara superior.

    • Ahora ambas planchas metálicas deberían estar listas para ser quitadas.

    In my case (haha) I was not able to remove the motherboard from the bottom chassis, because there was an additional Phillips #1 screw holding it down between the memory card/controller ports. My system is a SCPH-75004, so I guess this go for all 75xxx models.

    Bence Svidrony -

  7. VIduHsxuyjU6iktq
    VIduHsxuyjU6iktq
    JWokyJuLwcS3tsUa
    • Quita la plancha metálica de la parte inferior de la placa base.

    • Ahora todo debería estar desconectado y has desmontado tu PlayStation 2 satisfactoriamente.

    • Para volver a montar tu PlayStation 2 Slimline, sigue estos pasos en orden inverso.

    Very nice instructions.

    Jordan Britt -

    my 70004 it's egual than this

    ISTRUCTIONS very usefull

    federico4008 -

tlroesner

Miembro Desde 13/05/12

1855 Reputación

2 comentarios

not all slimlines are internally the same. as seen in the second picture, this teardown is for the 75004 model

Roman -

Komponen kotak hitam kaki 4 itu apa gan, di dalemnya kaya jumperan gitu. Itu fungsinya buat apa ya? Posisinya sudut kiri bawah iptikal drive.

camxmovie -