Introducción
Herramientas
-
-
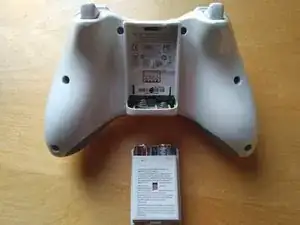
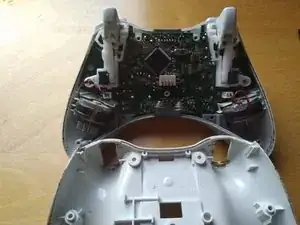
Da la vuelta al mando, de modo que se vea la parte trasera.
-
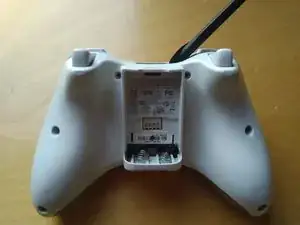
Saca el compartimento de la batería.
-
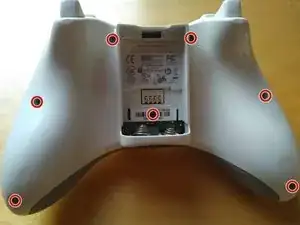
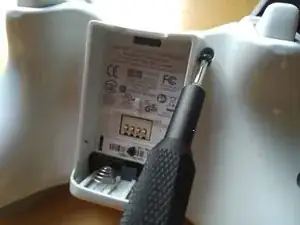
Usa un destornillador TR9 para sacar los 7 tornillos.
-
-
-
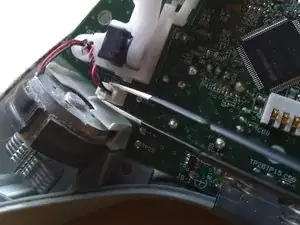
Quita el cable del vibrador.
-
Ahora puedes sacar completamente el vibrador.
-
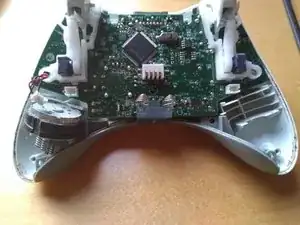
Repite la acción con ambos vibradores.
-
-
-
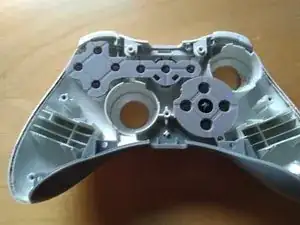
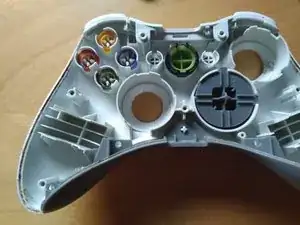
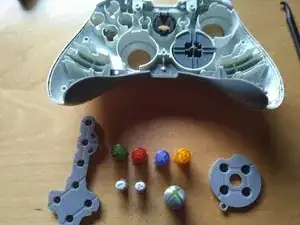
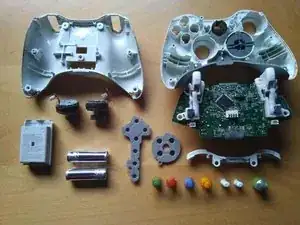
Saca las cubiertas y luego los botones.
-
También puedes extraer el bumper (botón sobre el gatillo).
-
-
-
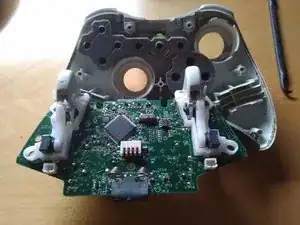
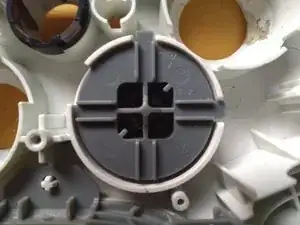
Los últimos dos tornillos estarán localizados en el D-Pad. Puedes sacarlos con un destornillador Phillips #0.
-
Luego usa un par de pinzas para apretar los clips.
-
Ahora puedes sacar el D-Pad.
-

3 comentarios
Excelente trabajos
Very clear, helped me clean my controller. Thank you :)
Hello. I just did clean one of mine that i did bye 2011. The Rumble on left end right are the opposit to this guide.
I did never disconnect them from the pcb. So ma bey its another revision or the left and right is missing.
From the back.
Small left , big right.