Introducción
Si estás leyendo esto para aprender cómo reparar tu controlador, no será solo una guía de cómo DESMONTARLO, sino desensamblarlo.
Herramientas
-
-
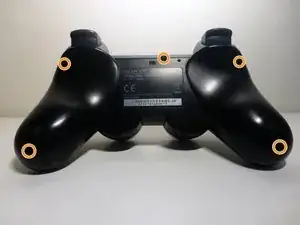
Dale la vuelta al controlador.
-
Desatornilla los 5 tornillos (marcados en naranja en la imagen).
-
-
-
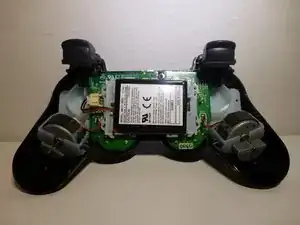
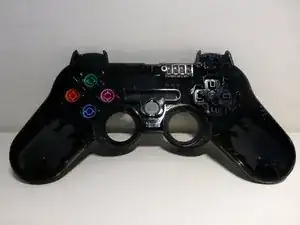
Una vez que se quita la cubierta, el controlador debería verse así. Sigue los cables rojo y negro desde la batería hasta el conector.
-
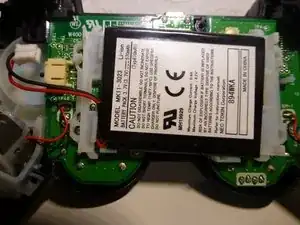
Toma un par de alicates pequeños y desengancha la batería (consulta la imagen 2 de este paso para verla desenganchada).
-
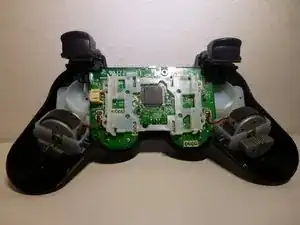
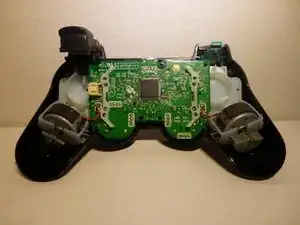
La batería simplemente se levantará y revelará la placa base (consulte la imagen 3).
-
Desde aquí, el plástico que sujeta la batería podrá levantarse.
-
-
-
Este será el paso en el que desarmarás el controlador, no lo desensamblarasarmará.
-
Para quitar los 4 botones (2 en cada lado), primero levanta el botón R1 (o L1). Esto puede requerir que muevas el botón.
-
A partir de aquí, tendrás que aplicar fuerza para arrancar el botón R2 (o L2) y el plástico al que está conectado. En las 2 fotos (ots) se puede ver un lado desarmado y el otro tal y como está normalmente.
-
-
-
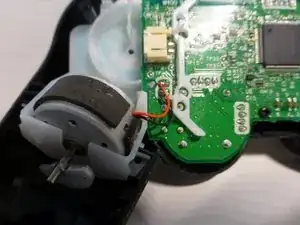
Para este paso, deberás desoldar los cables que conectan los motores a la placa base. O, si eres como yo y no tienes un soldador, puedes intentar arrancar los cables.
-
En primer lugar, levanta todo el motor del soporte de plástico. Esto puede requerir algo de fuerza a medida que se pega.
-
Después de eso, simplemente corta el cable de la placa base o desoldarlo. En la primera imagen, puedes ver cómo se verá tu controlador sin un motor.
-
Repite lo mismo en el otro lado.
-
-
-
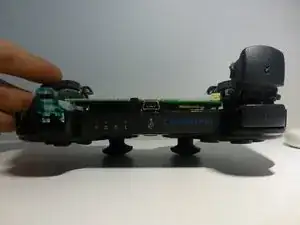
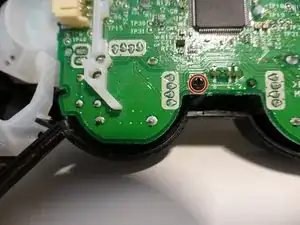
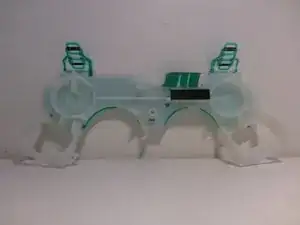
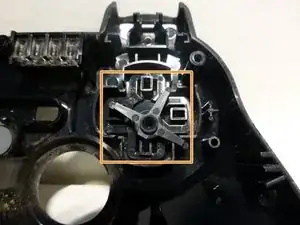
En primer lugar, desenrosca el único tornillo que sujeta la placa base al plástico (marcado en naranja en la primera y segunda imagen).
-
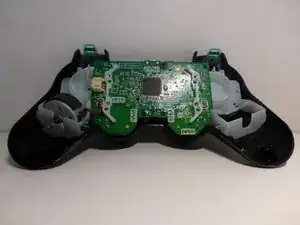
Con ese tornillo quitado, toda la placa base (junto con los 2 joysticks) se puede levantar de inmediato.
-
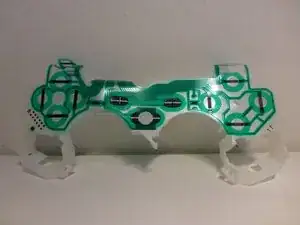
Las imágenes 2 y 3 muestran el caso sin la placa base y los joysticks.
-
-
-
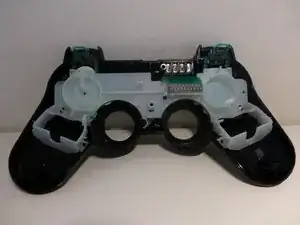
Para quitar el plástico blanco, simplemente levántalo del controlador. No hay tornillos, clips o pegamento que lo sujeten.
-
Las imágenes 2 y 3 muestran el plástico solo.
-
-
-
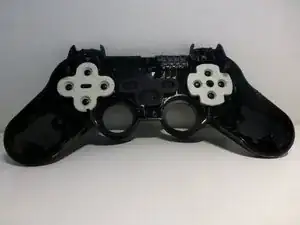
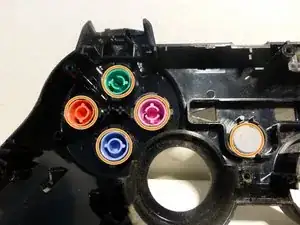
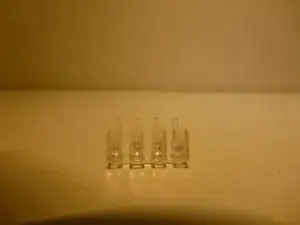
En primer lugar, retira las 2 piezas blancas o de goma de los lados y la pieza central gris también. La primera imagen muestra cómo se verá esto.
-
Luego simplemente "saca" los botones (marcados en naranja en la imagen 2) desde el otro lado (el frente). También puedes eliminar el botón con el logotipo de "Play Station".
-
Para el otro lado, retira el plástico superior y luego los 4 botones (hechos de una sola pieza de plástico).
-
-
-
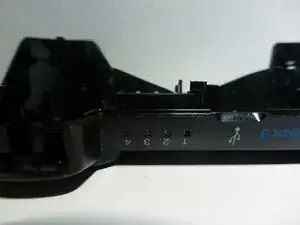
La última pieza que se debe quitar es la cubierta plástica de la luz del nivel de la batería.
-
Esto se hace simplemente presionando las 4 piezas de plástico (ligeramente sobresalientes).
-
Las 3 imágenes muestran la carcasa completamente desmontada.
-
-
-
Y eso es todo. Si has estado siguiendo la guía, ahora tienes un controlador de PS3 completamente simplificado. Si has leído esto por entretenimiento, ahora sabes lo que se necesita para desmontar un controlador de PS3. Gracias por leer.
-
13 comentarios
Good job man really a great tutorial.!
Ricky J -
Rip. To the controller that he used.
If I have to sacrifice one controller in order to show people how to (potentially) fix theirs, then I'm fully fine with that.
You can remove the entire motherboard assembly without disconnecting the rumble motors. Just lift them out at the same time carefully
Not 5 screws?
Wessel Oolbekkink -
Sorry! Meant to be 5 screws.
Imad Knight -
What size are the screws? I’m trying to get a replacement set and it does me no good to not have a definite answer
Aiodensghost -
How to unscrew a screw without a screwdriver ?
Redwan Noor -
The case doesn't open by itself, though. To open it, one has to push a flap inside the housing which is located at the front between the two analog sticks. https://www.youtube.com/watch?v=-jdXGtda... shows how it's done.
randomuser456 -