Introducción
Después de quitar la cubierta, quitar la rueda de desplazamiento permitirá el acceso a los resortes y a la rueda misma.
Herramientas
-
-
Sostén el mouse para que la parte inferior quede hacia arriba.
-
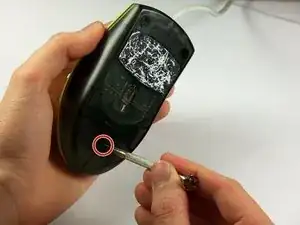
Retira el único tornillo Phillips n.° 1 de la mitad inferior del mouse.
-
-
-
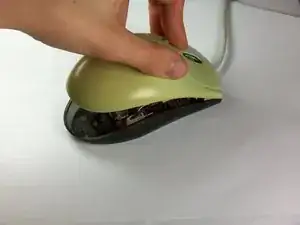
Coloca el mouse de modo que la parte inferior descanse contra una superficie dura.
-
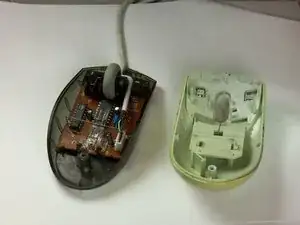
Levanta la cubierta superior del mouse con cuidado y retírala.
-
-
-
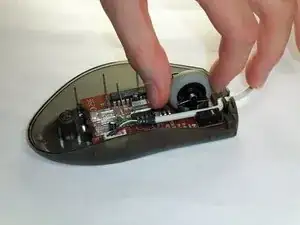
Ubica la rueda de desplazamiento en el mouse.
-
Coge la rueda de desplazamiento con el pulgar y el índice.
-
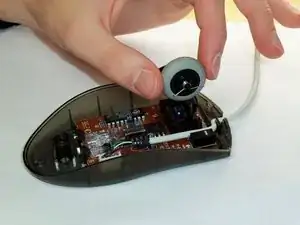
Levántala suavemente para quitar la rueda de desplazamiento del mouse.
-
Para volver a armar tu dispositivo, sigue estas instrucciones en orden inverso.
2 comentarios
Thanks! The picture was what I needed after the mouse wheel parts came apart. My mouse is an M-BT58, but based on the numbers on the circuit board, there are probably several that are essentially the same. For others, here are some more details on putting things back together.
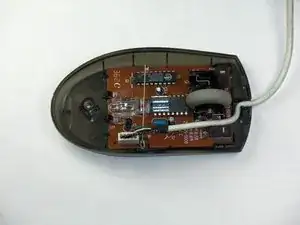
The mouse wheel has 4 parts:
1) The wheel itself (really a rubber tire and plastic rim, but they stay together)
2) Plastic carrier for the wheel
3) A spring for controlling rotation of the scroll wheel. This spring is at the top of the picture shown.
4) A spring for controlling clicks of the scroll wheel, shown near the wire leading to the computer.
Reassembly
1) Put spring (3) on carrier (2). There is a hole where the very tip of the end without the loop fits in.
2) Push the shorter axle of the mouse wheel into the carrier slightly depressing spring (3) as it is inserted. Once the wheel is inserted, the spring will stay in place.
3) Put spring (4) on the longer axle of the mouse wheel.
4) Install the carrier into the base of the mouse.
I ran out of characters in the previous comment, but as you are installing the carrier into the base of the mouse, be sure to keep the spring (4) approximately as it is shown in the picture.
باز کردن پیچ زیر موس
h sh -
There may be a sticker covering the screw hole.
Eric Jensen -