Introducción
SOLAMENTE PREREQUISITOS (para mantener el flujo de la guía)
-
-
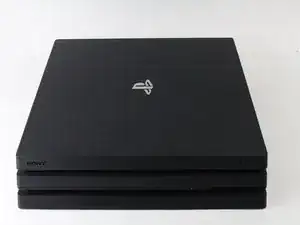
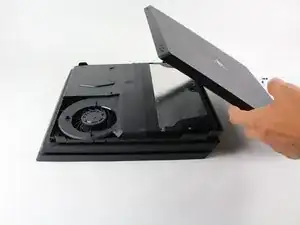
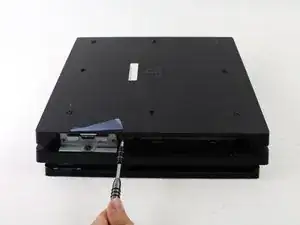
Voltear la consola al revés.
-
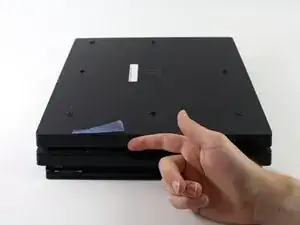
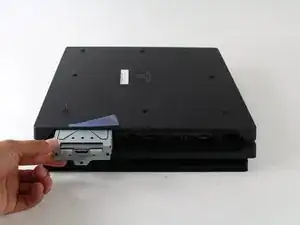
Utilice su dedo para tirar y quitar la tapa de plástico sobre el disco duro.
-
-
-
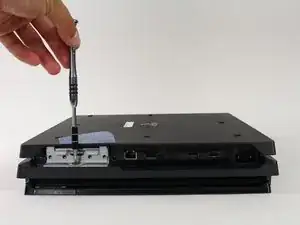
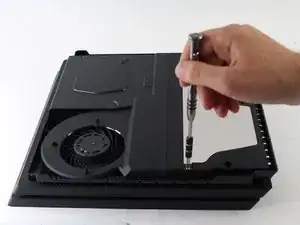
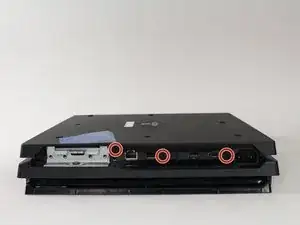
Utilice un destornillador Phillips # 0 para quitar el tornillo único que asegura la jaula de la unidad de disco duro.
-
Tire de la jaula de la unidad de disco duro hacia afuera.
-
-
-
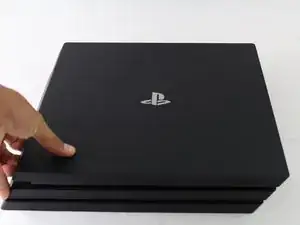
Voltea la consola hacia arriba.
-
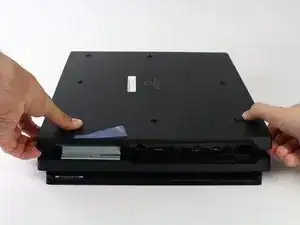
Aprieta los dos laterales en el frontal del equipo.
-
Tirar hacia arriba hasta escuchar un fuerte Click.
-
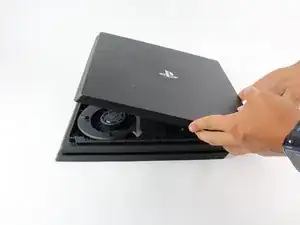
Despues de separar los laterales, desliza la tapa hacia atrás y sepárala.
-
-
-
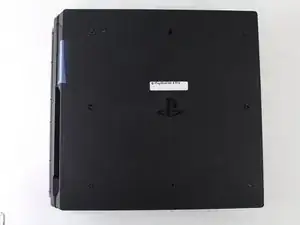
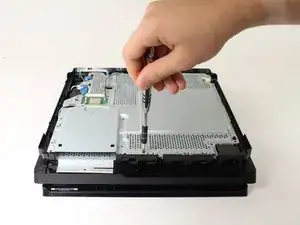
Utilice un destornillador de seguridad Torx T8 para quitar los cinco tornillos de la parte posterior del dispositivo.
-
Dos tornillos de 31mm.
-
Tres tornillos de 10 mm para los modelos 7000; dos tornillos grises de 10 mm (superior e inferior en la ilustración) si la PS4 Pro es un modelo de la serie 7100.
-
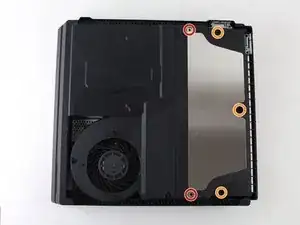
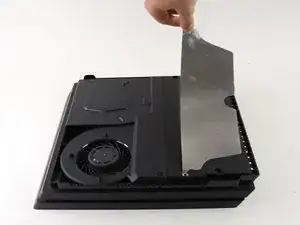
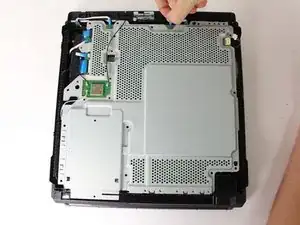
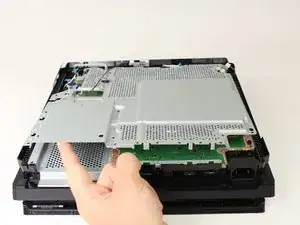
Retire la placa de metal tirando de ella.
-
-
-
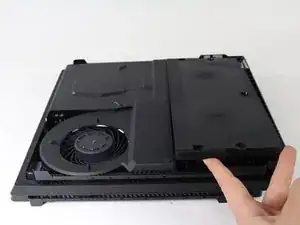
Mueve la consola hacia arriba para que la parte inferior quede hacia arriba.
-
Utiliza un destornillador de seguridad Torx T8 para retirar los tres tornillos negros de 7 mm del panel trasero. (sólo modelos de la serie 7000); o un tornillo de 7 mm (el del medio) con los modelos de la serie 7100 y la pegatina de garantía a la izquierda.
-
Retira la cubierta inferior de la misma manera que la cubierta superior. Agarra la cubierta por ambos lados y tire hacia arriba hasta que haga clic. A continuación, desliza la cubierta hacia fuera; En los modelos de la serie 7100, presta atención a los dos clips que sustituyen a los tornillos correspondientes.
-
-
-
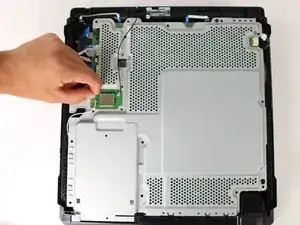
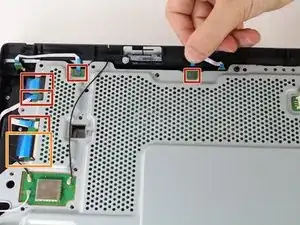
Utiliza un destornillador de seguridad Torx T8 para retirar los once tornillos plateados de 10 mm de la placa metálica.
-
Utiliza un destornillador Phillips nº 1 para retirar los once tornillos negros de 4 mm de la placa metálica.
-
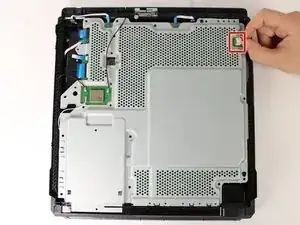
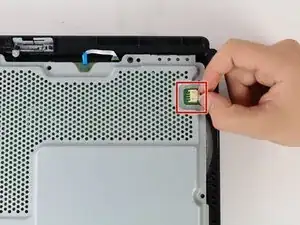
Desconecta los tres cables de la antena (dos negros y uno blanco) haciendo palanca para sacarlos de sus zócalos.
-
-
-
Saque los cinco pequeños cables de perfil bajo azul conectados a la placa de metal.
-
Levante la solapa de retención del conector ZIF del cable de cinta grande.
-
Tirar del cable de cinta ancha de su zócalo.
-
-
-
Vuelva a girar la consola para continuar trabajando en la parte superior.
-
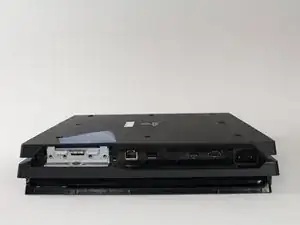
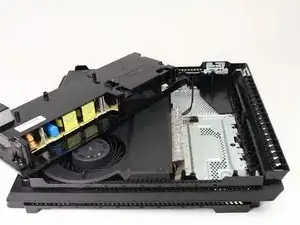
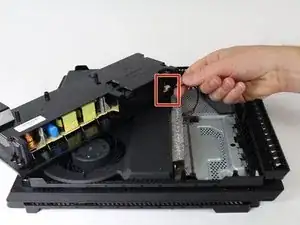
Tire de la unidad de alimentación y colóquela en la consola.
-
Sujete el conector detrás de la fuente de alimentación y tire hacia afuera.
-

Para reensamblar el dispositivo, sigue las instrucciones en orden inverso.
DON’T FORGET TO HAVE THERMAL PASTE HANDY! It should be added to the “Tools Required” Section. You will NEED it!
Jaquell Chandler -
What if thermal paste is not applied again when remounting ? Will the playstation start and work anyway or not ?
Vincent Bee -
It will start and run normally until you put it under load. Then it will heat up and thermal throttle or it can overheat and destroy itself.
Jeremy Ivey -
I posted this down in another step too, but: if you have a very early North American PS4 Pro, with the exact optical drive shown here - the key way to tell is the very long data cable that’s folded a couple of times, see pictures in later steps - then the replacement drive iFixit offers WILL NOT WORK IN YOUR MACHINE. It has to be a very early model, apparently, but the model number isn’t enough to tell you.
Even if you swap the too-short cables in their replacement with the longer cables on your drive, it still will not work. At all. It’ll just sit there like the drive isn’t even getting power.
So if you do have this drive, what you probably need to do is get a replacement KES-496A Optical Pickup Assembly and replace that within your existing drive. That’s what I had to do after two different replacement drives sent by iFixit failed to work in my system. It worked immediately and I’m back online.
The optical pickup replacement is awfully fiddly, and adds a solid 20 minutes to the repair easily. But it does work.
Dara Korra'ti -