Introducción
Requisito previo para quitar la placa frontal de las carcasas de bahía óptica #78, 79, 80
Herramientas
-
-
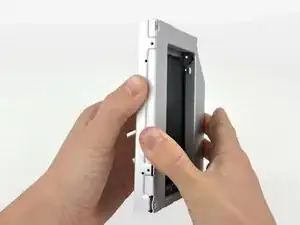
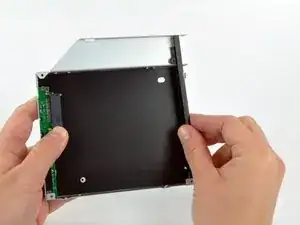
Comenzando desde el borde izquierdo, tira suavemente para abrir la carcasa de la bahía óptica.
-
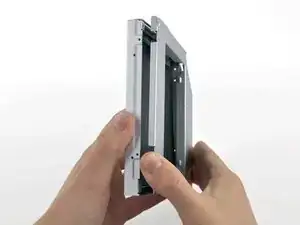
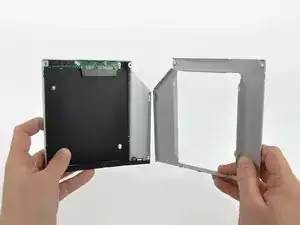
Continúa tirando para abrir las dos mitades del recinto hasta que se separen.
-
-
-
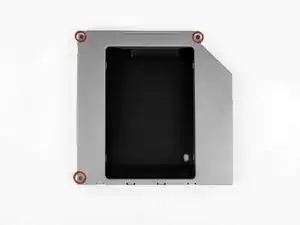
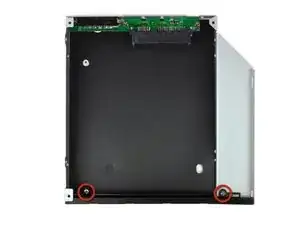
Quita los dos tornillos Phillips de 3,0 mm que sujetan la placa frontal a la carcasa del compartimiento óptico.
-
-
-
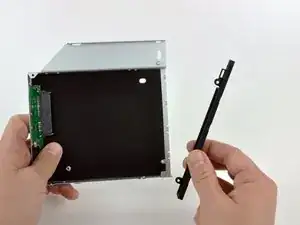
Levanta la placa frontal de plástico negro para sacarla del gabinete del compartimiento óptico.
-
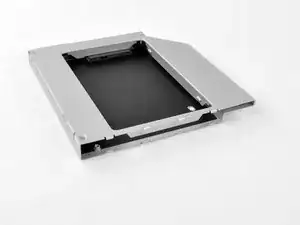
Vuelve a ensamblar la carcasa del compartimiento óptico sin la placa frontal, reutilizando los tres tornillos Phillips originales de 3,0 mm para mantenerlo intacto.
-
Conclusión
Para volver a armar tu dispositivo, sigue estas instrucciones en orden inverso.

Hello, is the sata & power cabla from the mac can directly feet inside the SSD?
Roman Quenin -
plug in the back of the ssd
Roman Quenin -
I'm trying to find out as well. I read elsewhere you need something like this without the bracket: http://www.amazon.com/gp/product/B0056OB...
However I have NOT confirmed this.
Allen Borza -
If I understand you correctly; the enclosure allows you to use the existing iMac optical cable. Also the enclosure allows for a safe fitting of the optical drive. In my newer machine I had to double side tape the SSD to the back of the iMac and buy a special cable. Note: this was not an optical drive replacement scenario or I would have done exactly as this tutorial suggests.
EkDor -
I bought another caddy, not the one from the description. i had to extract the plastic adaptor from the optical drive and put in on the new caddy 12,7mm
Cristian Pizarro -
The SDD caddy I purchased was 22 pin SATA both inside and outside so that the optical drive cable (13 pin) would not fit. Does anyone know where I can find a SDD caddy with 13 pin SATA outside for the optical cable and 22 pin SATA inside for the SDD?
benja.mcg -