
Introducción
Esta guía te muestra cómo reemplazar la pantalla de un Apple Watch Series 3. Usa esta guía para reemplazar un pantalla rota, rasgada o defectuosa en tu Apple Watch Series 3.
Asegúrate de actualizar su Apple Watch a watchOS 5 o posterior (y el iPhone vinculado a iOS 12 o posterior) para evitar problemas de emparejamiento después de reemplazar la pantalla.
Reemplazar la pantalla puede causar problemas con Apple Pay. Si es posible, para reducir la probabilidad de problemas, elimina toda la información de tu cuenta Apple Pay antes del reemplazo y vuelve a ingresarla con la nueva pantalla instalada.
Esta guía muestra el procedimiento en la versión estándar (solo GPS) del reloj, pero la versión Cellular/LTE es similar. Cualquier diferencia importante se apunta en el texto.
Herramientas
Partes
-
-
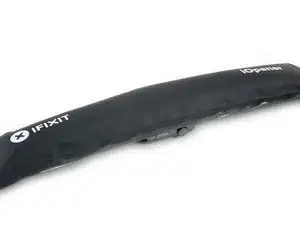
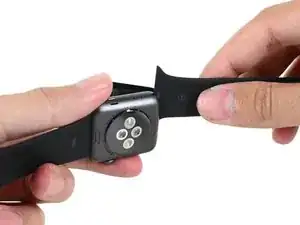
Prepara un iOpener (o usa un secador de pelo o una pistola de calor) y calienta la esfera del reloj hasta que esté ligeramente demasiado caliente para tocarla.
-
Deja el iOpener en el reloj durante al menos un minuto para calentar completamente la pantalla y suavizar el adhesivo que lo sujeta a la caja.
-
-
-
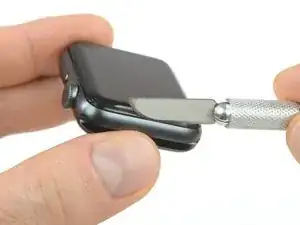
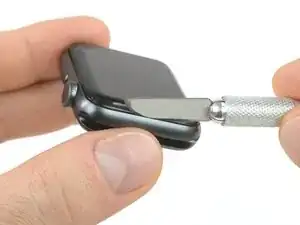
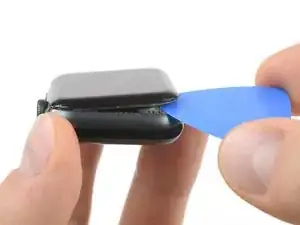
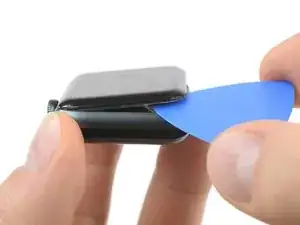
Coloca el borde de una hoja curvada en el espacio fino de la pantalla y la carcasa exterior. Comienza en el lado corto de la pantalla, más cercano a la corona digital.
-
Presiona firmemente hacia abajo en el hueco.
-
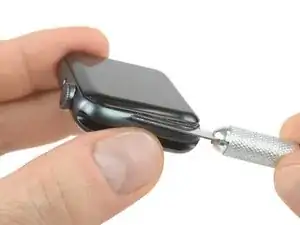
Una vez insertada, inclina la cuchilla para abrir ligeramente la pantalla.
-
-
-
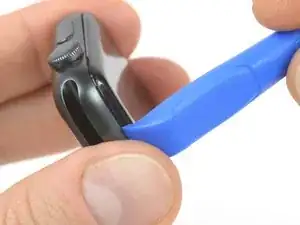
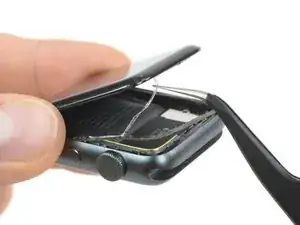
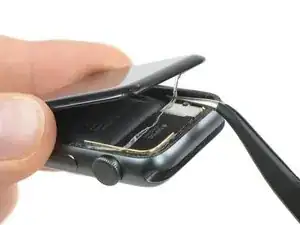
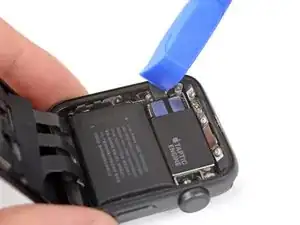
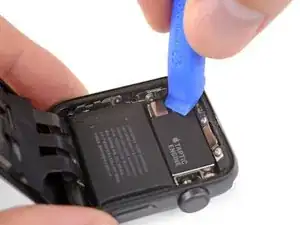
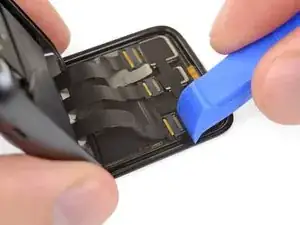
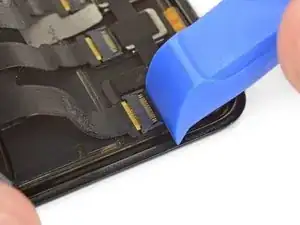
Una vez que has abierto un pequeño espacio con la hoja curvada, retira la hoja e inserta el borde mas delgado de una herramienta de apertura en el hueco.
-
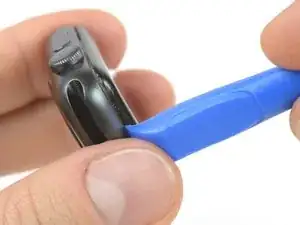
Empuja la herramienta de apertura en el hueco. Usando tu pulgar como un pivote para levantar la pantalla abierta un poco más lejos.
-
-
-
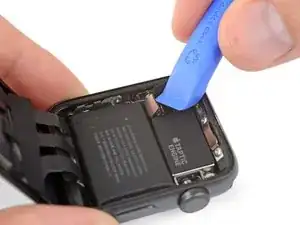
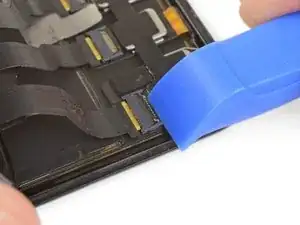
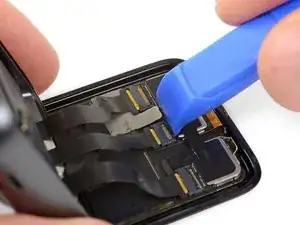
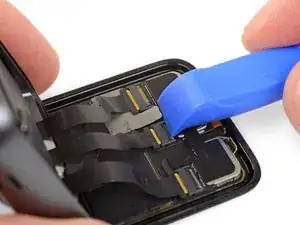
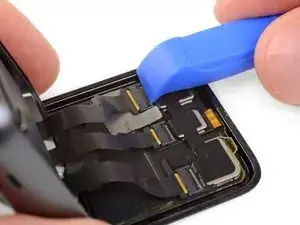
Inserta una púa de apertura debajo de la pantalla y separa cuidadosamente la junta de Force Touch de la pantalla.
-
Desliza la púa alrededor de la pantalla para separar el adhesivo entre la junta de Force Touch y la pantalla.
-
-
-
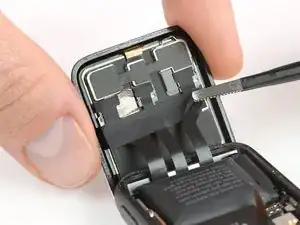
Abre la pantalla a un ángulo de 45° y usa pinzas para despegar el adhesivo entre la pantalla y la junta de Force Touch.
-
-
-
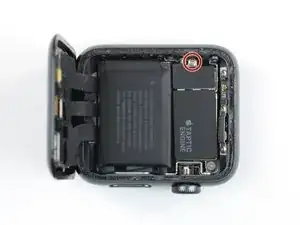
Utiliza un destornillador Y000 para quitar el tornillo de tres puntas que sujeta la placa de cubierta de metal.
-
Usa un par de pinzas para remover la tapa.
-
Primero abre la tapa para desenganchar las dos solapas.
-
Luego ciérrela a la mitad para retirarla completamente levantándola.
-
-
-
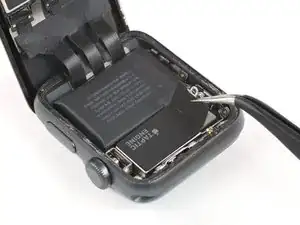
Desconecta la batería haciendo palanca en su conector hacia arriba.
-
Dobla el conector ligeramente hacia arriba para asegurarse de que no haga contacto por accidente.
-
-
-
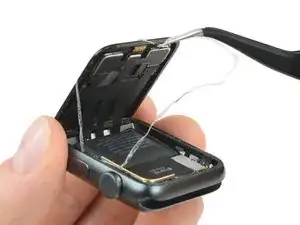
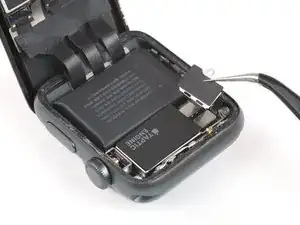
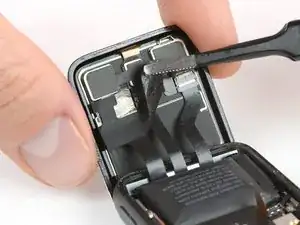
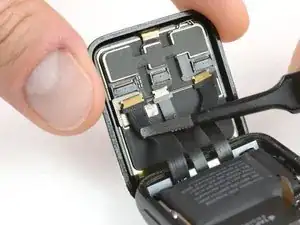
Usa un par de pinzas para despegar la cinta que cubre los conectores del cable de la pantalla.
-
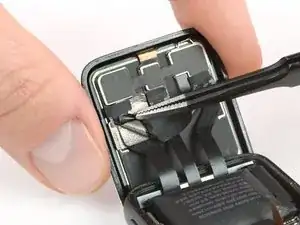
Comienza desde la parte inferior derecha de la cinta y trabaja con cuidado hacia el conector en el medio.
-
-
-
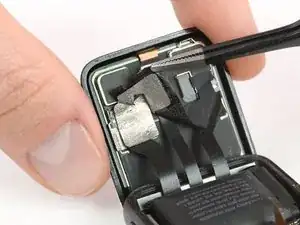
Si se rasga, tómala desde la parte inferior izquierda para eliminarla por completo. De esta manera, la lámina que coincide debajo (en la pantalla) permanecerá ilesa.
-
-
-
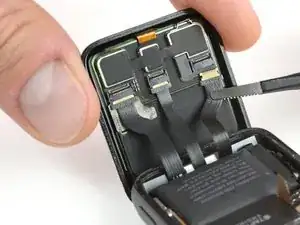
Usa un par de pinzas para desconectar los cables flexibles de la pantalla tirando de ellos suavemente.
-


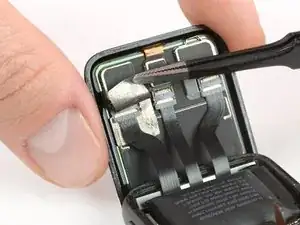
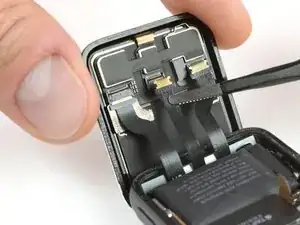
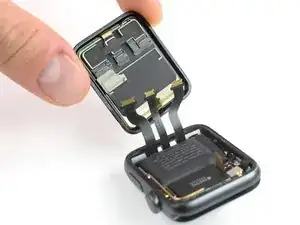
Continúa desde el Paso 10 de nuestra guía de Sensor de Force Touch para volver a sellar tu reloj y completar tu reparación. Para mejores resultados, no conectes tu nueva pantalla hasta luego del Paso 16.

51 comentarios
“Replacing the display can cause issues with Apple Pay.“
If ApplePay could possibly be disabled by this procedure, then seems like a show stopper.
Is ApplePay still an issue?
This is indeed something we can not rule out entirely. There are too many options to consider and we are not able to test all of them (type of replacement screen, software related issues with WatchOS and paired/unpaired watches. The NFC chip is the main issue here since it lives on the display and is responsible for Apple Pay. We are happy for any insight others can provide to offer a working solution/guide.
I will try this once i get a display from iFixit. Thanks :) i hope it works
Apne display kaha se or kitne ka kharida , pls tel me
Hey guys, I replaced the screen and once I turned it on I got the green snake screen. When I try to charge it, it gets really hot now. Did I damage the battery or anything else?
Aaron -
Hi Aaron,
assuming all cables and components are fine and not damaged (check for creases, kinks or rips as well as making sure all connectors sit tight) you might want to try these steps and see if the watch boots up properly:
1. use a working charging cable/unit and power adapter (maybe borrow one from a friend)
2. wait at least one hour to see if the watch boots up.
3. try to force restart the watch (push and hold the side button and the crown until the Apple logo appears) and then charge it.
4. let the battery run down until the watch shuts off on its on and leave it off for another day for the battery to deplete completely. Then try charging it.
Hi Aaron,
The green snake of death is ok - that just means the battery is charging, and doesn't have enough to turn on yet. The red snake of death however is bad, meaning that the either charger or charge port is faulty.
I could be wrong, the information I was told was quite, odd...
Referenced Site - Apple - Green Snake and Green Snake Info
Verify your model. The back of the Cellular model just says GPS, so be sure to check the groves where the watch band goes to determine you model. I made the mistake of just reading the back of the device and since I’d been gifted the device didn’t know it was cellular. Cellular has a different type of touch force gasket, different screen, and different battery connections.
Ryan Holt -
From what I just read on Apple, the only differences in watch series 3 is 38mm and 42mm.
mcr4u2 -
As a consumer all you need to know are 38mm and 42mm
Michael Adoga -
The back will say GPS LTE if it’s the cellular version. If it doesn’t say LTE it is only the GPS version. The displays are different whether or not it is LTE(cellular).
themepark -
This alternative method only reboots the watch.
Gregg Stanley -