Herramientas
-
-
Usa aire caliente para calentar el dispositivo y aflojar la cinta adhesiva.
-
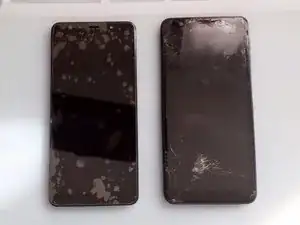
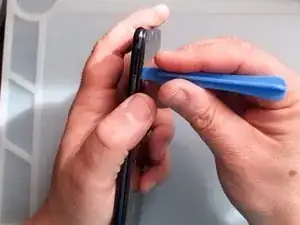
Gentilmente separa la cubierta trasera.
-
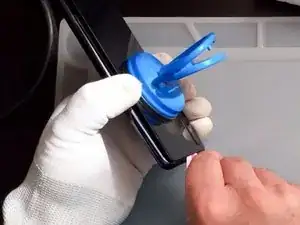
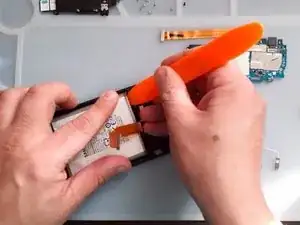
Usa una ventosa de succión y una herramienta de apertura de plástico (Tarjeta de pago).
-
-
-
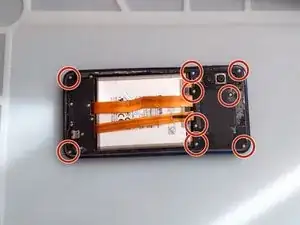
Necesitas un desarmador Phillips para remover los 9 tornillos.
-
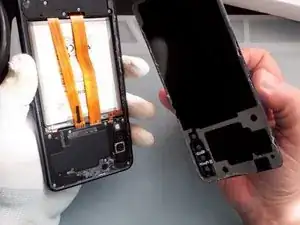
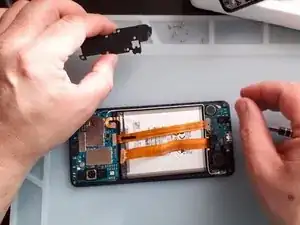
Solamente - usando solo herramientas de plástico remueve el marco intermedio.
-
-
-
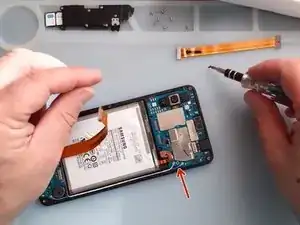
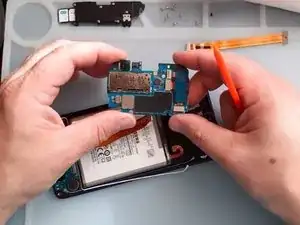
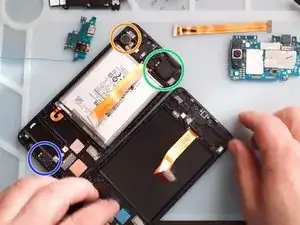
Una vez que tengas acceso a la batería, desconéctala.
-
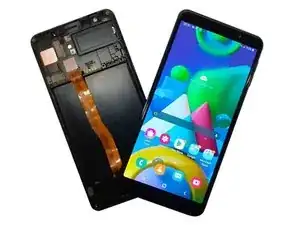
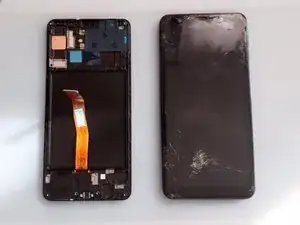
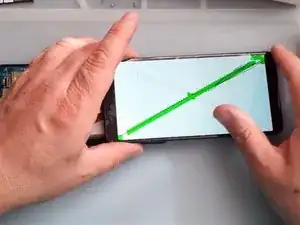
Prueba la pantalla nueva antes de instalarla.
-
-
-
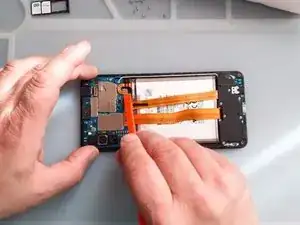
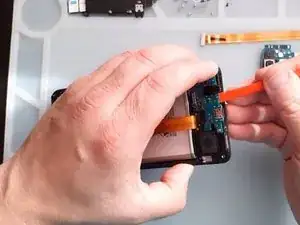
Usa un desarmador Phillips y herramienta de plástico para remover la cubierta de la tarjeta SUB.
-
-
-
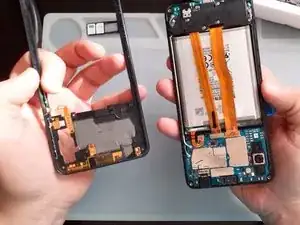
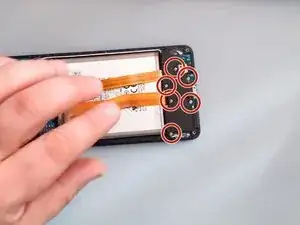
Remueve la tarjeta de Antena Sub-PBA
-
Es más fácil retirar la tarjeta sub si la calientas un poco.
-
-
-
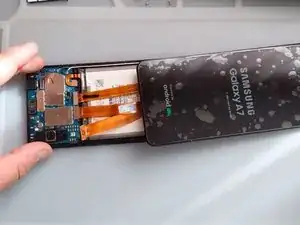
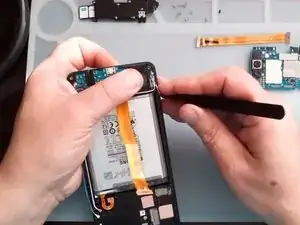
Transfiere al marco de la Nueva Pantalla:
-
Motor vibrador
-
Altavoz
-
Receptor
-
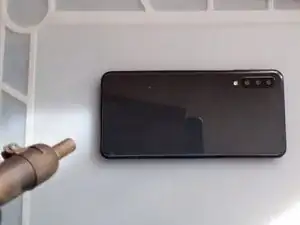
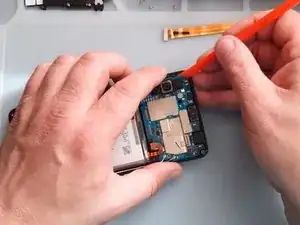
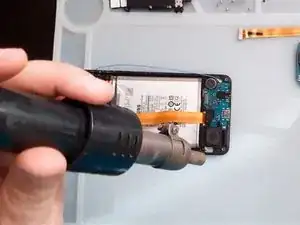
Usa aire caliente y herramientas de plástico para remover la batería.
-

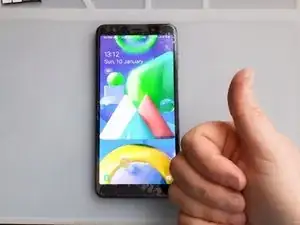
Para reensamblar tu dispositivo, sigue estas instrucciones en orden inverso.

2 comentarios
Hey!!!!!!. I’ve just recently fixed my A7 (2018) screen, and with this screen, you’ll have to remove the old one, and replace it. The adhesive what is on your old screen is very strong, So i advise to use isopropyl alcohol, and/or heat, also with suction, so that you can pry up the screen. Also, Do NOT bent the Flex Cable because it is very delicate, and it will tear easy. All in all, the repair was fun, for a repairman myself, and allowed me to use my talent!!. 10/10 Recommend
I want buy the screen for samsung a7 ?