Introducción

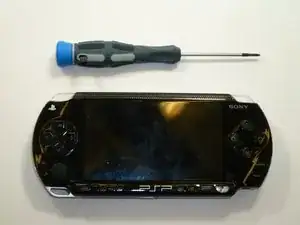
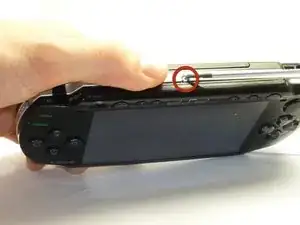
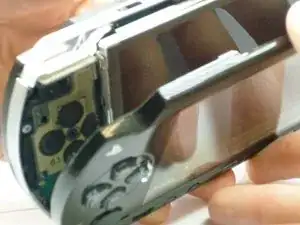
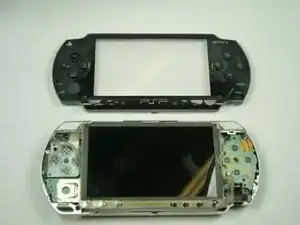
Esta guía le mostrará cómo quitar la carcasa/marco de la PSP.

  1. QacnKmgPd5vO4EVM
    • Da la vuelta a la PSP de modo que la parte posterior quede frente a ti.

  2. KfhYCVXbuwocyXOJ
    KfhYCVXbuwocyXOJ
    ET6LQanHrAYARDNK
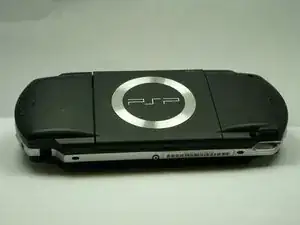
    • Ubique el botón de la carcasa de la batería en el lado posterior izquierdo de la PSP.

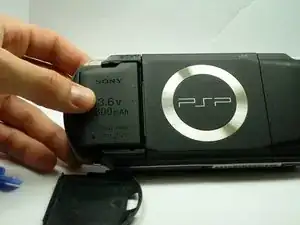
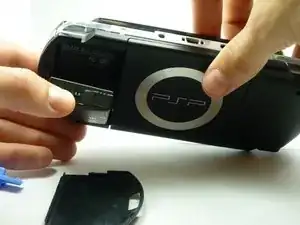
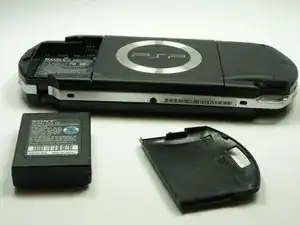
    • Presione el botón y retire la tapa de la batería.

  3. ISXv3lrW12xLWbnR
    ISXv3lrW12xLWbnR
    2m4TOHnIVUoYXWUA
    • Usando su dedo, retire la batería hacia arriba del sistema como se muestra.

    The use of the opening tool is completely unnecessary. There is a finger actuated opening latch button that says “PUSH” on it. Simply press down with your thumb then slide your thumb down and away, dragining the battery door with it. It will then come off. Assuming the system still has its original plastics, they may have become brittle enough that the opening tool could damage the release button or the plastic cover.

    Franklin Allen -

  4. ckGKHpFUTpAy5N3R
    ckGKHpFUTpAy5N3R
    vJp1HKCLNP1L5iB6
    • Retire los cuatro tornillos que se muestran con un destornillador Phillips #00.

    • Deberá retirar la etiqueta de garantía para acceder al tornillo en la parte inferior izquierda.

    Much luck to you if you have a tiny, metal screwdriver like I did, the screws might be stuck in there and may require some force.

    Squib -

    you need to peel back the warranty sticker in order to access both the lower left and lower left screws

    Frederick zzstu Geib -

    This is a bit misleading, you should only remove the two black screws in the battery compartment. The silver ones can stay.

    Damian Cartwright -

    The two left hand screws won’t come out of mine

    XULF -

    iFixit screwdriver bits aren't thin enough to reach the two screws on the right near the memory stick slot.

    Fliggle_Slaps -

    Can't edit previous comment so here's a new one:

    Standard or older iFixit screwdriver bits aren't thin enough to reach the two screws on the right near the memory stick slot. You'll need precision bits that have longer tips to reach these deep screws.

    Fliggle_Slaps -

  5. aGllC1mxt3FxwjJx
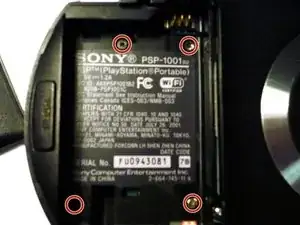
    • Retire el tornillo de la parte inferior de la PSP. Manténgalo separado del resto de los tornillos.

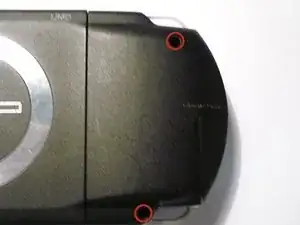
    • Retire los tornillos del lado derecho posterior dentro de los orificios.

  6. Ii3a5ygvVCa2DQTW
    Ii3a5ygvVCa2DQTW
    QOKFQYHjjpjkCpkW
    • Separe con cuidado la carcasa exterior de plástico del resto del sistema como se muestra.

Conclusión

Para volver a armar su dispositivo, siga estas instrucciones en orden inverso.

Henry Lee

Miembro Desde 14/01/10

752 Reputación

3 comentarios

Thank you! Awesome help!

Jay Vee -

My psp is updating then psp is fallen down and battery comeout so please help me please thank you

Bye

National Nazeer -

i also made a video on this for anyone who needs to do it that way.

https://www.youtube.com/watch?v=EIAaJyIx...

DAS Repair -