Introducción
Usa esta guía para quitar la placa protectora de metal y obtener acceso a los componentes internos del iPod.
Partes
-
-
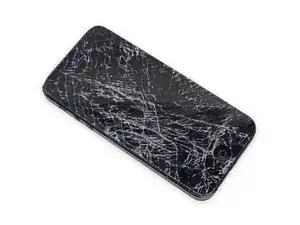
Si el vidrio de tu pantalla está agrietado, mantén contenidas las roturas adicionales y evita daños corporales durante la reparación pegando el vidrio con cinta adhesiva.
-
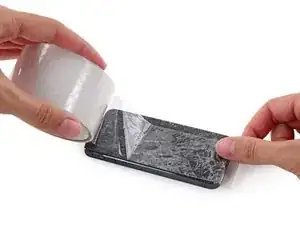
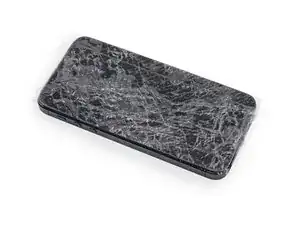
Coloca tiras superpuestas de cinta de embalaje transparente sobre la pantalla del iPod hasta cubrir toda la cara.
-
-
-
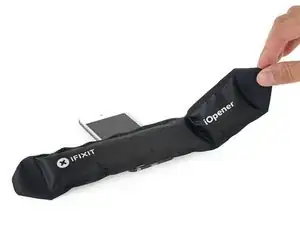
Usa un secador de pelo o prepara un iOpener y aplícalo en el borde inferior del iPod durante aproximadamente un minuto para suavizar el adhesivo que se encuentra debajo.
-
La parte inferior de la pantalla (cerca del botón de inicio) se mantiene en su lugar con un adhesivo fuerte.
-
A medida que comienzas a quitar la pantalla en las siguientes etapas, es posible que debas aplicar más calor para mantener el pegamento tibio y flexible.
-
-
-
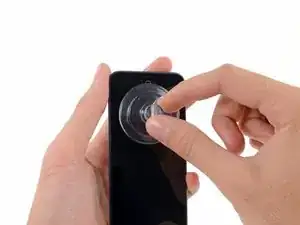
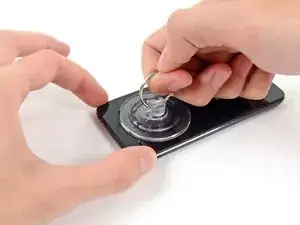
Centra la ventosa en la sección inferior del vaso, con su borde centrado sobre el botón de inicio.
-
Presiona firmemente y asegúrate de que la ventosa tenga un agarre fuerte.
-
-
-
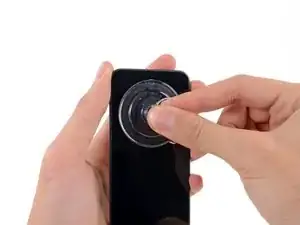
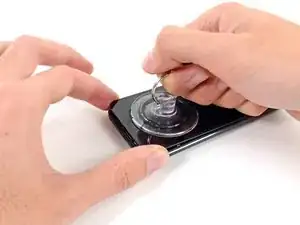
Sostén el iPod firmemente contra una mesa o banco.
-
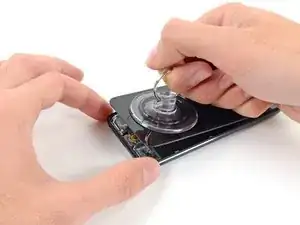
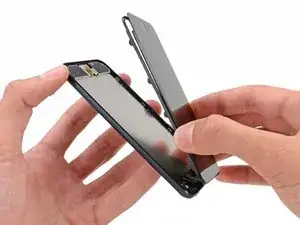
Levanta la ventosa hacia arriba y hacia atrás hacia la parte superior del iPod. Se paciente y tira con fuerza firme y constante hasta que el adhesivo se rompa y la pantalla salga de la carcasa trasera.
-
Puede ser necesario usar una pistola de aire caliente para ablandar el adhesivo (especialmente en climas más fríos). Si puedes hacer palanca para separar la pantalla y el adhesivo todavía se pega y se separa como el queso de una pizza, puedes deslizar una hoja de afeitar delgada y cortar suavemente el adhesivo.
-
-
-
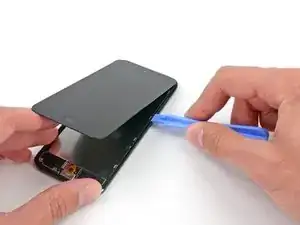
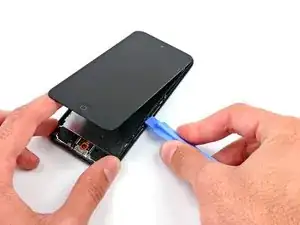
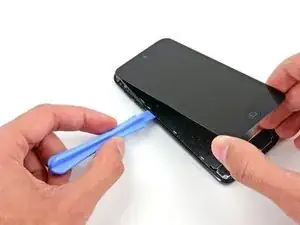
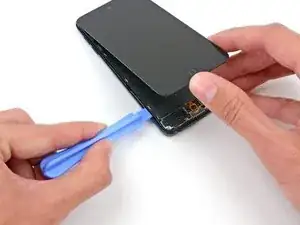
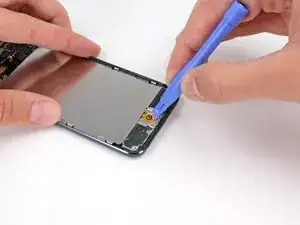
Comenzando en la parte superior derecha del dispositivo, inserta una herramienta de apertura de plástico en el espacio entre el marco de plástico y la carcasa trasera de aluminio.
-
Desliza la herramienta por esta grieta, aflojando el marco de la caja.
-
-
-
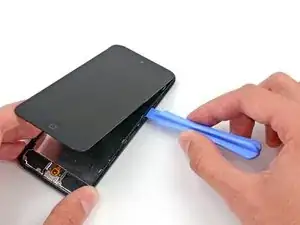
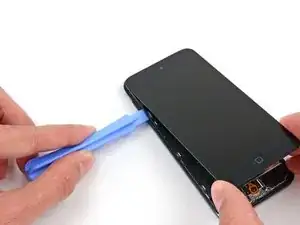
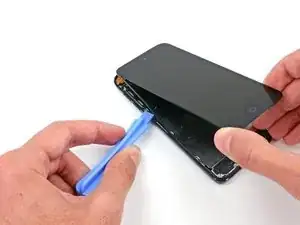
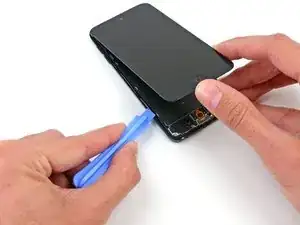
Inserta la herramienta de apertura de plástico entre el marco y la carcasa trasera detrás del primer clip.
-
Mueve la herramienta hacia los lados para extender el espacio detrás del clip y separarlo de la caja trasera.
-
Es posible que esto no libere el clip inicialmente, pero repetir el procedimiento para cada clip comenzará a aflojar la pieza.
-
-
-
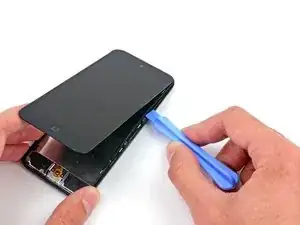
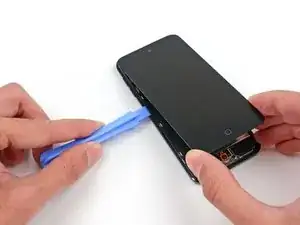
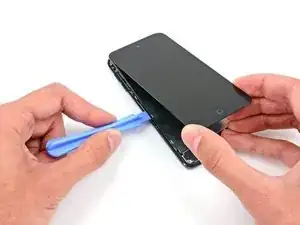
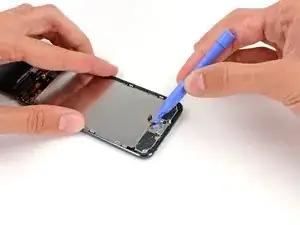
Pasando al lado izquierdo del dispositivo, inserta una herramienta de apertura de plástico en el espacio entre el marco de plástico y la carcasa trasera de aluminio cerca de la parte superior.
-
Desliza la herramienta por esta grieta, aflojando el marco de la caja.
-
-
-
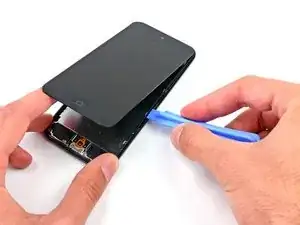
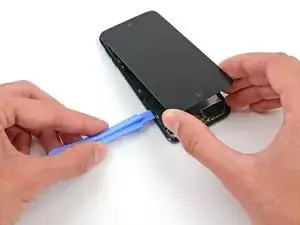
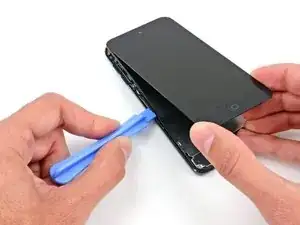
Inserta la herramienta de apertura de plástico entre el marco y la carcasa trasera detrás del primer clip en el lado izquierdo.
-
Mueve la herramienta hacia los lados para extender el espacio detrás del clip y separarlo de la caja trasera.
-
-
-
Repite el procedimiento con los dos clips siguientes de este lado.
-
Inserta la herramienta de apertura de plástico entre el marco de plástico y la carcasa trasera de aluminio detrás del segundo clip.
-
Mueve la herramienta hacia un lado, aflojando el clip de la carcasa.
-
-
-
Usando el mismo procedimiento, afloja el último clip que sujeta el marco de plástico a la caja trasera.
-
-
-
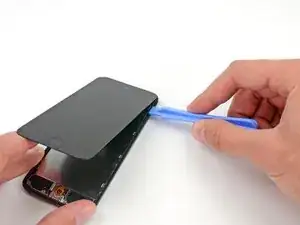
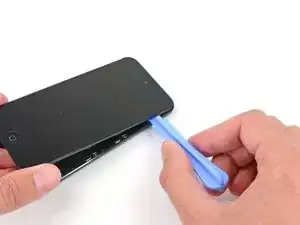
Inserta la herramienta de apertura de plástico entre el ensamblaje de la pantalla y la carcasa trasera cerca de la parte superior del iPod.
-
Gira ligeramente la herramienta de apertura para levantar el panel frontal de la carcasa trasera.
-
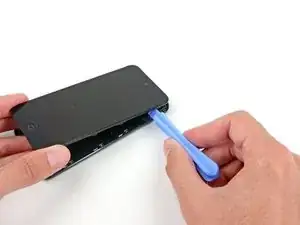
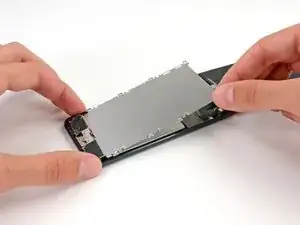
Separa el ensamblaje de la pantalla del iPod.
-
-
-
Si tu iPod tiene un botón de inicio negro en lugar del naranja que se muestra aquí, puedes omitir este paso. El botón no está unido a la placa LCD y no es necesario quitarlo para completar la reparación.
-
Usa una herramienta de apertura de plástico para levantar el interruptor del botón de inicio de la placa LCD.
-
Puede ser necesario usar una pistola de aire caliente o un secador de pelo para ablandar el adhesivo en la parte posterior del botón de inicio. Utiliza siempre un ajuste de calor bajo.
-
-
-
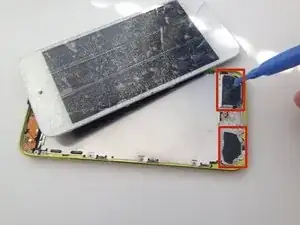
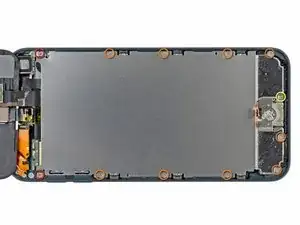
Retira los siguientes tornillos que sujetan la placa LCD a la carcasa trasera:
-
Dos tornillos Phillips #000 de 1,2 mm
-
Nueve tornillos Phillips #000 de 1,6 mm
-
Un tornillo Phillips #000 de 2,3 mm
-


Para volver a armar tu dispositivo, sigue estas instrucciones en orden inverso.
Any repair guides for front camera?
ipod touch 5th generation front camera freezes then returns to rear camera. This happened after replacing battery. Any ideas? Tried hard reset & restoring. Nothing worked.
Libby -