Introducción
Un requisito previo para quitar el ensamblaje de la placa lógica.
-
-
Usa una pistola de calor para suavizar el adhesivo debajo del marco de plástico en la parte inferior del iPod.
-
Usa una herramienta de abertura de plástico para extraer el bisel de la carcasa del iPod y retirarlo.
-
-
-
Desatornilla tres tornillos de la parte inferior del iPod:
-
Dos tornillos Phillips en ángulo de 4.4 mm
-
Un tornillo Phillips de 54 mm.
-
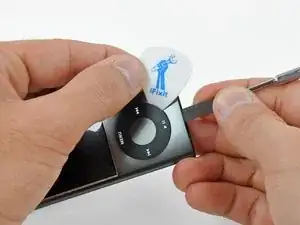
Usa una herramienta de abertura de plástico para sacar el retenedor de metal de la parte inferior del iPod y retirarlo.
-
-
-
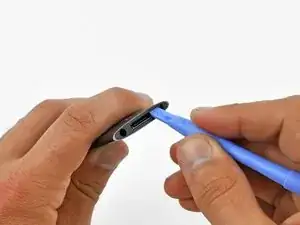
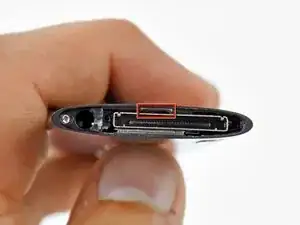
Inserta un spudger de metal en la ranura en la parte inferior del iPod, justo encima del conector de la base.
-
Utiliza el spudger de metal para levantar el borde inferior de la rueda de clic.
-
-
-
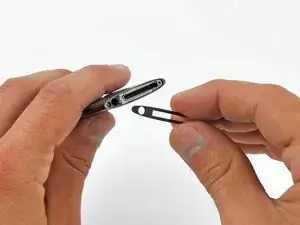
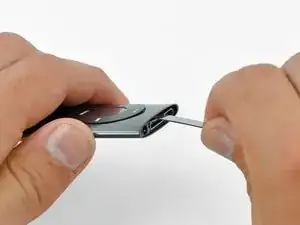
Coloca una púa de guitarra entre la rueda de clic y la caja del Nano y retire el spudger de metal.
-
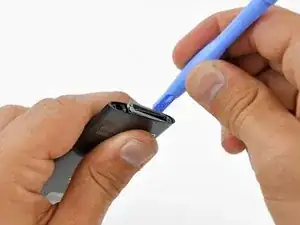
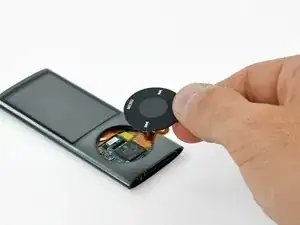
Levanta los bordes de la rueda de clic con la selección de guitarra hasta que la rueda de clic salga de la caja.
-
-
-
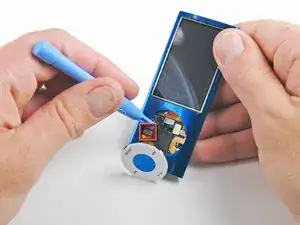
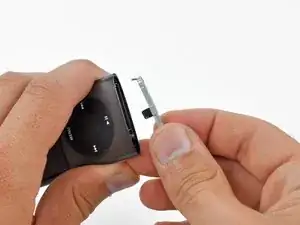
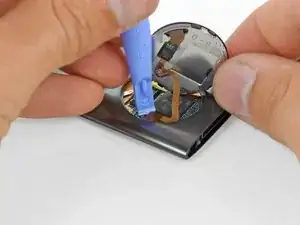
Levanta la rueda de clic con una mano y use una herramienta de abertura de plástico para extraer el conector del cable plano de la rueda de clic de su zócalo en la placa lógica.
-
Retira la rueda de clic.
-


Para volver a armar tu dispositivo, sigue estas instrucciones en orden inverso.

On the Nano I worked on I had to do steps 12-14 before step 10 because the metal plate on the bottom is one of the two things holding the click wheel in place.
ethan -
You MUST remove the bottom plate BEFORE forcing of the wheel or you WILL tare it apart as there is a lug on the bottom plate that holds the wheel in place ( wish I had known this before I damaged mine)
also do not lose the very small spring that is under the wheel (I DID )
Keith -
+1. There is a tiny piece of plastic containing a little spring just under the wheel. Remove thoses parts before extracting the main board or you will probably loose them.
jonathanct -