Introducción
Sigue esta guía para retirar la tapa trasera de cristal, para reemplazarla, o para acceder al resto de componentes del Galaxy S10.
-
-
Desenchufa y apaga tu teléfono antes de comenzar.
-
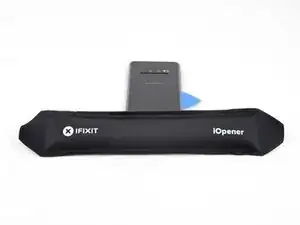
Calienta un iOpener y aplícalo al borde derecho de la tapa trasera durante dos minutos.
-
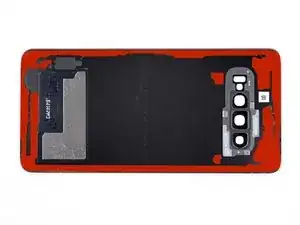
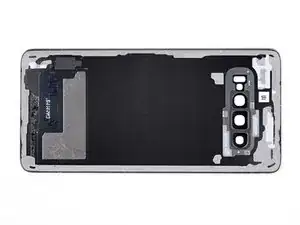
Mientras esperas, echa un vistazo la imagen de la tapa trasera retirada y toma nota de dónde se encuentra el adhesivo.
-
-
-
Apoya el borde calentado del teléfono sobre algo que tenga un grosor de aproximadamente 13 mm. Esto angula el teléfono para ingresar la herramienta de apertura.
-
Apoya el borde izquierdo del teléfono con los dedos para que el teléfono no se deslice. Tira de la ventosa con una presión firme.
-
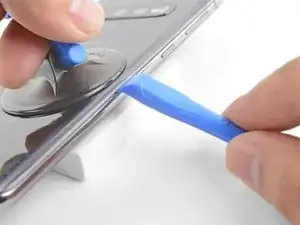
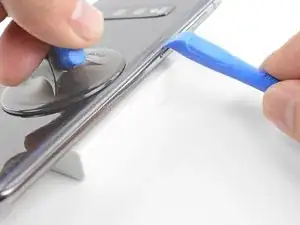
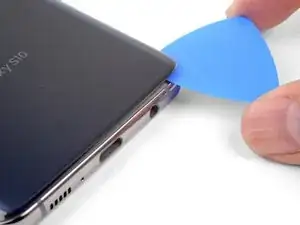
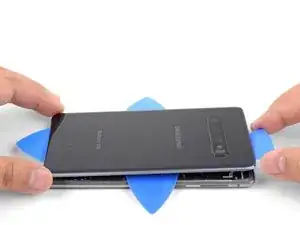
Presiona el borde de una herramienta de apertura en la costura entre la cubierta posterior y el marco.
-
Desliza la herramienta de apertura hacia adelante y hacia atrás a lo largo de la costura unas cuantas veces para soltar la tapa trasera.
-
-
-
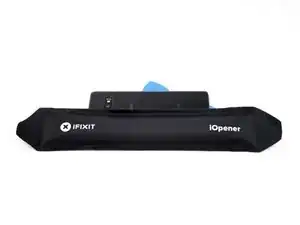
Calienta un iOpener y aplícalo al mismo borde del teléfono durante dos minutos.
-
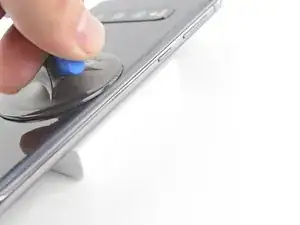
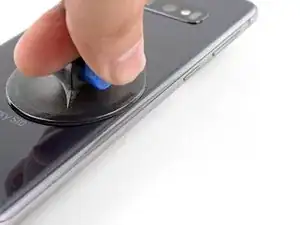
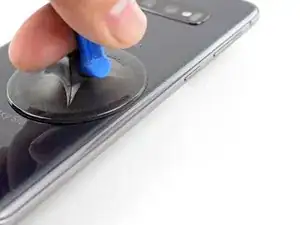
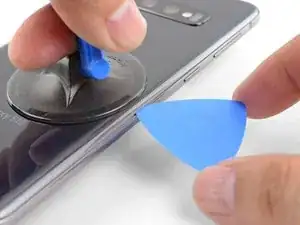
Aplica una ventosa en la parte posterior del teléfono, lo más cerca posible del centro del borde derecho (donde el adhesivo es más estrecho).
-
Tira de la ventosa con fuerza y firmemente para crear un espacio entre la tapa trasera y el marco.
-
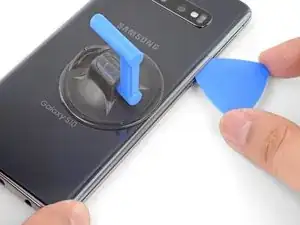
Inserta la punta de una púa de apertura en la grieta.
-
Si tienes problemas para crear un hueco, lo mejor es aplicar más calor al borde y probar el paso anterior nuevamente. El cristal esta lo suficientemente caliente cuando esta demasiado caliente para ser tocado.
-
Puedes intentar aplicar algunas gotas de alcohol isopropílico de alta concentración (más del 90%) en la costura para ayudar a aflojar el adhesivo.
-
-
-
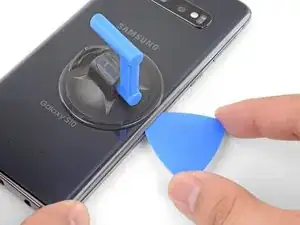
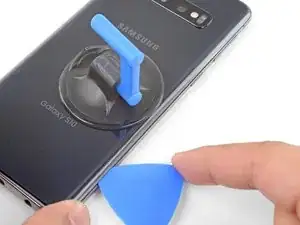
Desliza la púa de apertura a lo largo del borde del teléfono y corta el adhesivo.
-
Deja una púa en el borde para prevenir que el adhesivo se vuelva a sellar.
-
-
-
Aplica un iOpener caliente en el borde inferior del teléfono durante dos minutos.
-
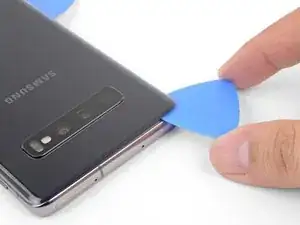
Inserta una púa de apertura en el borde derecho cerca de la esquina inferior derecha.
-
Con cuidado desliza la púa alrededor de la esquina. Continúa cortando a lo largo del borde inferior y alrededor de la esquina inferior izquierda.
-
Deja una abertura en el borde para evitar que el adhesivo vuelva a sellarse.
-
-
-
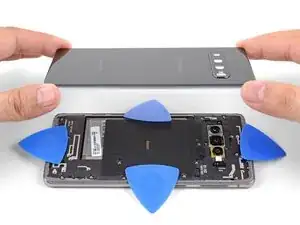
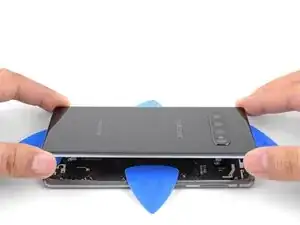
Una vez hayas deslizado las púas alrededor del teléfono, gira una púa de apertura en uno de los bordes para ayudar a separar la tapa posterior del marco.
-
Levanta la tapa trasera lentamente. Usa púas de apertura para cortar cualquier adhesivo restante.
-
Retira la tapa trasera.
-
Durante el reensamblaje, este es un buen punto para encender tu teléfono y probar todas las funciones antes de sellar la tapa trasera en su lugar. Asegúrate de apagar completamente su teléfono antes de continuar trabajando.
-


Para volver a ensamblar tu dispositivo, sigue estas instrucciones en orden inverso.
Una vez que hayas completado la reparación, sigue esta guía para probar tu reparación.

11 comentarios
Will this ruin the waterproofing?
Håkon -
Hi Håkon,
Yes, opening the S10 will compromise its water resistance.
So to fix this issue and retain water proofing I should send it back to Samsung for them to repair/replace?
Håkon -
That is an option. You can also try their authorized repair centers, or independent repair centers. Note that even if they say they will restore water resistance with the repair, they will most likely not guarantee it. That is because the IP68 water resistance rating test is verified on brand new phones. As the phone ages, it loses water resistance because the seals and adhesives break down.
What about using a epoxy resin? it is only a small crack on the back, nothing major. I'll check out a service center as well.
Sorry for all the question!
Håkon -
Good luck on your repairs!
My Gallexy 5 is easier. Pop off the plastic back, the battery falls out. Drop in a new battery.
Lifetime replacement batteries, from batteries plus.
Glad you can find one at our stores, Rick.
OK Great, I have the back cover off. Where are the steps or links to to remove old adhesive, put the new adhesive on and install the back? Otherwise rename procedure to remove back cover vs replace back cover ;-)
Drew -
Hi Drew! Please follow the link in step 7, which has detailed instructions on how to do exactly that.