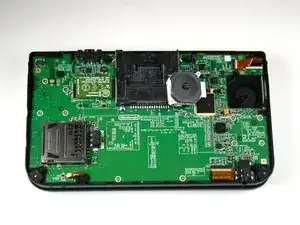
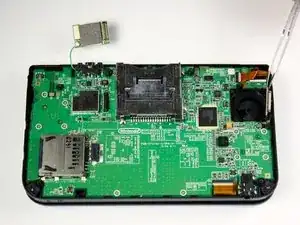
Introducción
Esta guía para reemplazar el botón de encendido te guiará a través de los pasos para desarmar la Nintendo 3DS más allá de la placa base para acceder al botón de encendido.
Herramientas
-
-
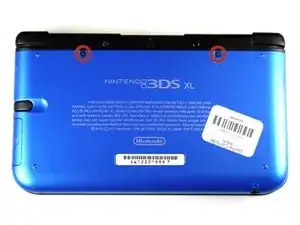
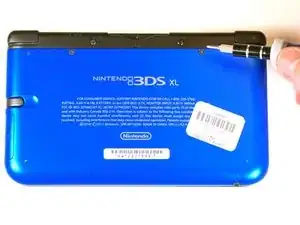
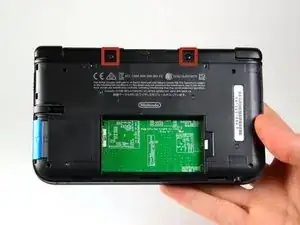
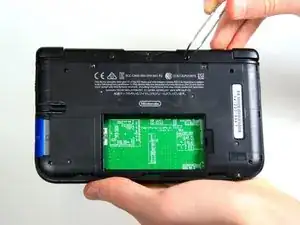
Desatornilla los dos tornillos de 4.2 mm que están localizados arriba de la cubierta.
-
Los tornillos tienen arandelas (rondanas) de seguridad que evitan que los tornillos se desprendan de la cubierta . Deja las arandelas en los tornillos; no es necesario removerlas para esta guía de reparación.
-
-
-
Coloca el dispositivo de manera que la cubierta quede hacia arriba.
-
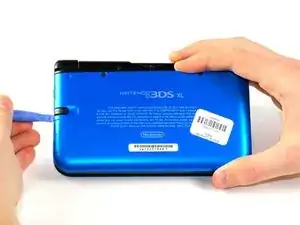
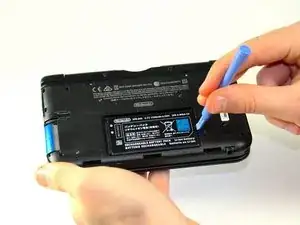
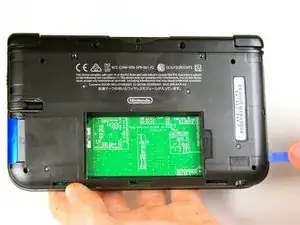
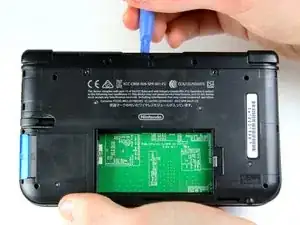
Usa una herramienta para abrir de plástico para desprender la cubierta empezando desde la esquina derecha.
-
Sostén la orilla de la cubierta para asegurarte de que no se cierre de nuevo.
-
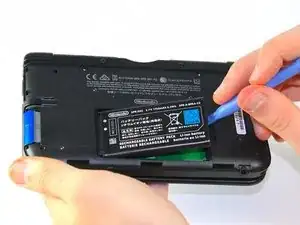
Revisa la pequeña sección debajo del compartimiento del stylus. Manipula la cubierta en ese punto si aún no se ha desprendido.
-
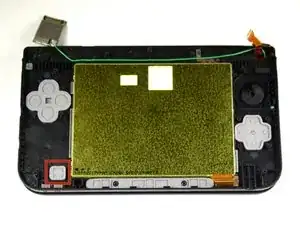
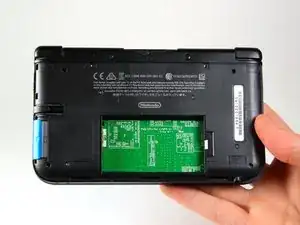
Quita la cubierta del dispositivo y deja la batería a un lado.
-
-
-
Inserta la herramienta para abrir de plástico en la apertura localizada en el lado derecho de la batería.
-
Empuja la bateria fuera de la carcasa.
-
Levanta y retira la bateria fuera de la carcasa.
-
-
-
Usando pinzas remueve las gomas localizadas arriba del dispositivo a cada lado del slot de cartuchos
-
-
-
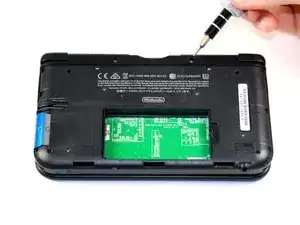
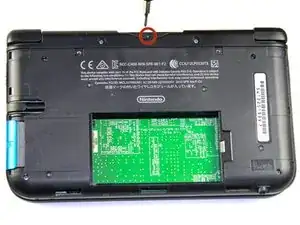
Retira el tornillo de 2,3 mm ubicado sobre la ranura del cartucho de juego con un destornillador Phillips #00.
-
-
-
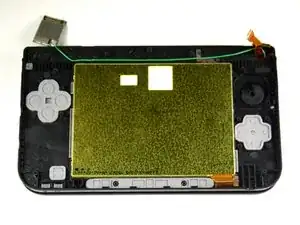
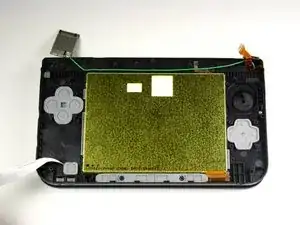
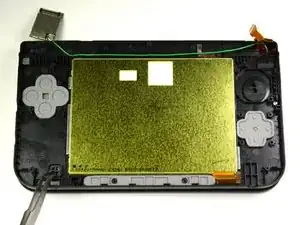
Asegúrate de que se haya retirado la tarjeta SD. Con una herramienta de apertura de plástico, haz palanca en la carcasa inferior comenzando por el borde inferior y trabajando alrededor del perímetro.
-
Dos cables planos conectan la carcasa a la placa de circuito. Ten cuidado de no tirar demasiado fuerte de la carcasa y rasgar los cables planos.
-
-
-
Retira los cables de cinta ubicados debajo de los topes izquierdo y derecho haciendo palanca en la base de los cables con una herramienta de apertura de plástico.
-
Retira completamente la carcasa inferior del resto del dispositivo y déjela a un lado.
-
-
-
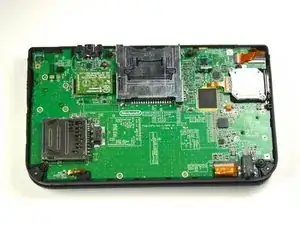
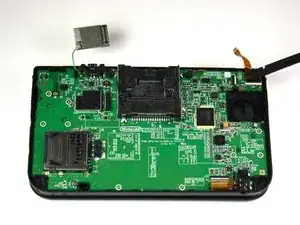
Coloca el dispositivo de modo que la ranura del cartucho de juego quede en la parte superior.
-
Localiza el joystick circular en el lado derecho del dispositivo.
-
Retira los dos tornillos de 7,5 mm de las esquinas superior izquierda e inferior derecha.
-
-
-
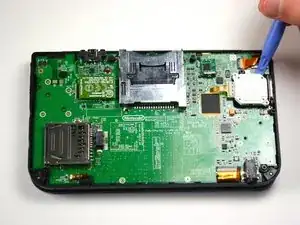
Con una herramienta de apertura de plástico, saca el joystick circular de la almohadilla.
-
No utilices una fuerza excesiva con la herramienta de apertura de plástico. Hay una cinta que une el joystick a la placa base y que permanecerá unida.
-
-
-
Con el lado de la cabeza plana del spudger, levanta con cuidado la solapa de retención que une la cinta de la almohadilla circular a la placa base.
-
Retira la cinta y el joystick de la almohadilla circular.
-
-
-
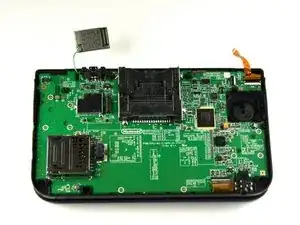
Coloca el dispositivo de modo que la ranura del cartucho de juego quede en la parte superior.
-
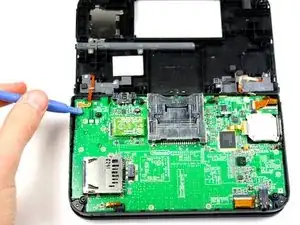
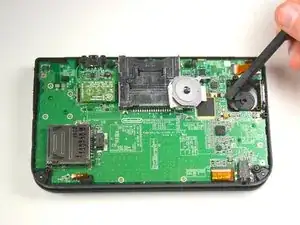
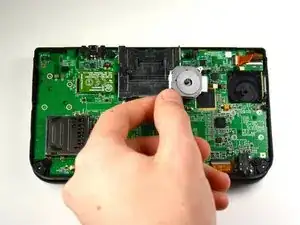
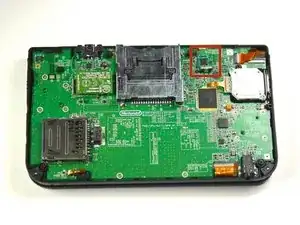
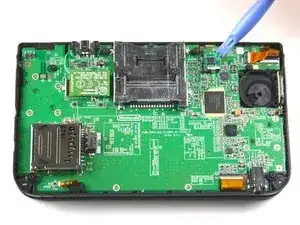
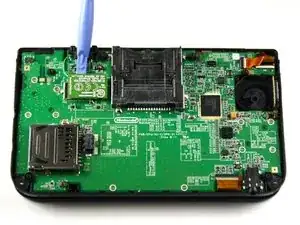
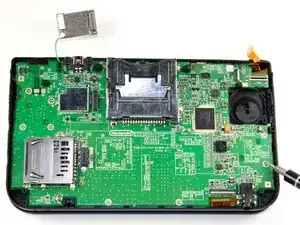
Localiza la placa IR ubicada en el lado superior derecho de la placa base.
-
Retira la placa IR con una herramienta de apertura de plástico insertando la herramienta debajo de la placa IR y haciendo palanca suavemente hacia arriba.
-
-
-
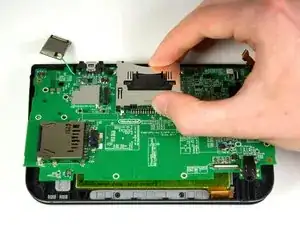
Con una herramienta de apertura de plástico, saca la placa Wi-Fi.
-
La placa Wi-Fi aún estará conectada por un cable y no es necesario quitarla por completo para este paso. Simplemente colócala fuera de su lugar en este paso.
-
-
-
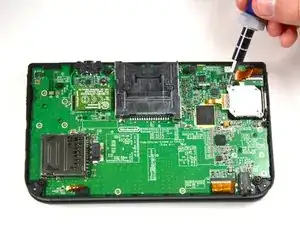
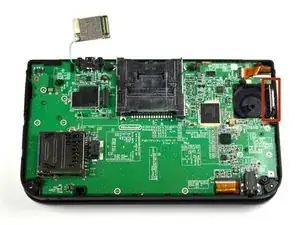
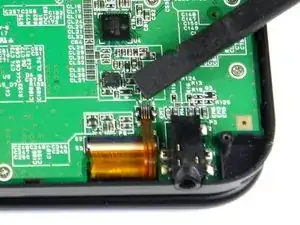
Ubica el interruptor de volumen en el lado derecho de la placa base al lado de la almohadilla circular del joystick .
-
Usando pinzas, retira con cuidado la placa de volumen de la carcasa. Todavía estará conectada a la placa base mediante un cable plano.
-
-
-
Con el lado de la cabeza plana del spudger, levanta con cuidado la solapa que une la cinta de la placa de volumen a la placa base.
-
Retira la placa de volumen y déjela a un lado.
-
-
-
Retira las piezas de plástico negro de las esquinas inferiores izquierda y derecha con los dedos o con pinzas.
-
También puedes quitar estas piezas fácilmente levantando con cuidado la 3DS y sosteniéndola boca abajo. Normalmente se caen, ¡pero no las pierdas!
-
-
-
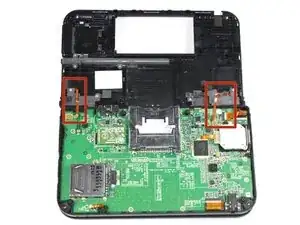
Con el lado de la cabeza plana del spudger, levanta con cuidado la solapa que une las dos cintas más pequeñas a la placa base.
-
Estas aletas se encuentran en la parte superior derecha e inferior derecha de la placa base.
-
Retira las cintas de la solapa.
-
-
-
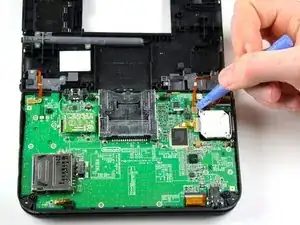
Usando el lado de la cabeza plana del spudger, levanta con cuidado las aletas que unen las cintas más anchas a la placa base.
-
Retira las cintas de las solapas abiertas.
-
-
-
Usando el lado de la cabeza plana del spudger, levanta con cuidado la solapa que une la cinta a la placa base.
-
Retira la cinta de la solapa.
-
-
-
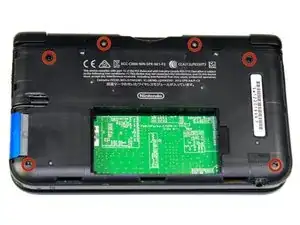
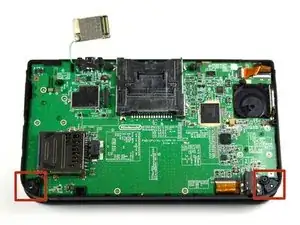
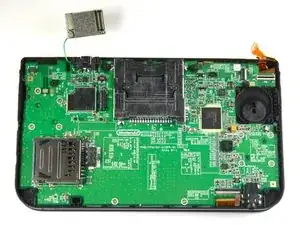
Retira diez tornillos de 3.0 mm que se encuentran alrededor de la parte frontal de la placa base.
-
-
-
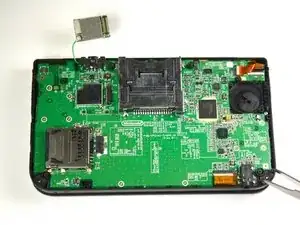
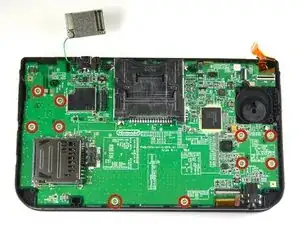
Levanta con cuidado la placa hacia arriba lo suficiente para liberar los dos soportes de plástico ubicados cerca de las esquinas superiores de la ranura del cartucho.
-
Voltea suavemente la placa base sobre el lado superior.
-
-
-
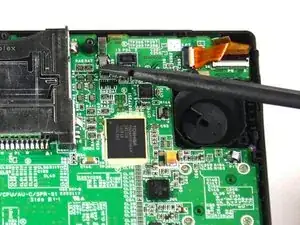
Usando el lado de la cabeza plana del spudger, levanta con cuidado la solapa que une la cinta más ancha en el lado superior derecho a la placa base.
-
Retira la cinta de la solapa abierta.
-
Deja la placa base a un lado.
-
-
-
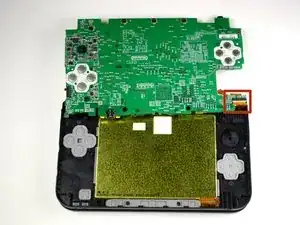
Con unas pinzas, retira la tapa de goma ubicada en la esquina inferior izquierda.
-
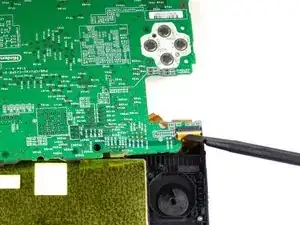
Usa las pinzas para sacar el botón de encendido.
-


Para volver a armar tu dispositivo, sigue estas instrucciones en orden inverso.
2 comentarios
Does anyone have any idea where I can get a spare power button (black plastic part) and the rubber bit?
I've found the rubber bit on ebay but for the life of me I cannot find the plastic part (In the UK at least)
Thanks.
Did you find it by any chance? Kind of looking for the same thing
yaboi -
Note: If your top or bottom screen was working before disassembly and doesn't work after reassembly, then it's likely that the connector is loose or dirty or damaged or not clipped or PLACED UPSIDE-DOWN. I had this issue with my Super3DS XL(2015) and it turns out that the reason why my top screen wasn't working after put together, was because I had the top LCD connector upside-down. After I correctly put the connector in, It worked again!
justjustintuber -
what type screwdriver do i use?!? its so small!!!!
Matthew -
I had success using a #00 Phillips head
Jake S -
Can't clip the front of the back cover back in
Macro Man -