
Introducción
Solo prerrequisito.
Herramientas
-
-
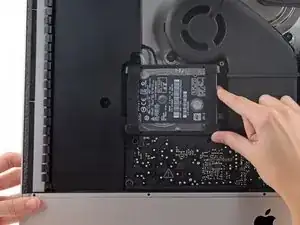
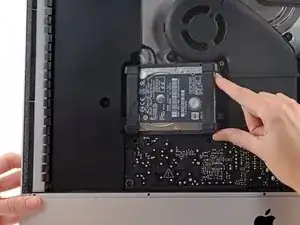
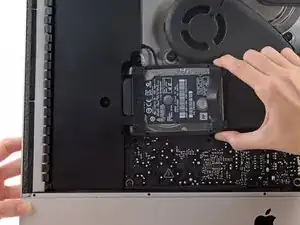
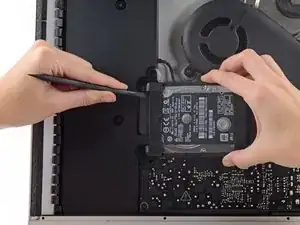
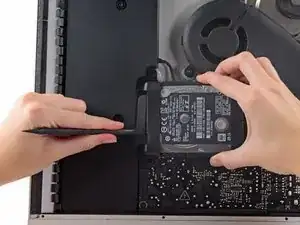
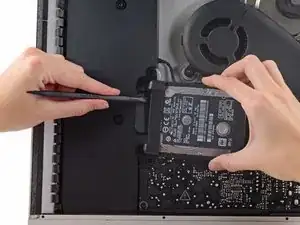
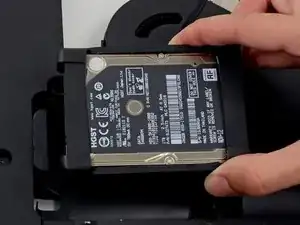
Levanta el disco duro desde el borde más cercano a la placa lógica y sácalo ligeramente de su hueco.
-
Conclusión
Para volver a armar tu dispositivo, sigue estas instrucciones en orden inverso.

During the reassembly process I found it very difficult to plug the power/data cable on to the new hard drive. On my machine it’s very short and the fact that the cable comes into the plug from below at 90 degrees means it’s hard to keep straight on to the drive. I found this process could be made much easier by undoing 2 x T10 screws and CAREFULLY (there are cables attached) moving the adjacent speaker assembly a little away from the drive, reattaching once done. Hope this helps
Jerry Frost -
Moving the speaker helped tremendously! Thanks
lucas -