Introducción
Herramientas
-
-
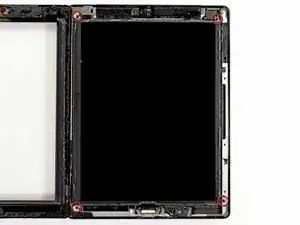
Retire los cuatro tornillos Phillips # 00 de 2 mm que sujetan la pantalla LCD al marco de aluminio.
-
-
-
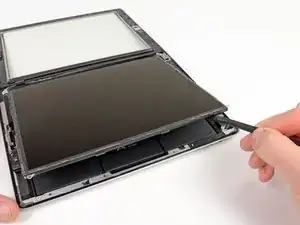
Con una herramienta de apertura de plástico o un spudger, levante el borde derecho de la pantalla LCD del iPad.
-
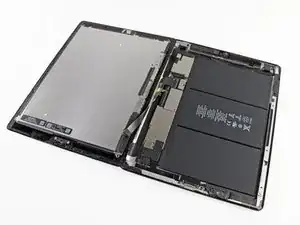
Gire la pantalla LCD a lo largo de su borde izquierdo y colóquela sobre el panel frontal.
-
Conclusión
Para volver a armar su dispositivo, siga estas instrucciones en orden inverso.

End of teardown. Start of disassembling.
Dorothy Simler -
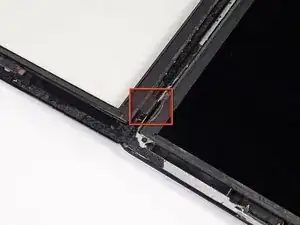
The top left screw may be covered by black adhesive tape.
Chat Pat -
The ribbon cable on my unit was too short to lay it all the way down. I had to let it sit sideways.
Petabyte Studios -