
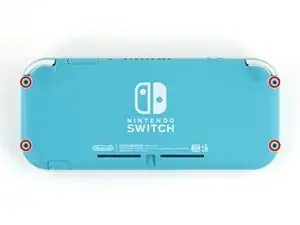
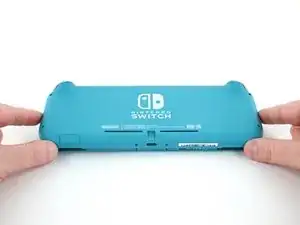
Introducción
Sigue esta guía para reemplazar el joystick izquierdo en tu Nintendo Switch Lite. Reemplazar el joystick arreglará el notorio problema de la "deriva de Joy-Con". (Sigue la esta guía para reemplazar el joystick derecho en tu Nintendo Switch Lite).
La Switch usa tornillos JIS, pero puedes usar un destornillador Philips en caso de necesidad. Se muy cuidadoso con no desprender el tornillo. Puntas Phillips de iFixit están diseñadas para ser compatibles con los tornillos de estilo JIS.
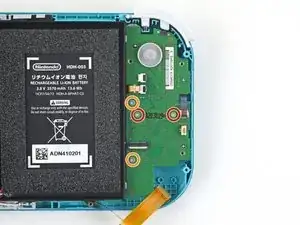
Nota: Este procedimiento requiere la desconexión de la batería por seguridad. Para ello, hay que quitar la placa protectora. La placa de escudo está pegada al disipador de calor con pasta térmica, que tendrá que ser limpiada y aplicada de nuevo antes de reinstalar la placa de escudo.
-
-
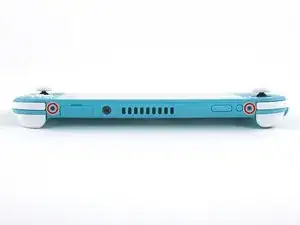
Usa un destornillador Y00 para quitar los cuatro tornillos de 6.3 mm de largo que aseguran el panel trasero.
-
-
-
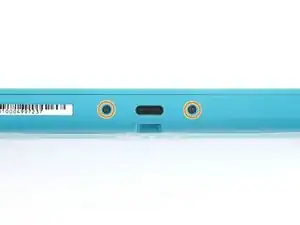
Usa un destornillador JIS 000 o un Phillips 000 para remover los siguientes tornillos que sujetan el panel trasero.
-
Dos tornillos de 3.6 mm en la parte superior del dispositivo.
-
Dos tornillos de 3.6 mm en la parte inferior del dispositivo.
-
-
-
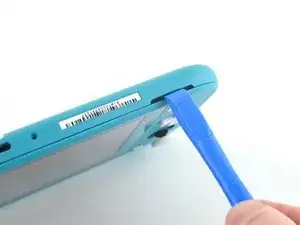
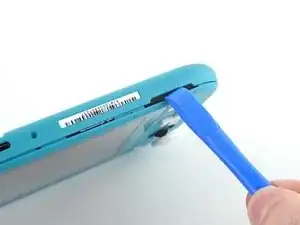
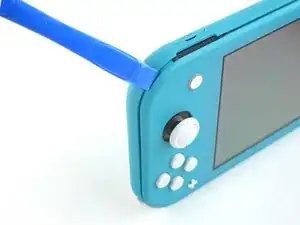
Inserta una herramienta de apertura en la rejilla del altavoz izquierdo en la parte inferior del dispositivo.
-
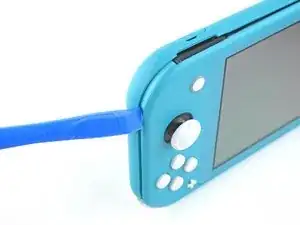
Gira la herramienta de apertura para liberar los clips que aseguran el panel trasero.
-
-
-
Desliza la herramienta de apertura por la esquina inferior izquierda para liberar los clips del lado izquierdo del dispositivo.
-
-
-
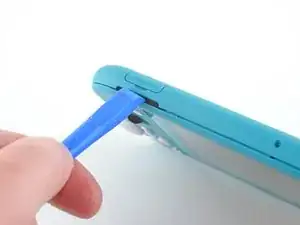
Inserta la herramienta de apertura en la rejilla del altavoz derecho en la parte inferior en el dispositivo.
-
Gira la herramienta de apertura para liberar los clips.
-
-
-
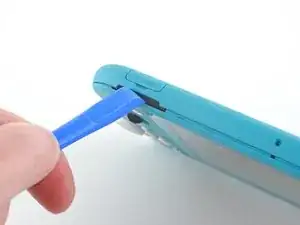
Desliza y empuja la herramienta de apertura por la esquina inferior derecha para liberar los clips del lado derecho del dispositivo.
-
-
-
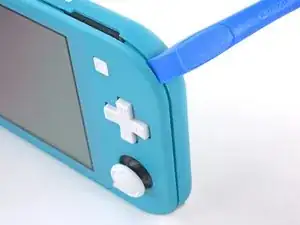
Continúa deslizando y apretando la herramienta de apertura a lo largo del hueco en la parte superior del dispositivo para liberar los clips.
-
-
-
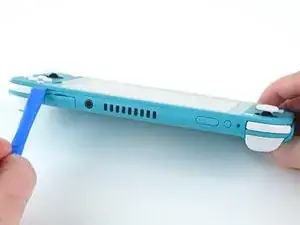
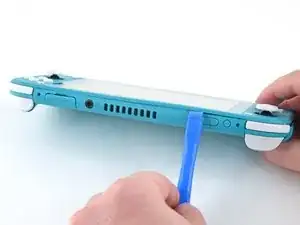
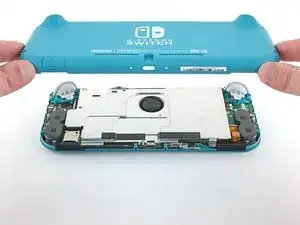
Levanta el borde inferior del panel trasero abriéndolo como un libro.
-
Remueve el panel trasero.
-
-
-
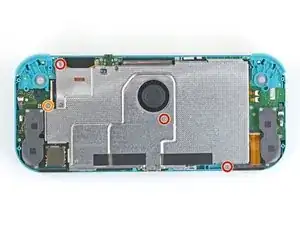
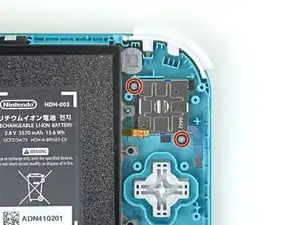
Usa un destornillador JIS 000 o un Phillips (de cruz) 000 para remover los cuatro tornillos siguientes:
-
Tres tornillos de 3.1 mm
-
Un tornillo de 4.5 mm
-
-
-
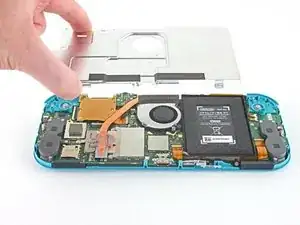
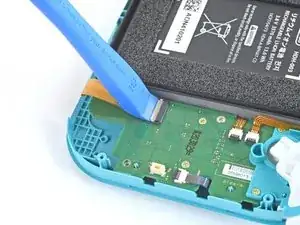
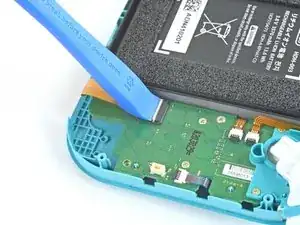
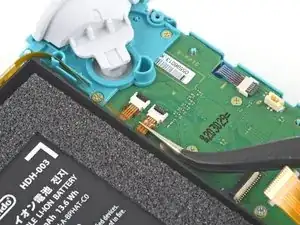
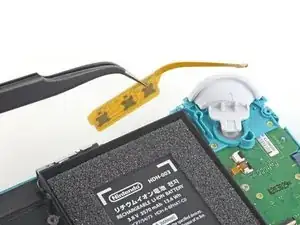
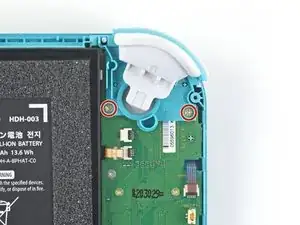
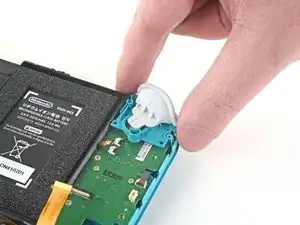
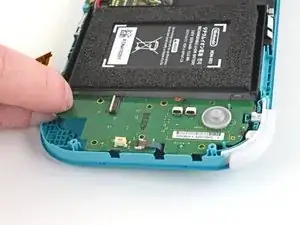
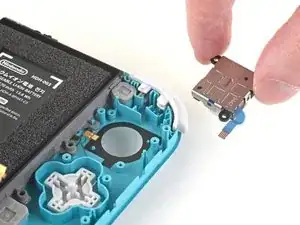
Usa un spudger o sus dedos para levantar la placa del escudo y sacarla del dispositivo.
-
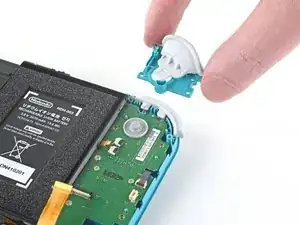
Remueve la placa de escudo.
-
-
-
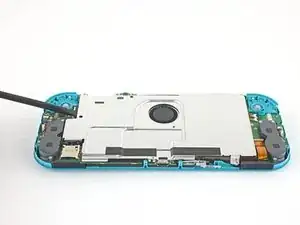
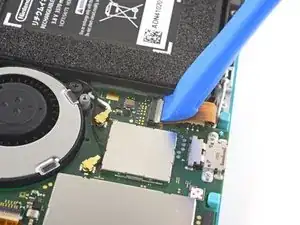
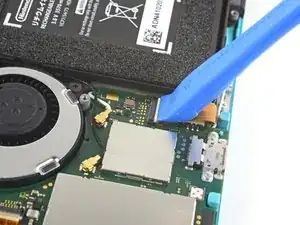
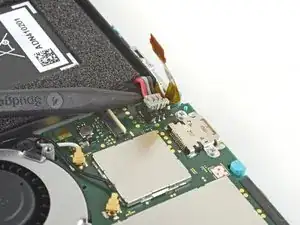
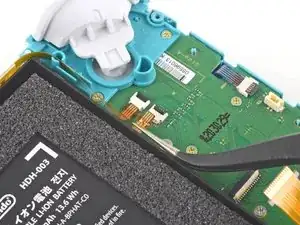
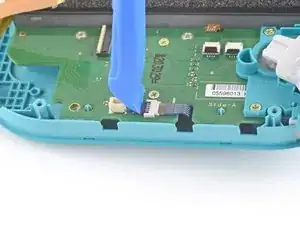
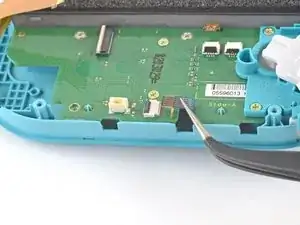
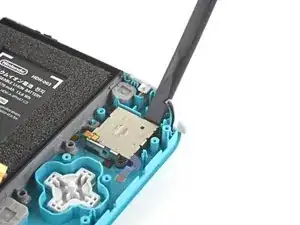
Utiliza una herramienta de apertura o tu uña para levantar la pequeña tapa de cierre con bisagra del conector ZIF del cable de interconexión de la placa madre.
-
-
-
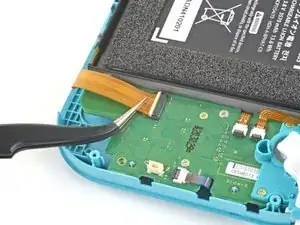
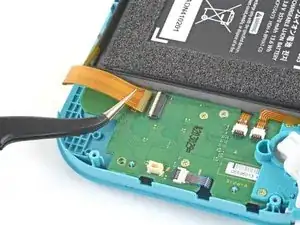
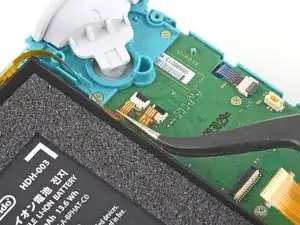
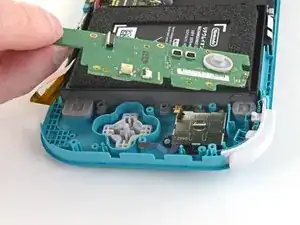
Usa la punta de un spudger para levantar el conector de la batería de su zócalo en la placa madre.
-
-
-
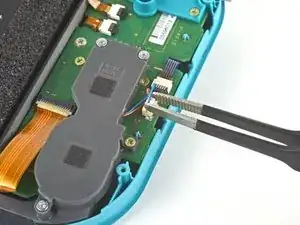
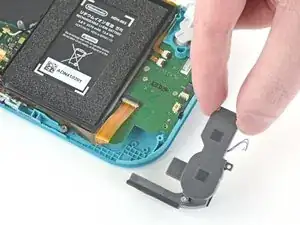
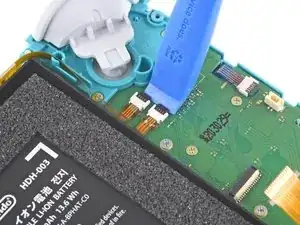
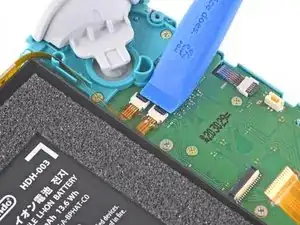
Usa un par de pinzas o tus dedos para sacar el cable del altavoz izquierdo directamente de su zócalo en la placa hija.
-
-
-
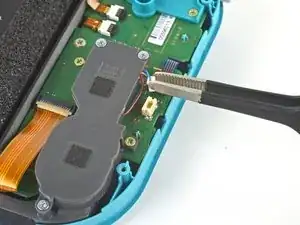
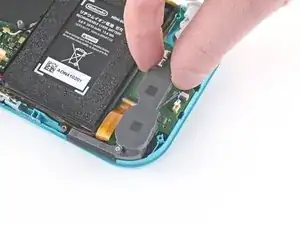
Utiliza una herramienta JIS 000 o una oficial iFixit PH 000 para quitar el tornillo de 4,5 mm que sujeta el módulo del altavoz izquierdo.
-
-
-
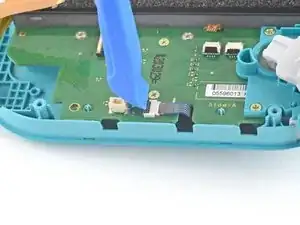
Utiliza una herramienta de apertura o tu uña para levantar la pequeña tapa de cierre con bisagra del conector ZIF del cable de interconexión de la placa madre.
-
-
-
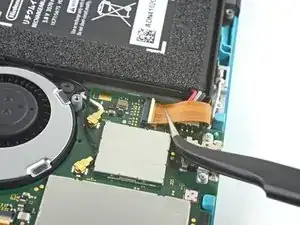
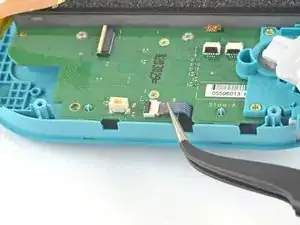
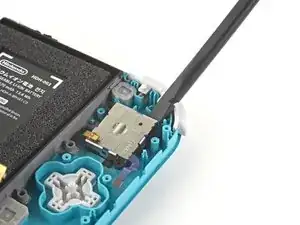
Usa unas pinzas para deslizar el cable de interconexión de la placa madre fuera de su conector en la placa hija.
-
-
-
Utiliza una herramienta de apertura o su uña para levantar las pequeñas lengüetas de cierre con bisagras de los dos conectores ZIF del cable plano.
-
-
-
Usa un par de pinzas para deslizar el cable de la pantalla de la placa hija fuera de su conector en la placa madre.
-
Repite este procedimiento para el cable del botón de volumen.
-
-
-
Utiliza una herramienta de apertura o tu uña para levantar la pequeña tapa de cierre con bisagra del conector ZIF del cable del joystick izquierdo.
-
-
-
Usa un par de pinzas para sacar el cable del joystick izquierdo de su conector en la placa hija.
-
-
-
Usa una herramienta JIS 000 o una oficial iFixit PH 000 para quitar los dos tornillos de 4.5 mm que aseguran el ensamblaje del botón del gatillo izquierdo.
-
-
-
Usa una herramienta JIS 000 o una oficial iFixit PH 000 para retirar los cuatro tornillos siguientes:
-
Dos tornillos de 4.5 mm
-
Dos tornillos de 6 mm
-
-
-
Usa una herramienta JIS 000 o una oficial iFixit PH 000 para quitar los dos tornillos de 3,5 mm que aseguran el joystick izquierdo.
-
-
-
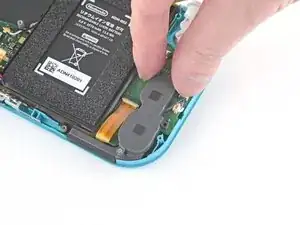
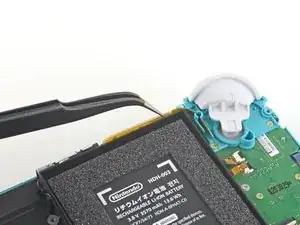
Usa el extremo plano de un spudger para levantar el joystick de su hueco.
-
Usa tus dedos para remover el joystick.
-


Para volver a ensamblar tu dispositivo, sigue estas instrucciones en orden inverso.
Lleva tus desechos electrónicos a un centro de reciclaje certificado.
¿La reparación no salió como planificaste? Intenta algunas soluciones a problemas básicos o pide ayuda a nuestra comunidad de respuestas de Nintendo Switch Lite

23 comentarios
Really appreciate the detailed pictures.
Great guide! Circling the screws really helped as went backwards for the reassembly. Not a bad repair just very delicate components. Best of all no adhesive removal required!
lee -
This was great, I love how every step was so simply broken down and had pictures. Thank you, my son is very happy to have his switch back in action.
All my screws got stripped any ideas on how to remove?
Almost A Mammal -
A Y0 screwdriver seemed to work better for me.
Tommy Morrill -
What type of screw driver do I use to un screw the screws and which way
Luca Capito -