
Introducción
Usa esta guía para reemplazar el ensamblaje de pantalla, que incluye el cristal frontal, digitalizador y cable de botón de inicio.
-
-
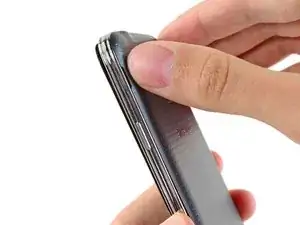
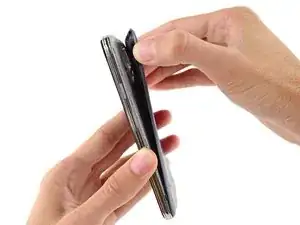
Inserta una uña o una herramienta plástica en la muesca ubicada a la izquierda de la cámara trasera.
-
Gentilmente presiona y gira la tapa posterior de la parte trasera del teléfono.
-
-
-
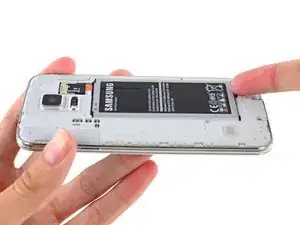
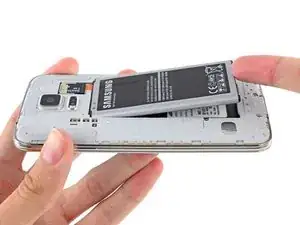
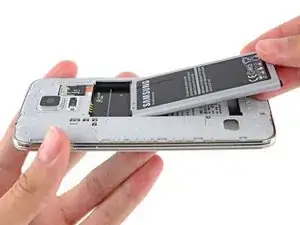
Introduce una uña o herramienta de apertura de plástico en el hueco en la esquina derecha inferior de la batería y levanta.
-
Remueve la batería del teléfono.
-
-
-
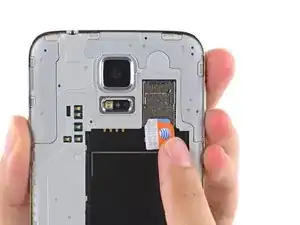
Utilizando una de tus uñas, saca la tarjeta microSD directamente desde su ranura.
-
Remueve la tarjeta microSD desde el teléfono.
-
-
-
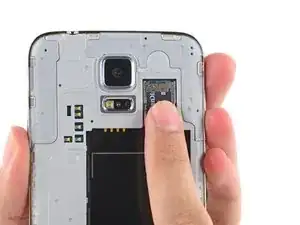
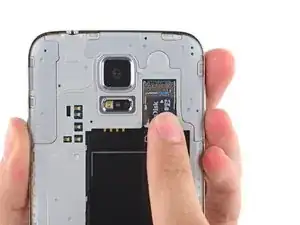
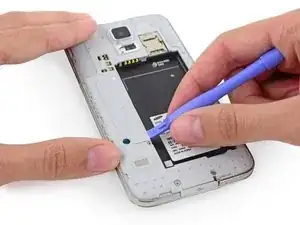
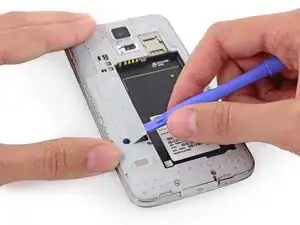
Utiliza una herramienta de apertura de plástico para levantar el panel de conectores del marco medio del plástico.
-
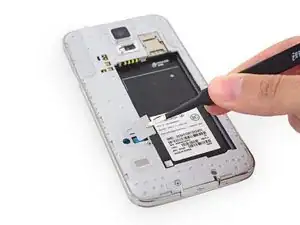
Retira el panel de conectores con un par de pinzas.
-
-
-
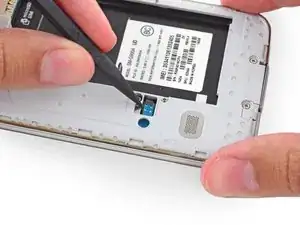
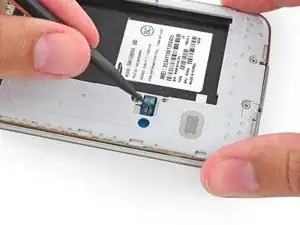
Usa la punta afilada de un spudger para hacer palanca en el conector del cable del botón de inicio directamente desde su zócalo.
-
-
-
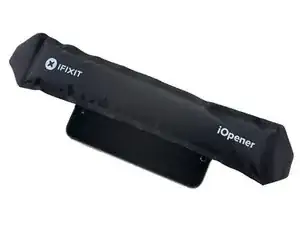
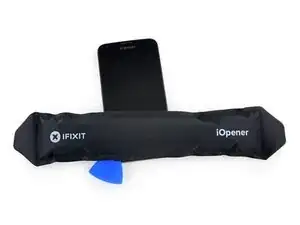
Coloca un iOpener calentado en el lado izquierdo del teléfono por al menos 90 segundos.
-
Vuelve a calentar el iOpener y colóquelo en la mitad derecha del teléfono.
-
-
-
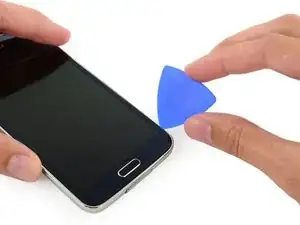
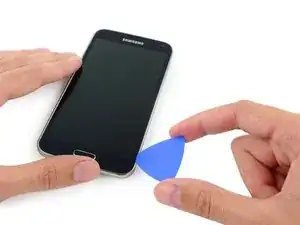
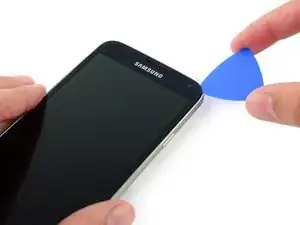
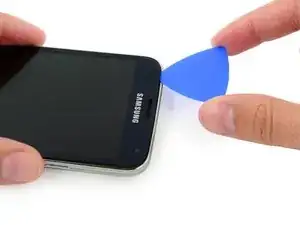
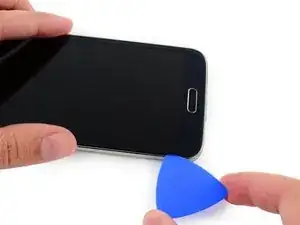
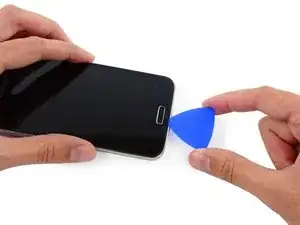
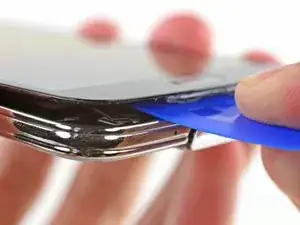
Inserta el extremo de la púa de apertura debajo del lado inferior derecho del vidrio frontal.
-
-
-
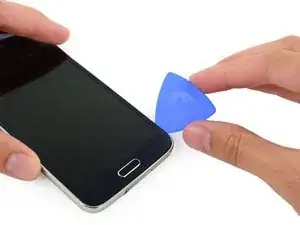
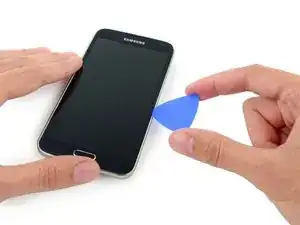
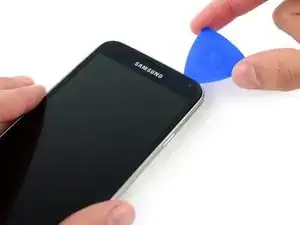
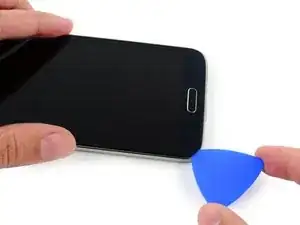
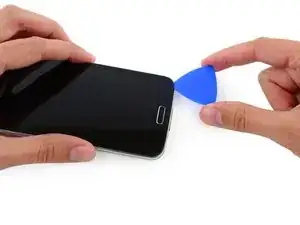
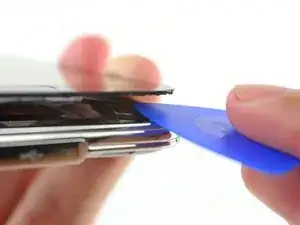
Con cuidado, desliza la palanca hacia la esquina, deteniéndote frente a la rejilla del altavoz en la parte superior del teléfono.
-
-
-
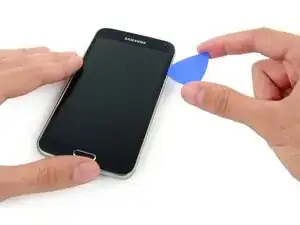
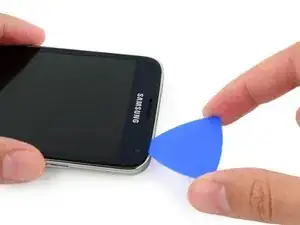
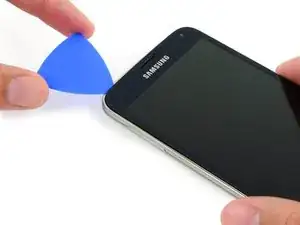
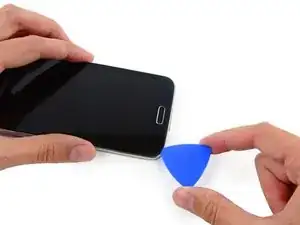
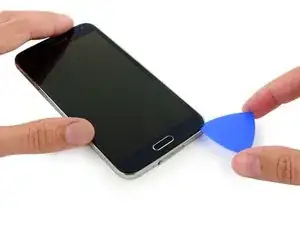
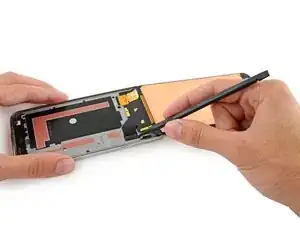
Desliza la púa de apertura por la parte superior del teléfono, teniendo mucho cuidado de no insertar demasiado la punta.
-
-
-
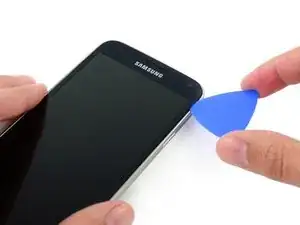
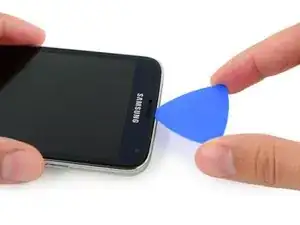
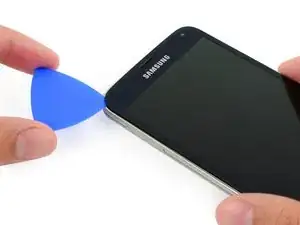
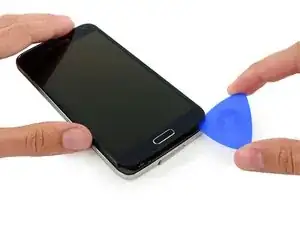
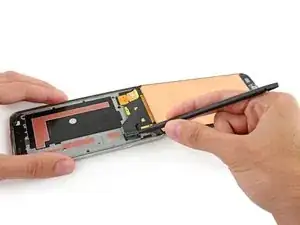
Desliza la púa de apertura hacia abajo a lo largo de la mitad izquierda del teléfono deteniéndose en la esquina izquierda inferior.
-
-
-
Desliza la púa de apertura hasta la esquina inferior izquierda del teléfono, asegurándote que esté bien sujetada.
-
-
-
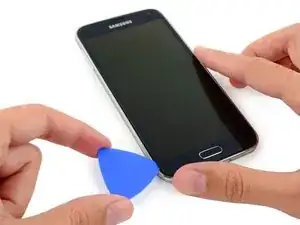
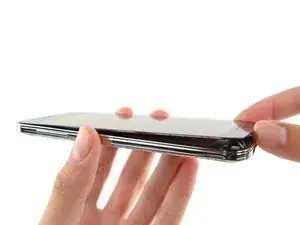
Desliza el extremo de la púa de apertura por el borde inferior de la pantalla para separar el último adhesivo restante.
-
-
-
Introduce una púa de apertura debajo de los iconos del botón blando en la pantalla y haz palanca en los cables del botón dentro del panel frontal.
-
-
-
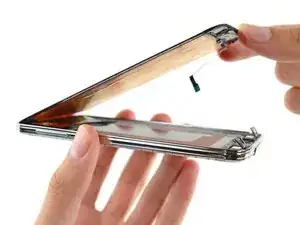
Levanta ligeramente, pero no retires, el extremo del botón de inicio del ensamblaje de la pantalla.
-
-
-
Utiliza la punta afilada de un spudger para levantar el conector del cable del ensamblaje del panel frontal directamente desde su zócalo en la placa madre.
-
Retira con cuidado el ensamblaje del panel frontal del teléfono.
-


Para volver a ensamblar tu dispositivo, sigue estas instrucciones en orden inverso .

36 comentarios
Be aware that the LCD is glued not just at the edges, but also in the middle (the orange areas in the photos for Step 20. These can adhere strongly enough to cause the LCD to crack. Don't ask how I know that.
I cracked it this way, so yeah. Any way to get the glue fluetly enough to get the LCD off the rest of the Phone? (the LCD and digitalizer is cracked anyway)
Onfortunately I read this to late. Many thanks anyway for confirming I'm not the only one ;)
Been there man. Had my Samsung Galaxy S5 Active pull one of those numbers. not a fun time.
Just found out about that, during my first time. Thanks for the tip.
Am I missing something?
How does it get re glued when you reverse the process? Doesn't it need to be re glued so water doesn't get into the hardware past the screen?
That would be my concern, the phone not being waterproof after the repairs are completed.
Thanks for your insight. Guide is done very well.
Bogdan.
I agree Bogdan Georgescu, the step of adding a new screen is not covered in these instructions but would be very helpful to know if anyone has experience? The instructions are wonderful to help you remove a screen, but the process of replacing is lacking for me. Has anyone had success replacing a screen that primarily has had surface damage? (I pay a monthly insurance fee on my galaxy s5 phone. But in addition, if I wanted to replace it, it will cost another $200 to get a replacement (refurbished - someone else's junk?) phone. I'd rather chance starting with replacing my screen myself, with the help from this online community if possible? Thank you!!! Karen
Karen -
They don't use glue, they use double sided adhesive that is not easy to find. 3M double sided tape works well but I have had screens come up when using the 3M adhesive. So yes you need to apply adhesive before install of new screen to keep it water resistant. The phone is and never was waterproof just resistant and I recommend using the best double sided tape you can get as you will fudge up the already adhered tape.
As mentioned above, the screens are held down by double sided tape, usually made by the 3M company. But most other good quality tape can do the same. The proper tapes are cut perfectly to fit all the little adge bits of the casing-to-screen, and that's all that makes it waterproof.
A thing to remember is, most people loose the charger cover anyway, so worrying about a perfect screen seal from water doesn't matter then I guess as water will just flow in anyway.
The screen isnt really waterproof, its just water resistant, so it's okay for the odd splash, but drop it in a bucket, and it's probably ruined :-( unless the bucket is empty of course ;-) When I refit a screen, i put a 5mm strip of my own tape down the centre (it MUST be the thinnest tape possible!!) and that helps keep the screens in place, but that idea varies from one phone model to another.
I replaced my midframe, but I cut the cables to the back and menu buttons. I also ripped some of the foil on the back of my screen, but that didn't seem to hurt anything.