Introducción
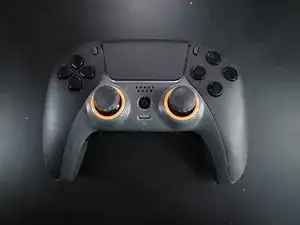
My Scuf Reflex FPS for PS5 started jittering out of all bounds, rendering it useless after only 9 months. I asked for a refund/replacement, but knowing it would take weeks, might not be covered by the warranty, and that their only service dept is in China = a hefty price tag, I decided to give it a go.
After some trial and error, I went from a useless to a 100% working unit, without purchasing any additional components. Your results may vary, and this might fail tomorrow, but at least it is a pretty simple test.
While there were a lot of other DualSense guides here, none addressed this common problem without a complete replacement, so for what it's worth, here are my five cents.
Herramientas
-
-
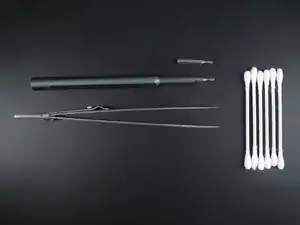
Get your gear. You should have
-
A pair of tweezers (ideally angled ones)
-
Q-tips
-
Standard small Philips screwdriver
-
Ideally an angled prodding tool (not displayed).
-
Electronic cleaner / rubbing alcohol
-
Compressed air
-
-
-
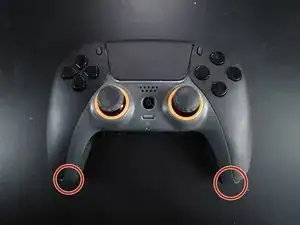
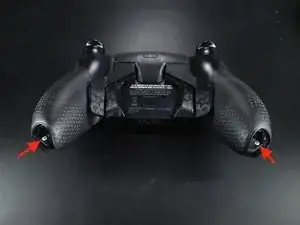
Remove the L1 / R1 buttons by inserting an angled prodder and pulling straight out. It should come easily.
-
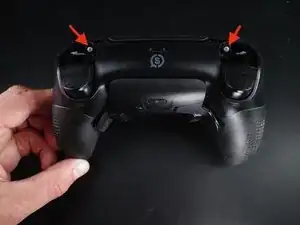
Remove the marked screws as well.
-
-
-
Prod the device open. No images here, but use a prodding tool and take it slowly. Check out YouTube if you don't know how to progress.
-
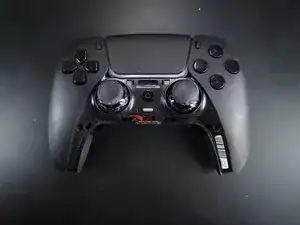
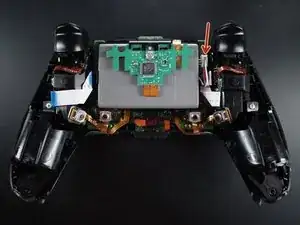
The inside of your Scuf controller will look something like this.
-
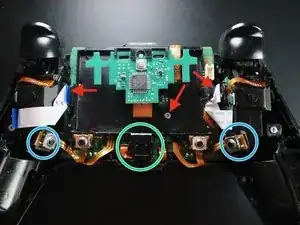
Unplug and remove the battery (see arrow)
-
-
-
Remove the screw from the battery plate
-
Optional, but will make the next step easier: Detach the left cable by pulling on the blue plastic tab.
-
Optional: Remove the right cable with your hand (no plastic tab here, so make sure you don't damage the cord)
-
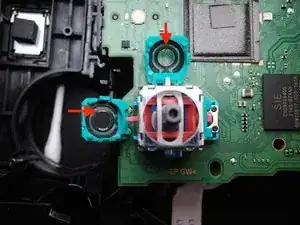
Then, carefully lift the board out of place. Be aware that there is a light LED (not present in picture) in the green circle that you might have to reposition when reassembling
-
The board is partly held in place by two plastic rods that are mounted in a hole around the blue circles. These are completely loose and can be pulled straight up
-
-
-
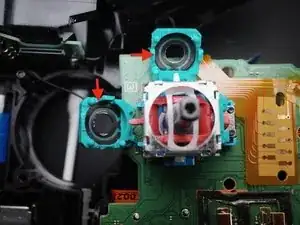
Use a small, flat and thin screwdriver to pry the joystick potentiometer slots open. Push the slots down about 80°. My screwdriver was was about 1,5mm in width and very thin.
-
Remove the potentiometer for the stick you have a problem with (remember the controller now might be mirrored)
-
Use a q-tip and electronic cleaner to clean the carbon track (everything on the inside of the green plastic) thoroughly.
-
Let it dry and do it again, with a new swab. I recommend doing this multiple times. It was first on my fifth attempt it worked without flaw.
-
Be careful not to let residue from the Q-tips get stuck.
-
-
-
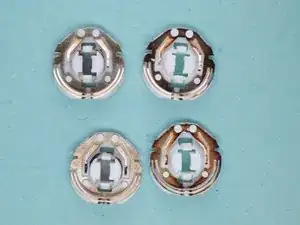
Clean the wipers with a q-tip and electronic cleaner. Let it dry. Repeat.
-
Be aware: Do not let fingerprints or residue from the Q-tip get stuck.
-
I have no idea why they are so different in color. They were paired from top to bottom, but only one of my sticks was acting weirdly.
-
I tried removing the corrosion (?) soaking it in rubbing alcohol over night, but it looked the same. I guess these wear out pretty quickly, but they are 3$ for 10x on Aliexpress.
-
PS: After several hits and misses, I used the darker ones on the horizontal axis of the controller. Have no idea if this will help or not.
-
-
-
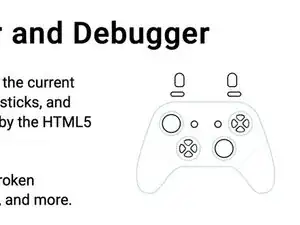
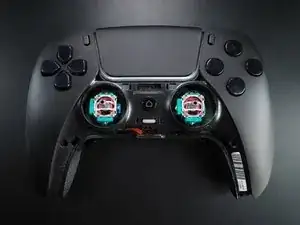
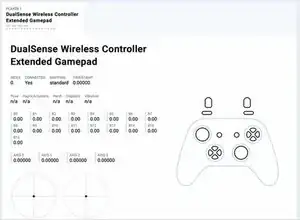
Test it on the Gamepad Tester.
-
After 7-8 tries of varying results, I was amazed that it worked.
-
Disclaimer: I am guessing that this might be a temporary fix. Although I don't quite know the initial state of the carbon tracks, the seem worn and I'm afraid the jitter might return.
-
If so, I would definitely try to replace the carbon tracks and washers first before going into soldering town.
-
Good luck!
-


To reassemble your device, follow these instructions in reverse order.