Introducción
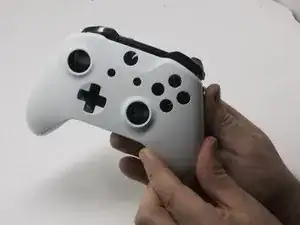
El pad direccional en tu controlador Xbox podría dejar de responder o quedarse pegajoso. Si esto sucede, podría ser necesario quitar la almohadilla direccional para reemplazarla o limpiarla. Esta guía te enseñará cómo acceder y reemplazar el teclado direccional en tu controlador inalámbrico Xbox One Modelo 1708.
Herramientas
-
-
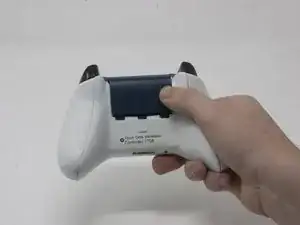
Desliza la tapa de la batería hacia la parte superior del control para retirarla.
-
Levanta las pilas o el paquete de pilas del compartimento de las pilas.
-
-
-
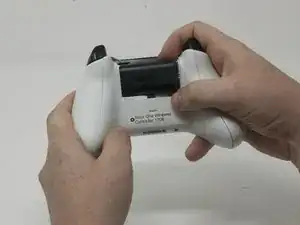
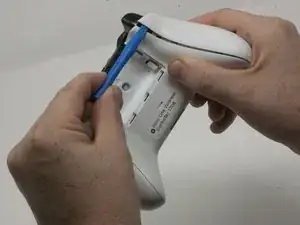
Inserta una herramienta de apertura de plástico en la costura superior y mueve suavemente la herramienta de apertura hasta la parte inferior del controlador.
-
Continúa usando la herramienta de apertura para sacar suavemente la placa lateral del controlador.
-
Repite este proceso para la segunda placa lateral.
-
-
-
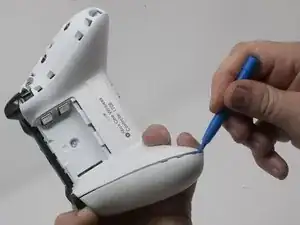
Despega suavemente la etiqueta de la batería o haz un agujero en el centro de la etiqueta en el compartimiento de la batería para revelar el tornillo oculto.
-
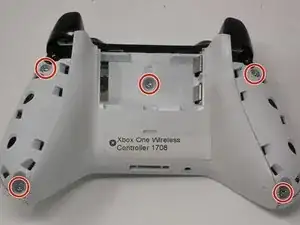
Retira los cinco tornillos de seguridad torx-9 de 9 mm de la parte posterior del controlador.
-
-
-
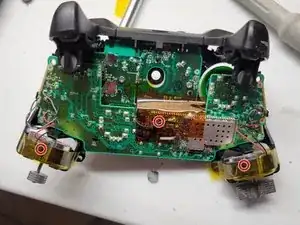
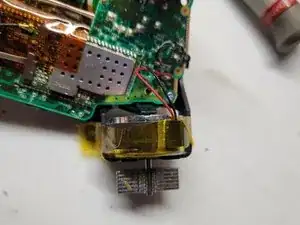
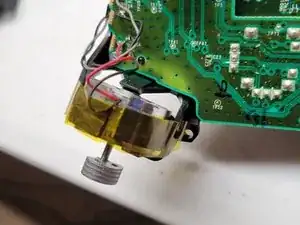
Pega con cinta los motores Rumbler/shock en su lugar.
-
Esto evitará que los motores se caigan.
-
-
-
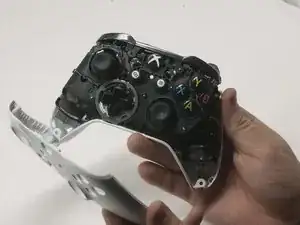
Orienta el controlador de modo que la placa frontal quede hacia arriba.
-
Levanta la cubierta frontal del controlador.
-
-
-
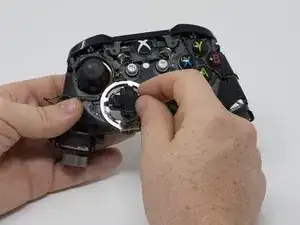
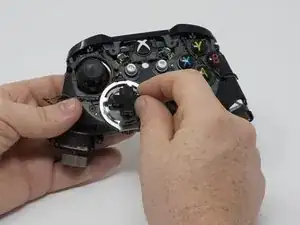
Da la vuelta al dispositivo y retira el teclado direccional tirando de él suavemente para separarlo del controlador.
-
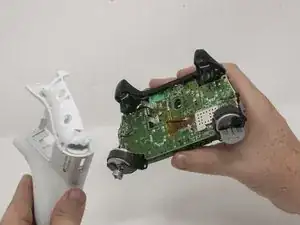
Para volver a armar tu dispositivo, sigue estas instrucciones en orden inverso.
6 comentarios
Will one of the D-pads from the Xbox One controller model 1698 fit and work with the Xbox One-S controller model 1708. I have been looking all over the net for a replacement D-pad and other buttons like the RB, LB Bumper setup and I have had absolutely no luck finding replacement D-pads or other buttons specifically designed for the Xbox One-S controller. I would greatly appreciate your help.
My D-pad was not working properly so I dropped drops of alcohol and other cleaners to fix the issue since the screws inside my controller were stripped and I was unable to open it and at the beginning it worked but then It started failing again so I did it again and this time the left direction is dead. I sent it to be repaired and they told it couldn't be salvaged yet they repaired the thumbsticks just to force me to pay them.
The D-pad on our controller sticks. I disassembled the device and discovered one of the small metal pieces that are supposed to spring back after the button is pressed has been deformed. I will need new ones, but I don’t know what to call the part or where to get it, but I’m sure it’s pennies? Any suggestions? I’d add a photo if I could here.
Search for “Xbox One Controller Replacement D-Pad Button Metal Dome Conductive Film Sticker” on Amazon, NewEgg or Ebay. Should cost 5-10 bucks. Cheaper if you get it shipped from China, but takes forever.