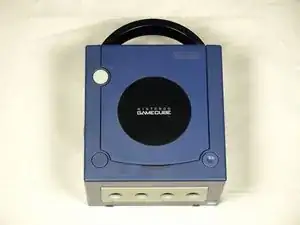
Introducción
Retirar la carcasa superior te permitirá acceder a a los componentes internos de la GameCube.
Herramientas
-
-
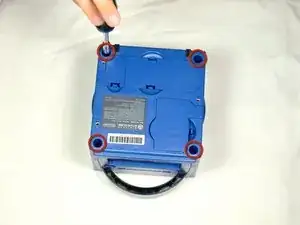
Voltea el Gamecube para que la parte inferior quede hacia arriba.
-
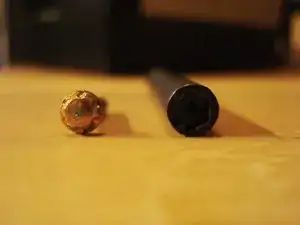
Utiliza el destornillador Gamebit de 4,5 mm para quitar los cuatro tornillos.
-
-
-
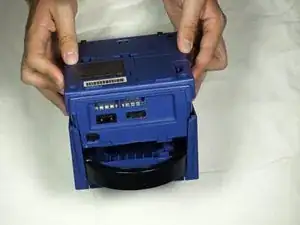
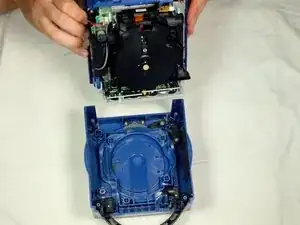
Con la parte inferior del GameCube mirando hacia arriba y sin los tornillos, tira con cuidado de la cubierta exterior de la unidad para separarla de la mitad superior.
-
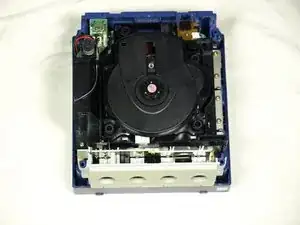
Mueve el GameCube para que el interior quede hacia arriba.
-
Conclusión
Para rearmar tu dispositivo, sigue estas instrucciones en orden inverso.
Un comentario
Can you do a more in-depth version of the top cover? I had to clean each piece and need help figuring out where all the pieces go. Thanks