Introducción
En esta guía, te mostraré cómo cambiar la pantalla en una Game Boy Advance.
Herramientas
Partes
-
-
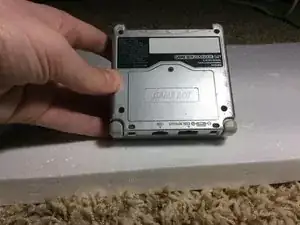
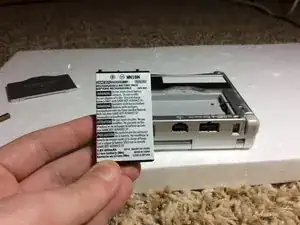
Dale la vuelta a la GBA, para que el compartimento de la batería quede hacia arriba.
-
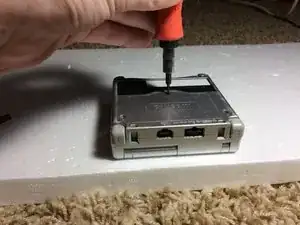
Quita el tornillo Phillips que sujeta la tapa del compartimiento.
-
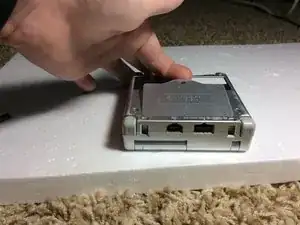
Retira la tapa del compartimiento de la batería.
-
-
-
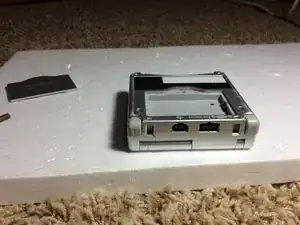
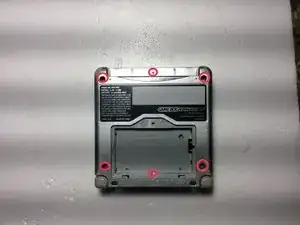
Quita los 6 tornillos Tripoint que sujetan la carcasa.
-
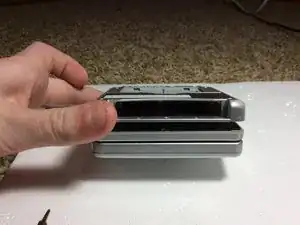
Separa las 2 mitades. Pero sin forzarlas, o puedes romper la GBA.
-
Aparta la mitad inferior para volver a colocarla más tarde.
-
Asegúrate de no perder la pequeña tuerca cuadrada que sujeta el compartimiento de la batería, o sino, no podrás atornillar el compartimiento.
-
-
-
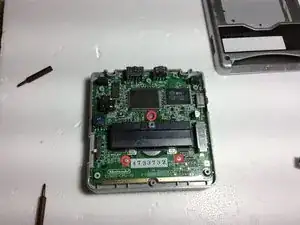
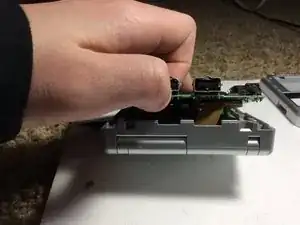
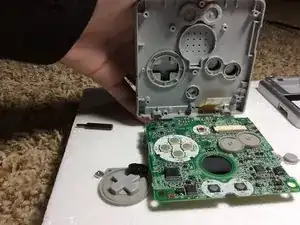
Desatornilla los tres tornillos Phillips que sujetan la placa madre a la mitad de la caja.
-
¡¡¡ADVERTENCIA!!! NO quites la placa madre todavía. Aún está asegurada con un cable plano.
-
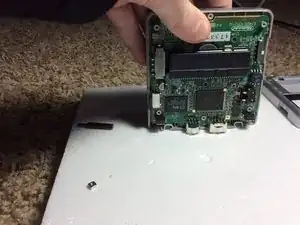
Gire la GBA, para que quede como se ve en la tercera foto.
-
-
-
Dobla la placa madre hacia abajo, como se ve en la primera foto. Asegúrate de que la carcasa esté ENCIMA de la placa madre.
-
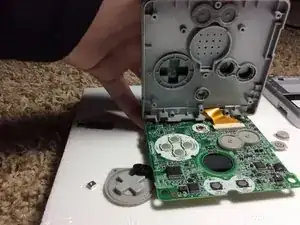
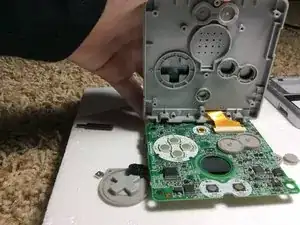
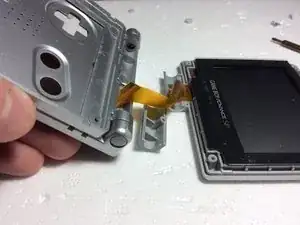
Usa un destornillador o pinzas para desconectar el conector ZIF de la placa madre.
-
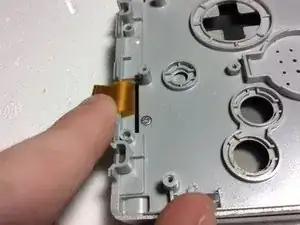
Saca de la placa madre el cable plano de la pantalla.
-
-
-
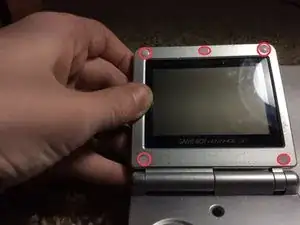
Usa un destornillador de punta plana o el lado puntiagudo de un spudge,r para quitar las 5 cubiertas de goma de los tornillos.
-
Desatornilla los 5 tornillos de tres puntos que hay bajo las almohadillas de goma.
-
Cierra el GBA y desatornilla el único tornillo Phillips de la parte inferior.
-
-
-
Abre la GBA y todo debería desencajarse. Pasa el cable plano a través de la abertura y levanta la pantalla para sacarla de la carcasa superior.
-
¡¡Ya está listo!!
-


Para volver a montar el dispositivo, sigue estas instrucciones en orden inverso.

8 comentarios
One issue - you never mentioned how to get the hinge off, so getting the ribbon in and out is.. hard.
Last part of step 5, that screw hidden under the ribbon cable, is what holds the hinge in.
hello can i ask something? can you take apart the lcd? because my lcd has fungus
I am pretty sure, as the actual screen can be separated from the plastic cover (the thing that says game boy advance). I’ve never seen fungus in a screen though. That’s interesting.
Hello friend! One question: in the replace screen there is retroillumination? or i have to do something? Thx for your answer!
The light is built in on all GBA SPs.
there is a model with a better backlit display instead of a front lit display, but both have a light.