
-
-
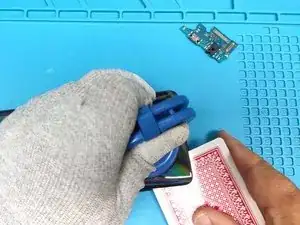
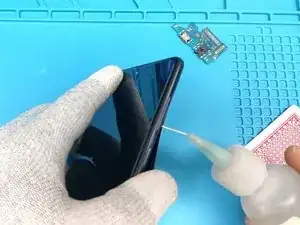
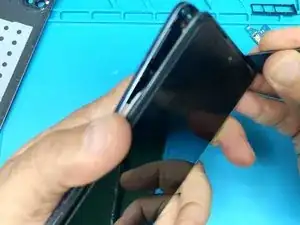
Ahora vamos a separar la tapa trasera. Primero, calienta el dispositivo para ablandar el adhesivo, luego usa un spudger de plástico para abrirlo.
-
-
-
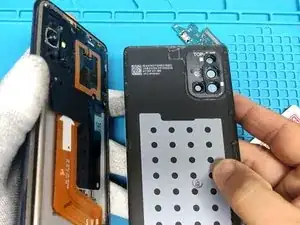
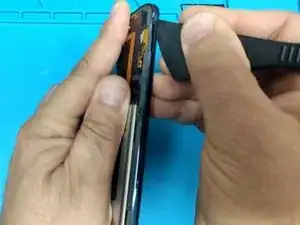
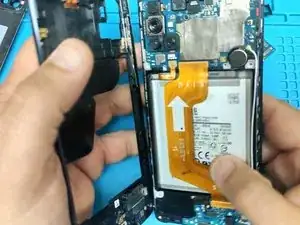
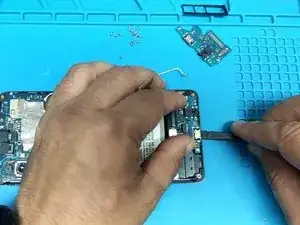
Usa el spudger una vez más para separar la carcasa lateral. Ten cuidado y tómate tu tiempo aquí también para no dañar nada.
-
-
-
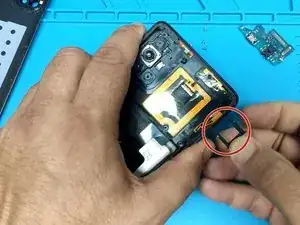
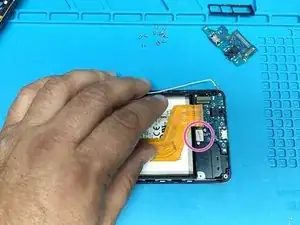
Desconecta la batería. Asegúrate de no perforarla.
-
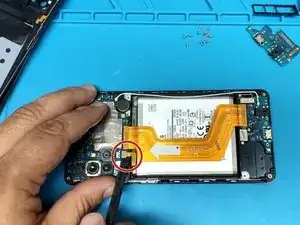
Uno a uno, desconecta:
-
Cable flexible de la pantalla.
-
Conector de la antena coaxial.
-
Sensor de huellas dactilares.
-
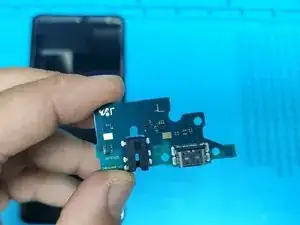
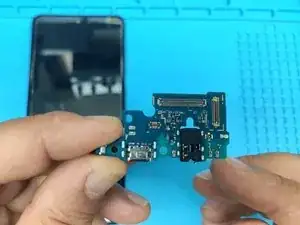
Cable flexible principal.
-
Saca los dos tornillos Phillips que sujetan el sensor de huellas dactilares.
-

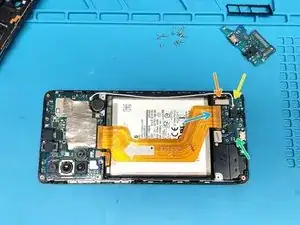
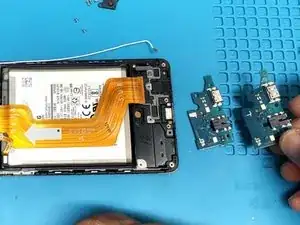
Para volver a montar el dispositivo, sigue estas instrucciones en orden inverso.

3 comentarios
Great guide! I recommend removing the Fingerprint Sensor as a whole. It will make it easier to remove the board, as the charging board has some adhesive, so you will need to pull a bit harder.
When screwing the sensor back, make sure to not tighten each screw all the way at first, but instead alternate between tightening one screw and the other. This will make sure that the sensor is properly aligned! This fixed the issue I was facing with reading some fingerprints after I had my screen replaced by a third party repair shop a couple of months ago. Two birds with one stone!
Festest -
This guide will help you to replace the charging board - definitely not too difficult. I replaced my board after my A71 stopped charging when I inserted the USB C cable. First it wouldn't fast charge and then wouldn't charge at all.
Callum -
Thanks man, got it done in roughly half an hour! My phone would charge but not transfer data and this seems to have fixed it.
Majik -