
Introducción
Si la rueda de desplazamiento de tu Logitech M510 está rota o desgastada, usa esta guía para reemplazarla. Asegúrate de desenchufar el USB inalámbrico y descargar la electricidad estática o usar guantes antiestáticos cuando trabajes con dispositivos electrónicos.
Herramientas
Partes
-
-
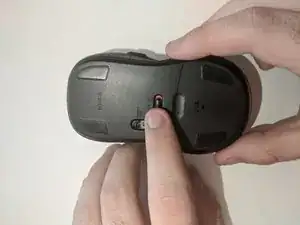
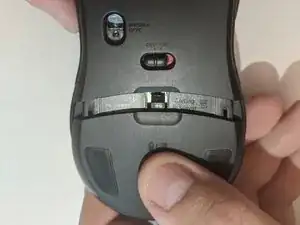
Desliza la placa posterior de la batería hacia abajo para quitarla y acceder al compartimiento de la batería.
-
-
-
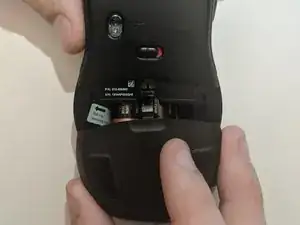
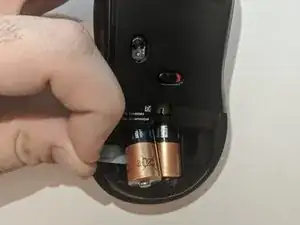
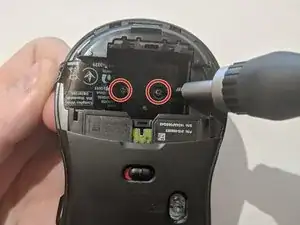
Desatornilla los dos tornillos en el compartimiento de la batería con un destornillador Phillips #0.
-
-
-
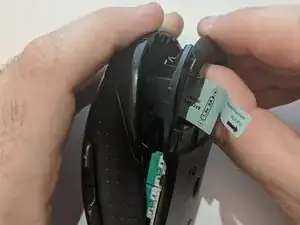
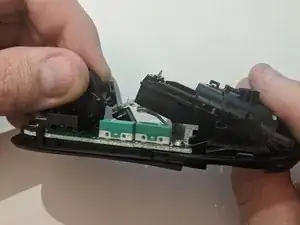
Levanta y tira de la parte trasera de la carcasa inferior hacia afuera para separar la parte inferior del mouse de la carcasa superior.
-
-
-
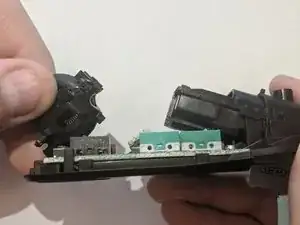
Levanta la parte posterior de la carcasa de la rueda de desplazamiento para quitar la rueda de desplazamiento.
-
-
-
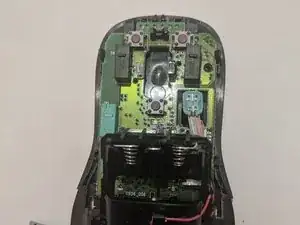
Coloca la rueda de desplazamiento nueva en la carcasa de la rueda de desplazamiento, alineando el pequeño cilindro de plástico con su carcasa para una alineación adecuada de la rueda.
-
Para volver a montar tu dispositivo, sigue estas instrucciones en orden inverso.

3 comentarios
Thanks for the guide. My scroll wheel just needed a bit of cleaning to get it to work properly. Only cost me 15 min of work productivity and I’m back up and running :)
Thank you for this! I wasn’t sure if there were screws hidden under the rubber feet, so I’m so glad I checked before tearing things apart. 2 simple screws in the battery compartment is simple enough, but I needed to do a full teardown and there was one more screw inside holding the board to the base of the mouse. I also had to mess with the ribbon cable for the optical sensor and that’s fine, but if you need to do the same, it will be much easier to remove the sensor and leave the ribbon attached.
I’ve had this mouse for years and love it, but mine has a semi-defective middle-click button that means I often have to mash the button for it to register as a click. I’ve learned a little bit recently about tactile momentary switches (buttons) for a project I’ve been working on, so my goal was to replace it. Once I got it all apart, I simply desoldered the old button and replaced it with another one I had. Now it works perfectly!
Mike -
Symptoms for me were the scroll wheel would only scroll down, not up. At first I thought driver or software, but then realized it was just filthy with 8 or 9 years of hair and dust! After dissassembly and careful cleaning, works like new.