
Introducción
Herramientas
-
-
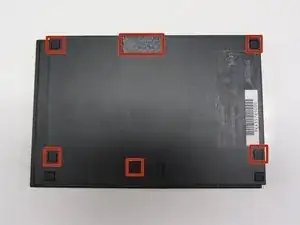
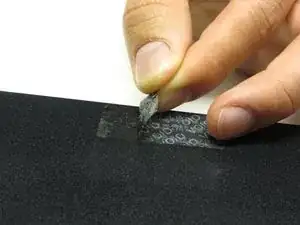
Localiza las 6 patas de goma de la consola. Haz palanca en ellas utilizando una espátula para acceder a los tornillos escondidos.
-
-
-
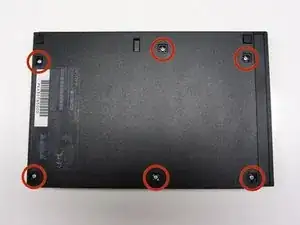
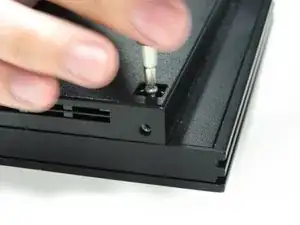
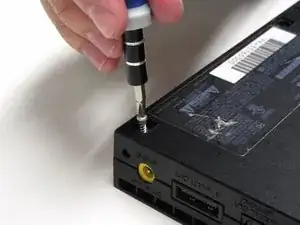
Quita los seis tornillos de 4.0 mm de la parte inferior de la consola utilizando un destornillador Phillips #1.
-
-
-
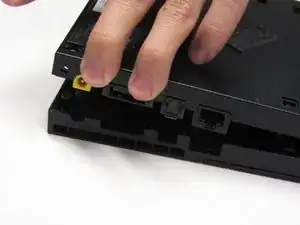
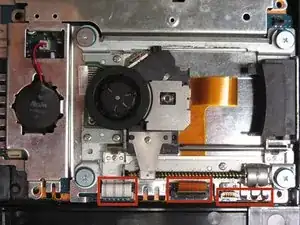
Empezando desde la esquina donde se encuentran los puertos de alimentación y ethernet, haz palanca utilizando una espátula y continúa alrededor de toda la unidad.
-
-
-
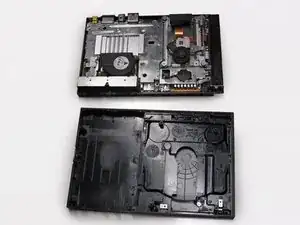
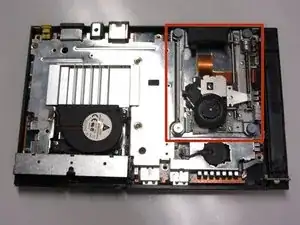
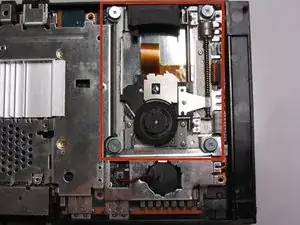
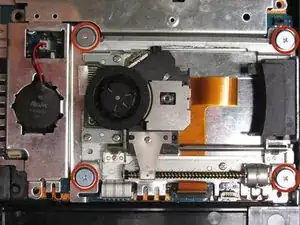
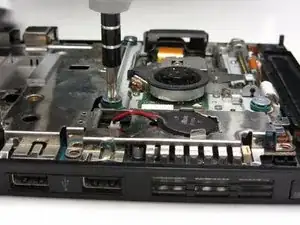
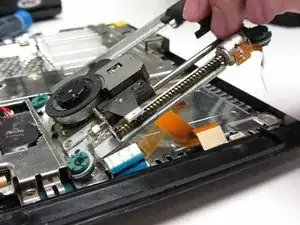
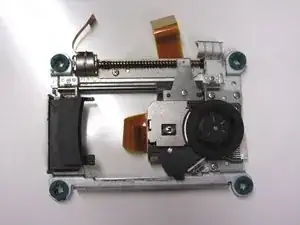
Localiza la unidad óptica la cual ocupa la mayoría del espacio en la parte derecha de la unidad. Se puede identificar gracias a los cuatro tornillos de cabeza ancha que fijan la unidad óptica a la placa base.
-
-
-
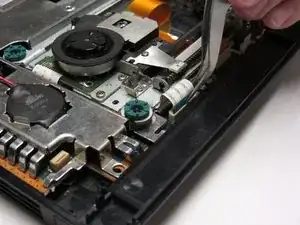
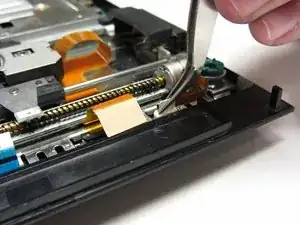
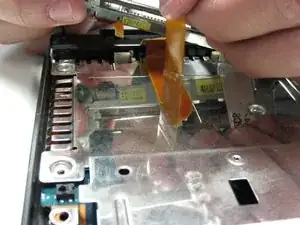
Quita cualquier tipo de cinta adhesiva que esté fijando los cables a la placa base y con suavidad levanta y quita la unidad óptica.
-

Para volver a montar tu PlayStation 2 Slimline, sigue esta guía en orden inverso, desde el final hacia el principio.
6 comentarios
انا أريد للغة عربية
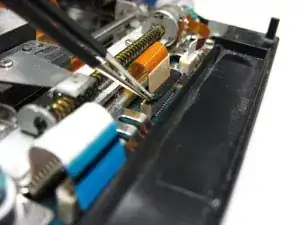
you also must disconnect the ribbon cable from the laser assembly by flipping back the little brown lever and removing the cable. This frees the assembly from the rest of the console. To actually replace the drive, you need to move the lens away from the disc hub by gently turning the worm gear. Flip the new assembly over and connect the brown ribbon that is glued to the metal shield. DO NOT REMOVE THE GLUED RIBBON UNLESS YOU INTEND TO REPLACE IT. After that one is connected, you can slowly flip the assembly and rest is in place. Connect the other ribbons to their respective connectors. Return all the screws to their positions and tighten so they are firm. Don’t go overboard screwing them back in.
Hello is the optical drive from my ps2 70004 compatible in my ps2 slim 75001?
I don't see any reason why it shouldn't be.