Introducción
Las tapas del Joystick en tu controlador Xbox podrían dejar de responder o volverse pegajosas. Si esto sucede, podría ser necesario quitar las tapas de la palanca de mando para reemplazarlas o limpiarlas. Esta guía te enseñará cómo acceder y reemplazar los joysticks en tu controlador inalámbrico Xbox One modelo 1708.
Herramientas
-
-
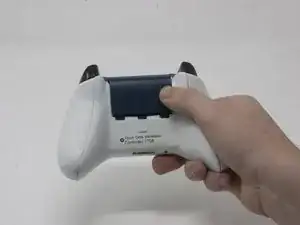
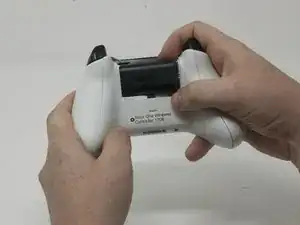
Desliza la tapa de la batería hacia la parte superior del control para retirarla.
-
Levanta las pilas o el paquete de pilas del compartimento de las pilas.
-
-
-
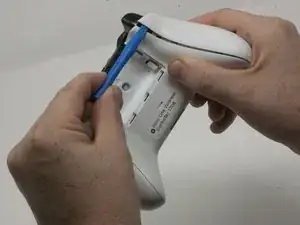
Inserta una herramienta de apertura de plástico en la costura superior y mueve suavemente la herramienta de apertura hasta la parte inferior del controlador.
-
Continúa usando la herramienta de apertura para sacar suavemente la placa lateral del controlador.
-
Repite este proceso para la segunda placa lateral.
-
-
-
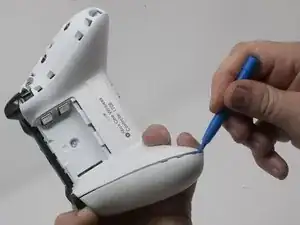
Despega suavemente la etiqueta de la batería o haz un agujero en el centro de la etiqueta en el compartimiento de la batería para revelar el tornillo oculto.
-
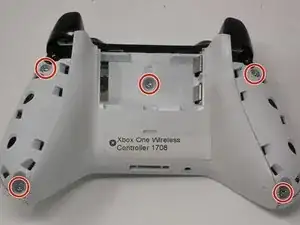
Retira los cinco tornillos de seguridad torx-9 de 9 mm de la parte posterior del controlador.
-
-
-
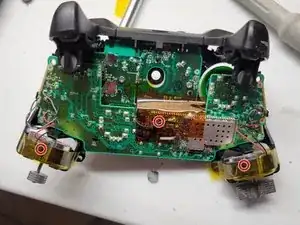
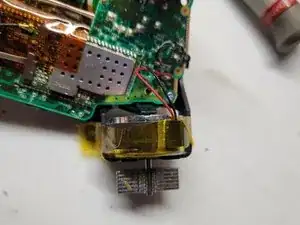
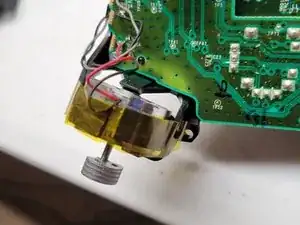
Pega con cinta los motores Rumbler/shock en su lugar.
-
Esto evitará que los motores se caigan.
-
-
-
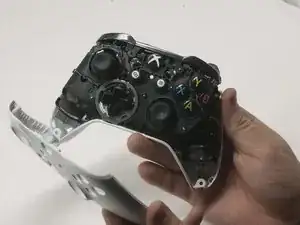
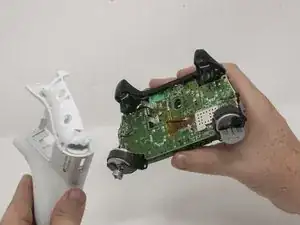
Orienta el controlador de modo que la placa frontal quede hacia arriba.
-
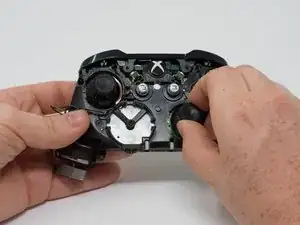
Levanta la cubierta frontal del controlador.
-

Para volver a armar tu dispositivo, sigue estas instrucciones en orden inverso.
6 comentarios
How about the square thing with the stick and hinges that the joystick is attached to? I think it’s called the Module. I have a joystick drift / drifting problem and that may help me out. Thanks.
Cory C -
Agreed. That’s actually the part I need to replace too. The module.
followed this guide to take the controller apart because I had a joystick that was sticking, my solution was to put some 3in1 oil on the module that was sticking and it seems to be working a lot better now.
@corytc and @tomchak I did replace the module, in general, you buy (Amazon or eBay) you will receive a module of 6 modules you need a multimeter and test each module interface, measure both resistances and subtract them, the one nearest zero is the module you will use since is the one with least drift from the factory.
Just disassemble it, turn upside down uses a solder remover and unsolder the old one, place the new one solder back, boom you are done.
Like you will need an iron solder with medium and thin tips, I used lead-free solder, so is a patience test, be careful with the wires from the rumbles, try not to unsolder them since is a thin wire and is difficult, like I have big hands so took me a while to solder back.