Introducción
PLEASE READ!
This is a quick and dirty guide without too many explanations for how to fix this. I searched all over trying to find answers and came up with NONE. I made too many mistakes when i finally stumbled onto the fact that the pins EASILY slide out after desoldering it!
I wanted to post this quickly simply to get the word out on how easy of a fix this is. I understand there are no images, because I did not think I would be posting this online and I already finished the job and failed because of my previous mistakes. If I had known what I am posting now, I believe I would have easily succeeded.
Keep in mind that soldering skills are required, but it is a simple soldering task. Be careful not to burn or knock around other connectors as it is cramped on that board.
Herramientas
-
-
La primera imagen que utilicé vino de este sitio: http: //www.btobey.com/learn/images/imac -...
-
-
-
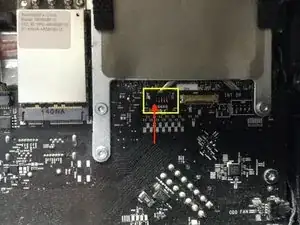
Este puede ser un conector dentro del iMac u otra placa para piezas. Encontré un conector no utilizado en mi computadora.
-
-
-
Aplique el soldador a la base del pasador roto conectado a la placa del circuito mientras saca las pinzas que están detrás, tirando de él lentamente.
-
-
-
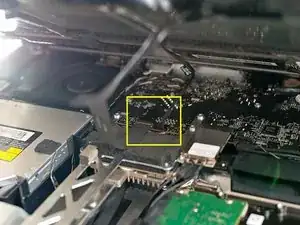
Aplique presión en la base del pasador con las pinzas y vuelva a soldar el pasador en su lugar.
-