Introducción
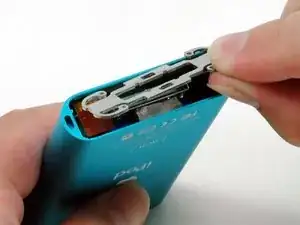
El Bisel Inferior es la parte de plástico blanca que da salida al conector de 40 pines a tu iPod mini. Esta guía te ayudará a quitarlo para hacer las reparaciones que necesites, o simplemente para cambiarlo por otro.
Herramientas
Partes
-
-
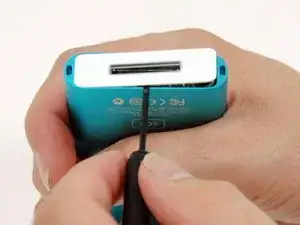
Un pequeño par de pinzas para anillos de presión es la herramienta más fácil para extraer el soporte de retención metálico.
-
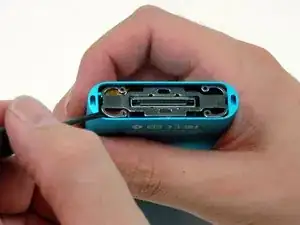
También puedes usar un destornillador de punta plana para extraer el soporte de retención metálico debajo del bisel inferior, como se muestra. Puedes liberar el soporte empujando primero los brazos de metal en las esquinas y luego levantando el soporte.
-
Para volver a ensamblar tu dispositivo, sigue estas instrucciones en orden inverso.

Un comentario
After removing my bottom bezel, I needed a couple small, cut pieces of double sided tape to hold it in place upon reassembly.
Stephen -
Again, be mindful and careful of the little white teeth on the underside of the plastic especially the two on the ends of the long sides.
DITOSP -
I used Stanley knife blade to gently prise both top and bottom plastic covers
jimbo20039 -
Like I do for the top, I use a thin plastic guitar pick to wedge between the plastic cap and metal case. Once it’s in, turn the pick horizontal (same as the cap) and work it around until you can get your fingernails under it. Also, I believe this cap is made to go on only one way, so maybe mark which edge is front or back
Ken Mastri -